Lesson 2 Ball and Socket
Now that we have got pancakes, snakes and balls down,
let’s work on putting them together into slightly more horizontal forms. We can keep them on the pancake base but eventually, as the students get better at technique, some things won’t have to be on that.
Dinosaurs, Dragons and other Four-legged beasts
It’s always good to start with animals with naturally thick legs like dinosaurs, elephants, hippos and rhinos ( as opposed to horses, camels and giraffes –I usually encourage the kids to make those last 3 “lying down”–kind of kneeling with their legs tucked under, as animals do)
For Dinosaurs and dragons and other small-headed, long-necked animals:
The first thing to convince the students of is to make the head, body and tail all one piece. This is that “yam” shape that is really just a snake that ate an antelope! it is pointy on the ends and fat in the middle.
It helps to pinch it into the general shape first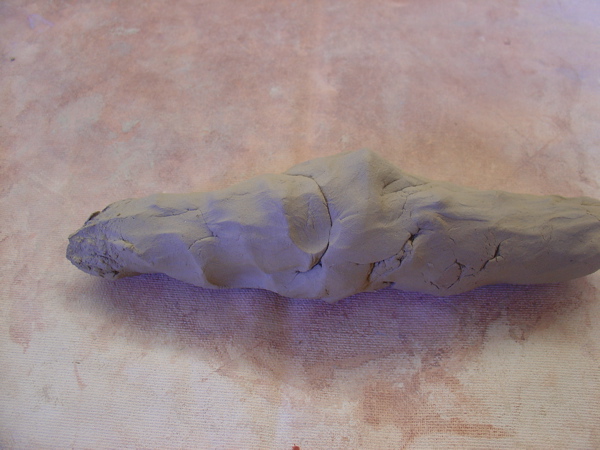 then roll it smooth
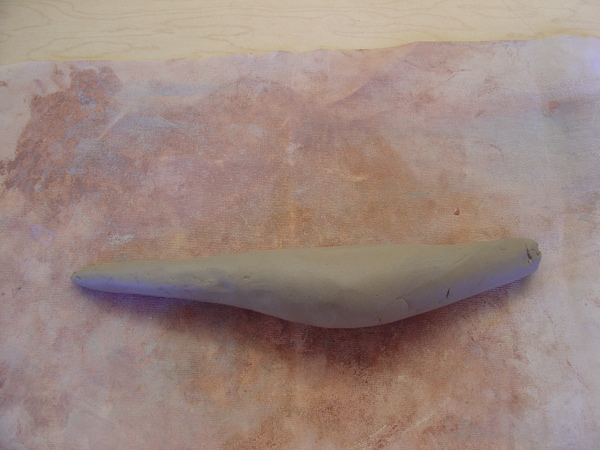
show the kids through example and then by placing your hand over theirs that they can hold their hand at a low angle to the table to achieve that point at the end. 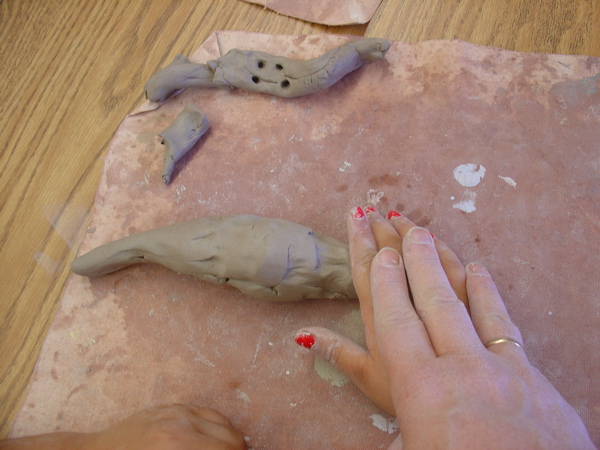
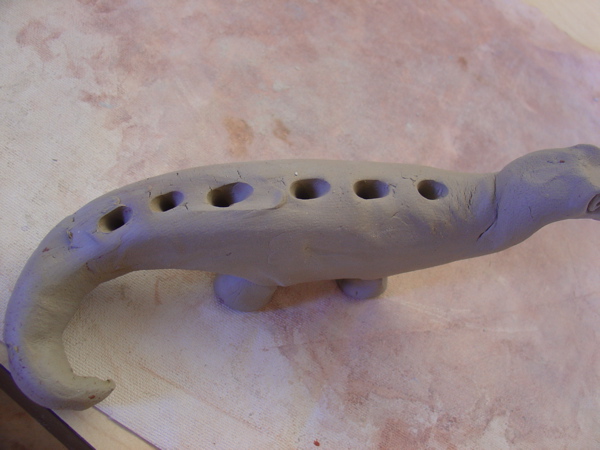
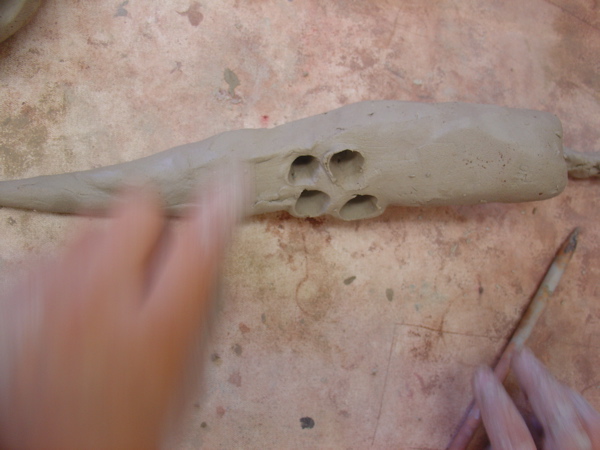
Once you have a good strong yam, poke 4 holes into it
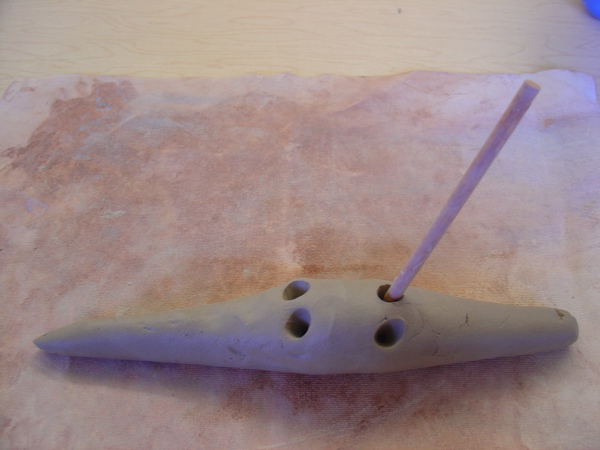
Roll 4 fat short coils or 2 coils that you then cut in half. Put those points on one end and tap the coil on the table to make the other end flat and wide just like a dinosaur or elephant foot.
Make sure they understand scale- that is, tiny skinny legs won’t hold up a big fat dinosaur, nor will giant tree trunk legs go into the holes you poked in the body.
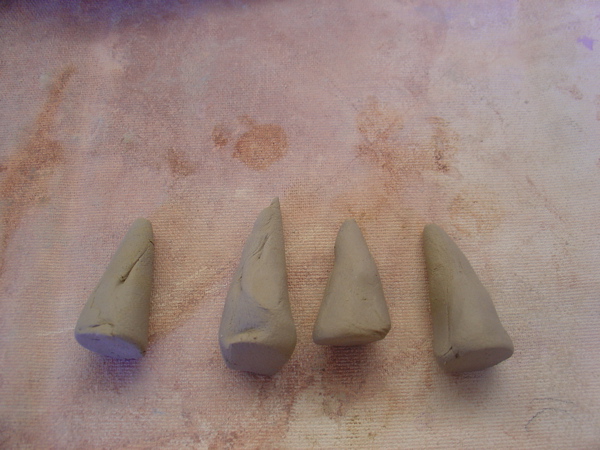
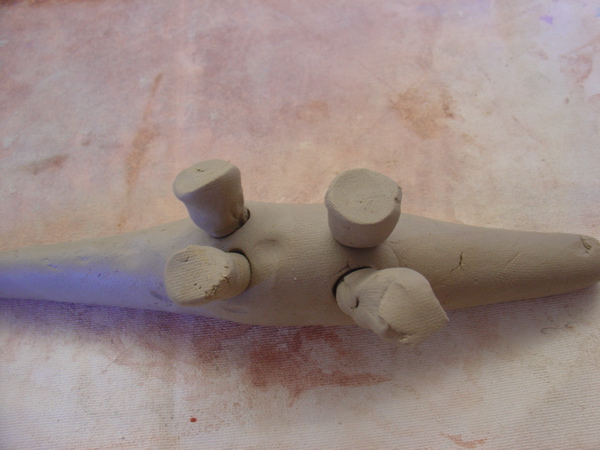
Once the legs are firmly in there, encourage smearing- I say “erase the lines” but still, the concept of bonding the clay together is often difficult for them to grasp. As it is a key part of making the piece strong, it is worthwhile to spend a little time on it. I’ve tried saying “smooth the skin” and pointing out they don’t have lines on their skin.
You can even take their finger and use it as a smearing tool and they get a better understanding of the sensation and result.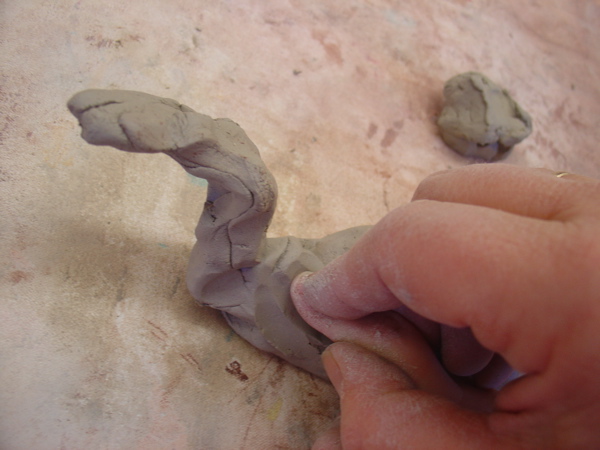
Now you may turn your dinosaur right side up and bend the neck and tail to look more realistic.
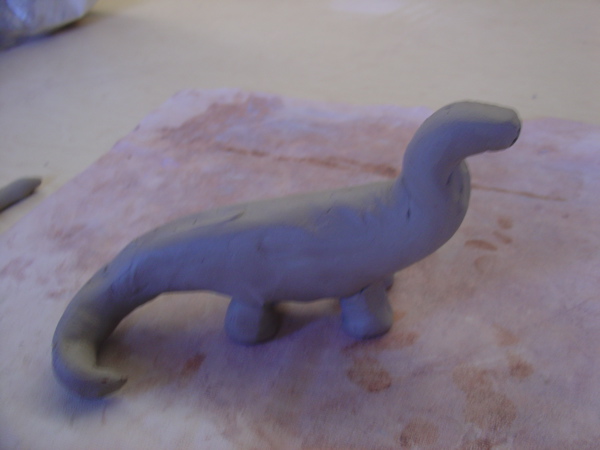 NOTE: I highly recommend curving the tail and especially back toward the body. This will make it stronger. Any time you curve the clay, it is stronger.
They can poke holes for the eyes- I always show eye sockets and I achieve those by facing the head away from me and pushing the clay back towards me with my finger.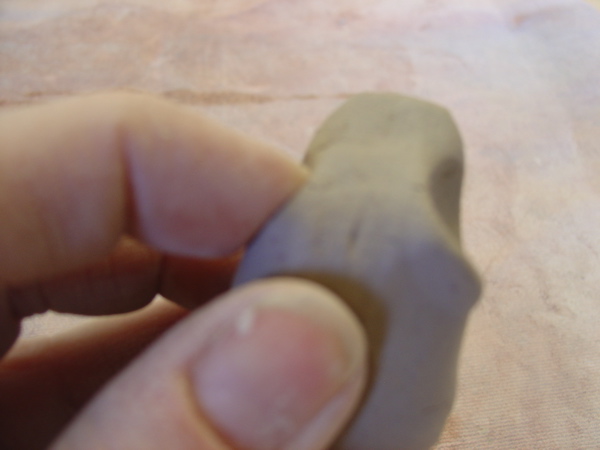 (sorry, a bit out of focus)
You can also “open” the mouth with a plastic knife or skewer.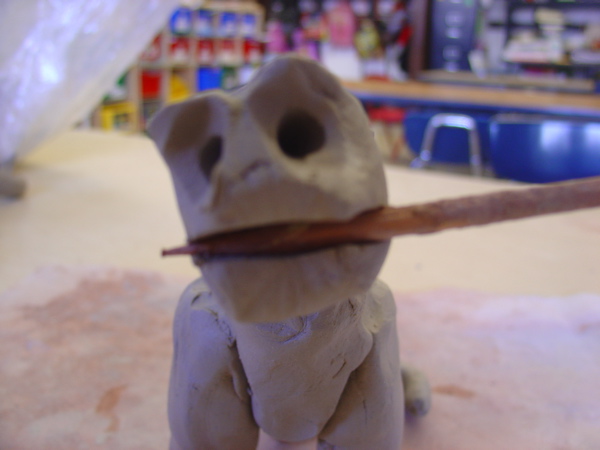
At this point, more slots or holes can be made in the back and even tail to add spines or plates (as in the case of a stegosaurus)
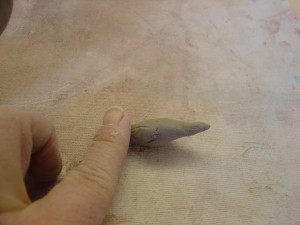
 a spike should look like this:
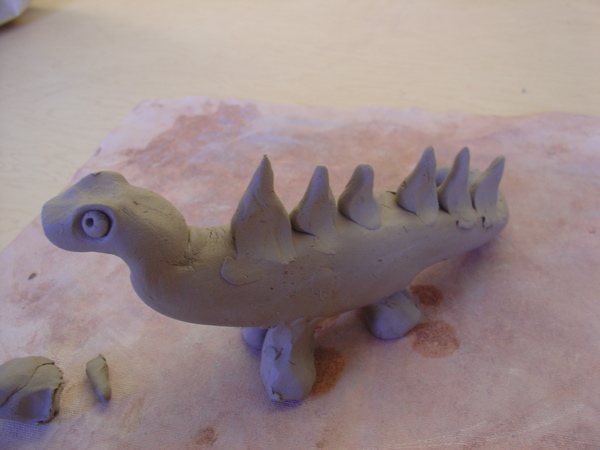
If you feel the legs are not well attached or the tail is too thin, or even that the head won’t stay up, it is time again, for the pancake. The dinosaur can “graze” or check a nest of eggs and therefore have its head down and touching the pancake and the tail also should touch down and end within the boundaries of the pancake. 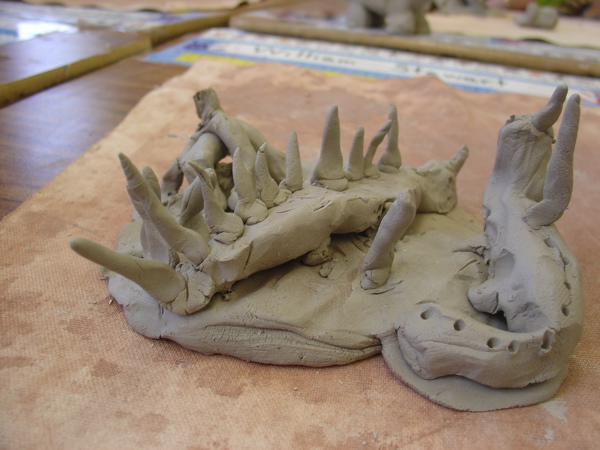
special problems:
too dry:
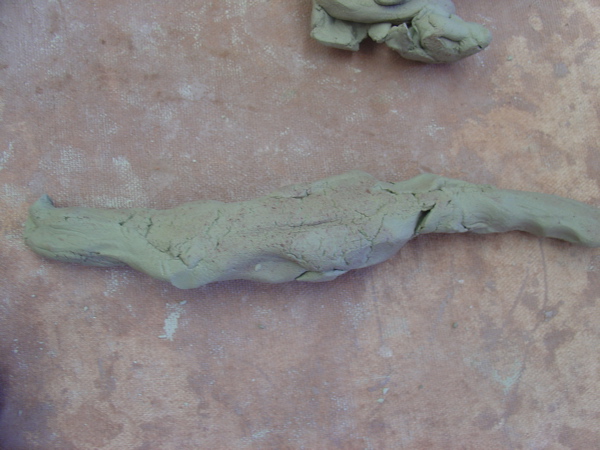
You can take the “old” clay, dip it in a water and stick it in a sealed plastic bag. It should absorb the water it collected on its surface and that should be sufficient to re-hydrate it overnight.
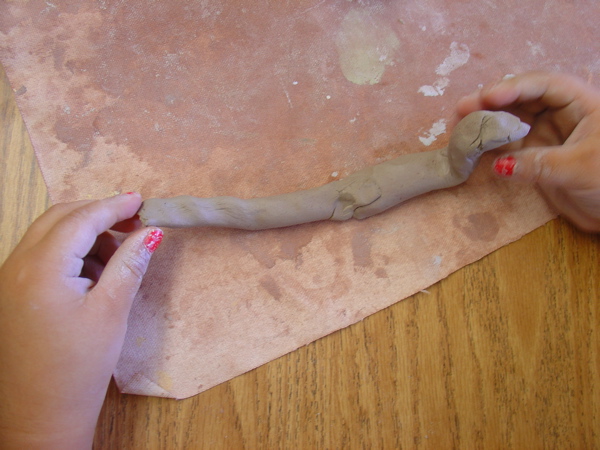
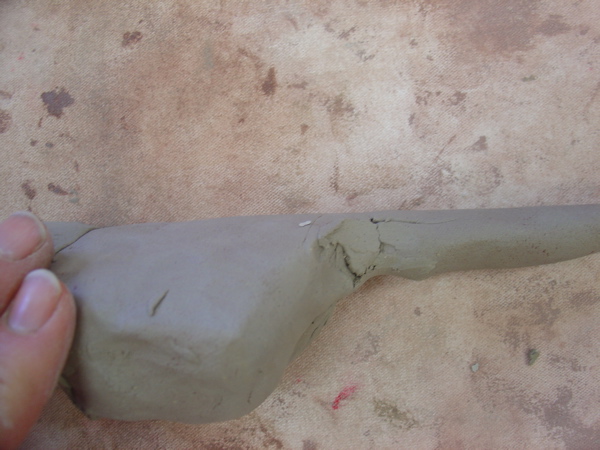
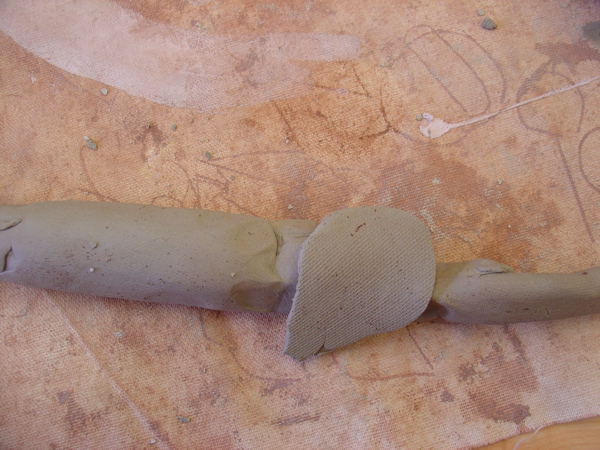
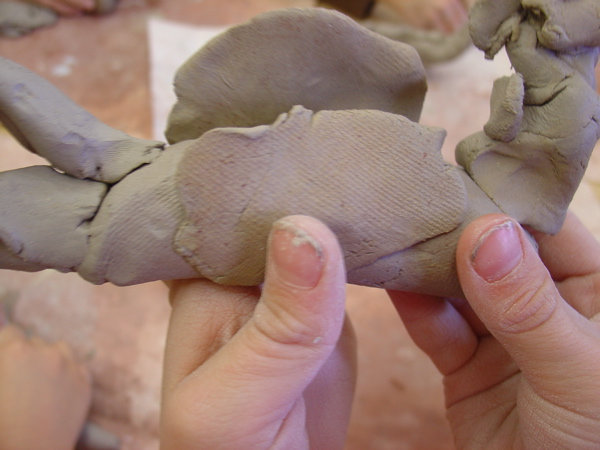
For short tails, they should always be pressed against the body so they will not break off.
REMEMBER: Any thin clay sticking out, especially straight out, is very vulnerable to breaking off and should be avoided.
T-REX
T-Rex is a special case. It is an immensely popular dino and as such, deserves special attention.
He is a tricky beast as he is much more upright and his big, toothsome head makes him top heavy.
This time your yam should end bluntly at one end.
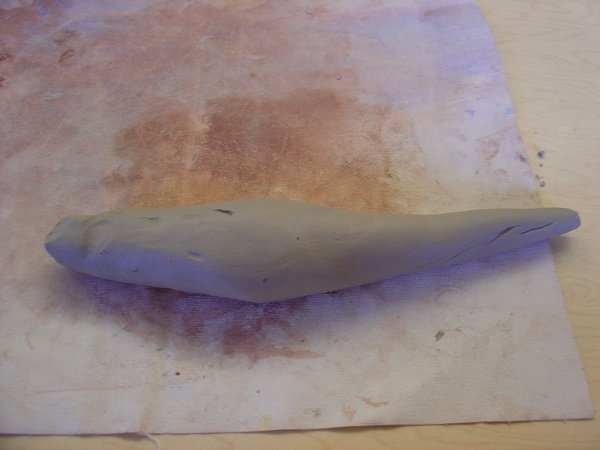 You must “choke” him a little to define his head.
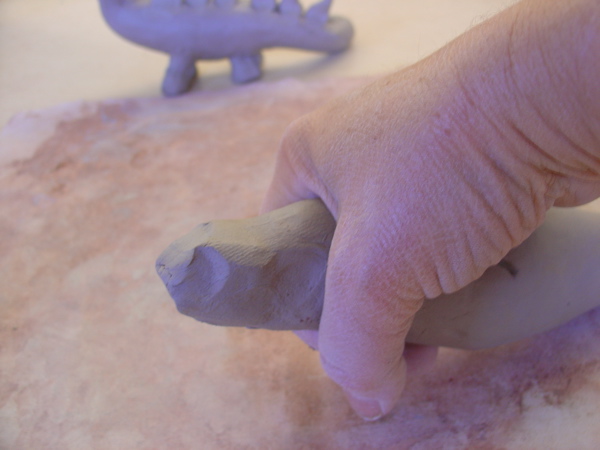
Then make two “ice cream cones” and flatten them somewhat.Now here is the tricky part, you must actually pinch out a kind of peg from the side of the fattest part- this is the upper thigh.
Make holes on either side of the yam and stick those pegs in
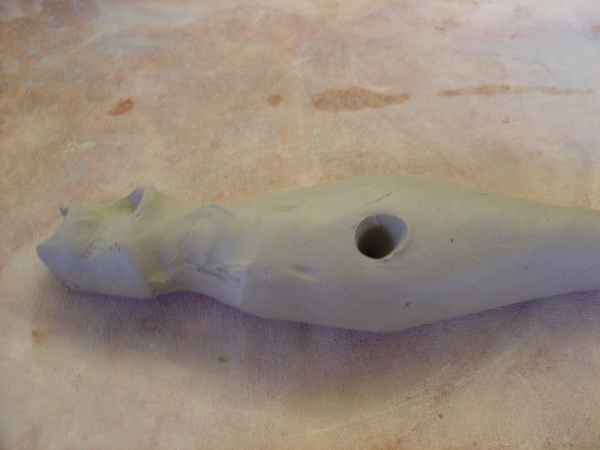
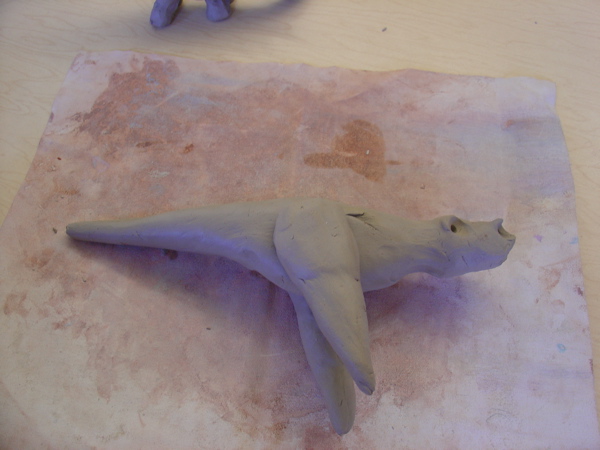
bend the ends of the legs into feet and curve the tail so he can stand up. (I’ve started on his face here-
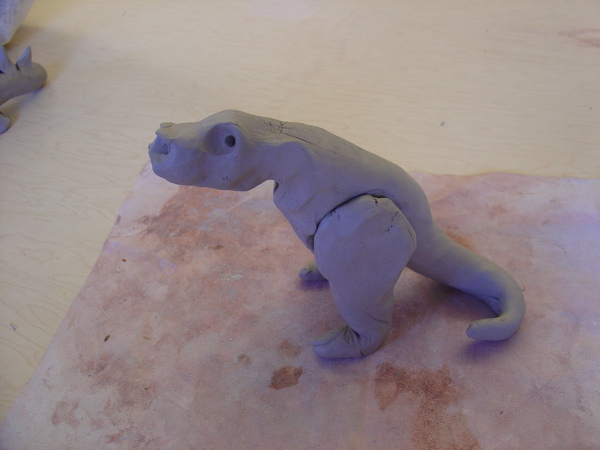
But take the time to smear part of the thigh into the body to keep him strong.
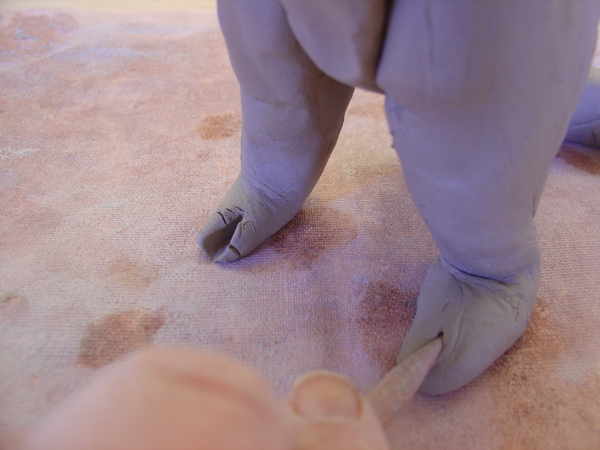
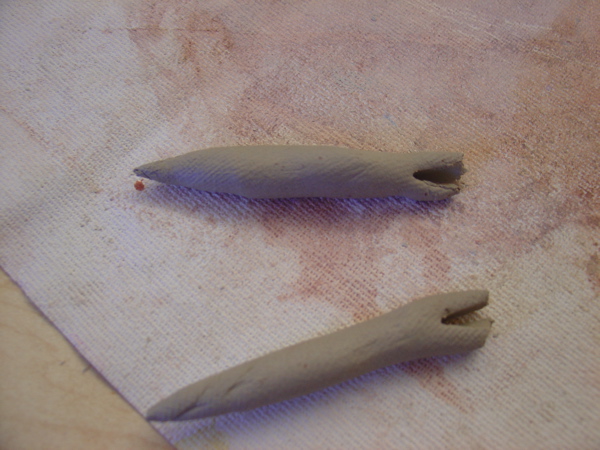
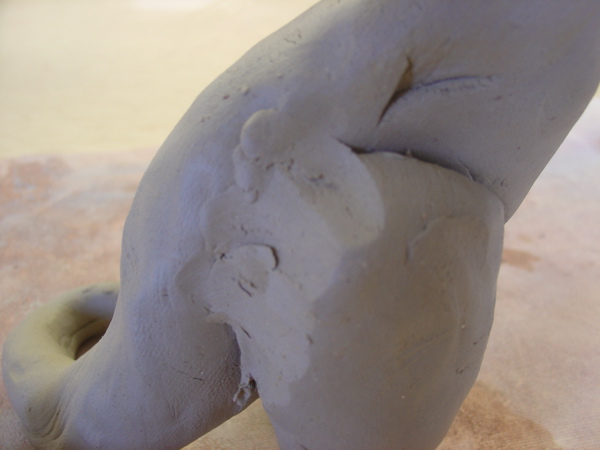 For the feet, cut a notch in the pointy end- this gives you your two toes. Don’t make them too delicate.
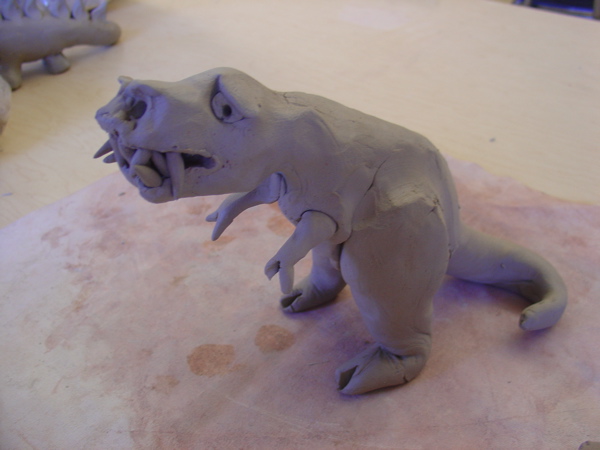
 Now you may make the face, make nostrils and eye sockets as described above and put little balls in and poke a hole in the center. To make him look angry, you can push the brow down a little, this also holds the ball in better.
Now, open a large mouth. It’s good to have a pretty fat head so the lower jaw is quite thick. Now you can poke holes around the entire perimeter 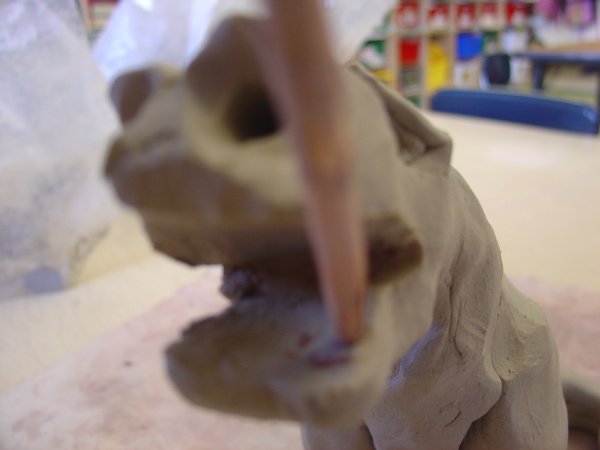
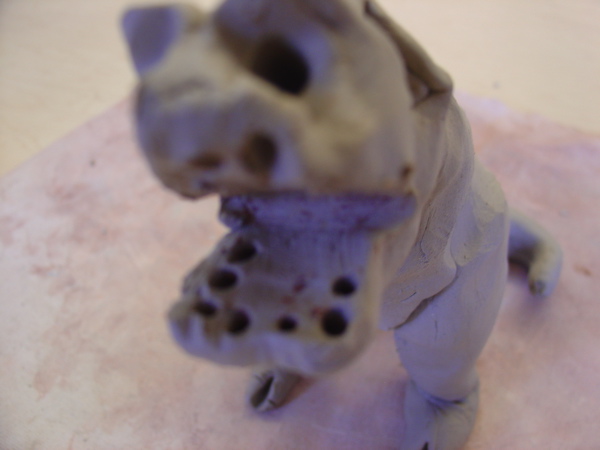
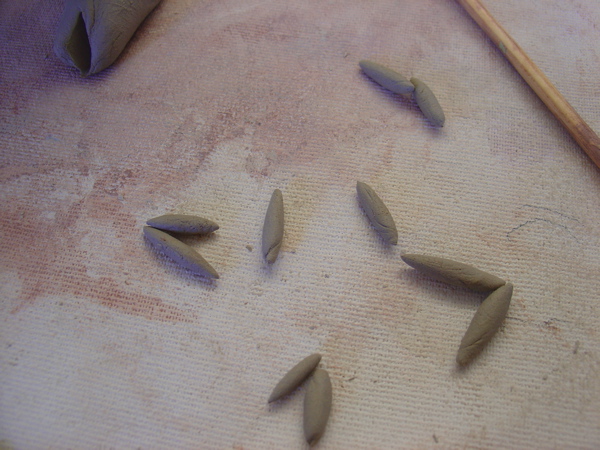 and insert tiny tiny pointy coils for teeth
. The danger here is that the kids spend too long rolling these and they dry out quickly and crumble. Encourage them to roll them quickly between their fingers and also you can put a little water to soak into the canvas mat and then the mat will absorb less water from the clay.
the mouth can actually be opened wider to accept the teeth 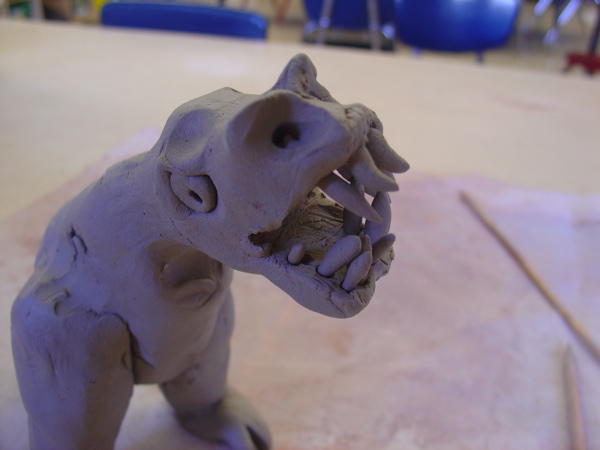 and then closed to interlock the teeth- again, this makes them stronger. The teeth will poke out every which way giving him a snaggle toothed look. The students love this!
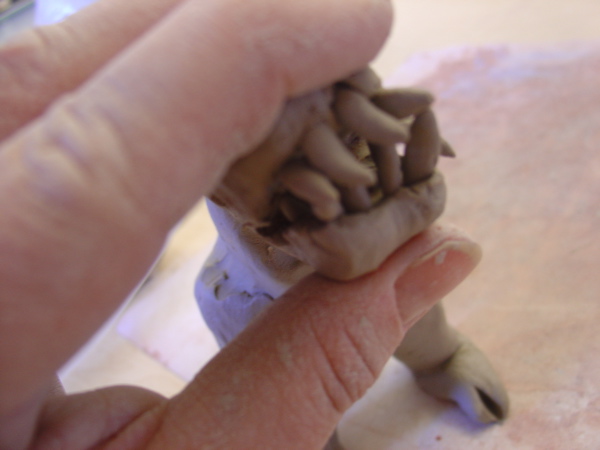
Now you can poke two holes in the chest,
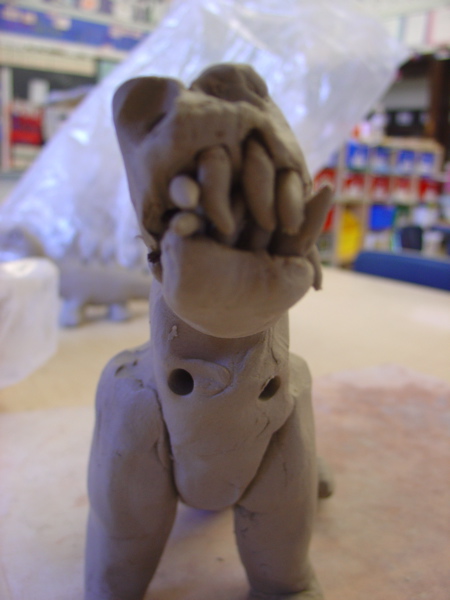 make two thin snakes, cut the notches again for the toes and insert them for the T-Rex’s tiny front legs.
 and voila!
Mr. T-Rex