[note! the Casserole from the previous post is done- I am adding photos to the previous post]
Tumblers- harder to make than you’d think!
I had a request for tumblers at the last Art Fair and I thought, “Yeah, those are great! No trimming, no handle, I’ll just knock some out!”
Well, I thought wrong. The problem always with porcelain is getting it tall and keeping it narrow. Then, after that, getting the shape I wanted.
I wanted shapes that were slender but not tippy, graceful and elegant yet would still feel comfortable and balanced in one’s hand. Usually, if you make something that is right for the hand it also appeals to the eye. I thought they should look like they were meant to be tumblers, not mugs missing their handles. Lastly, I had to throw it larger to compensate for shrinkage and have it look right once it came out of the cone 10 firing.
I started with 1 pound of clay which absolutely should have been enough but I had a lot of trouble getting the base walls thin enough to get them big enough; taking Grolleg’s shrinkage rate of near 15% into a account.
But actually it really is okay to have a slightly thicker wall at the base for porcelain as it warps so darned easily. I learned this from Xiao Xiang Bi.
I also realized after much puzzlement, that one of the reasons my mugs and tumblers were warping when I wired them off was that the bottoms were so darned thin that the wire was compressing the base- there was not enough clay to resist that compression.
So annoying until I figured it out! Now I leave enough clay down there.
I have a few tumblers that I love and take inspiration from:
This one by Lester is just so beautifully slim and the painted on decoration is so perfectly suited to the shape.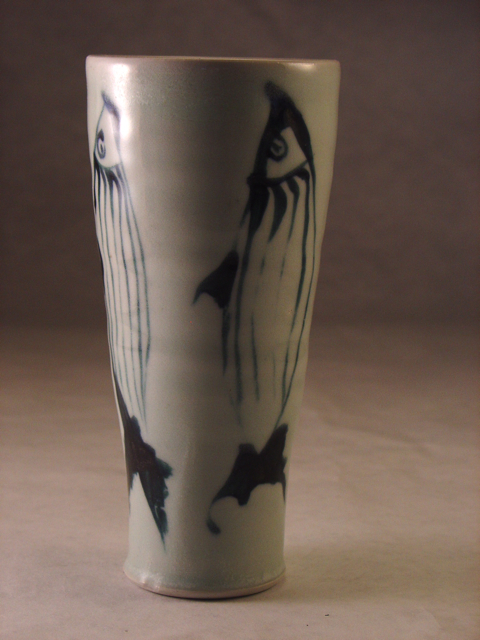
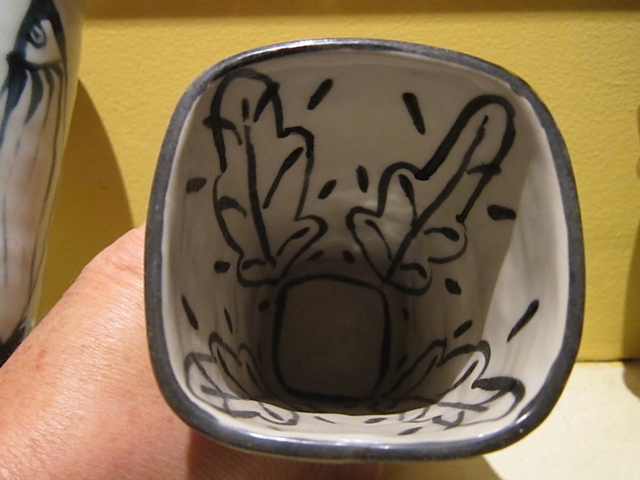
Then I have this hand-built and stamped Tumbler by Chuck Aydlett  This, amazingly, is a cone 6 glaze fired in an electric kiln. He even took the time to detail the interior.
Then I have this gorgeous piece by Ryan Greenheck; I have theories about how he got this surface- something to do with slip and a metal rib- but it’s not completely clear. 
I have a very simple shino glazed piece by Rita and it may be the one I use the most. I was feeling lousy one day long ago at Lill and she brought me tea in it and said to keep it and I think it’s just perfect the way it curves ever so slightly in at the top. 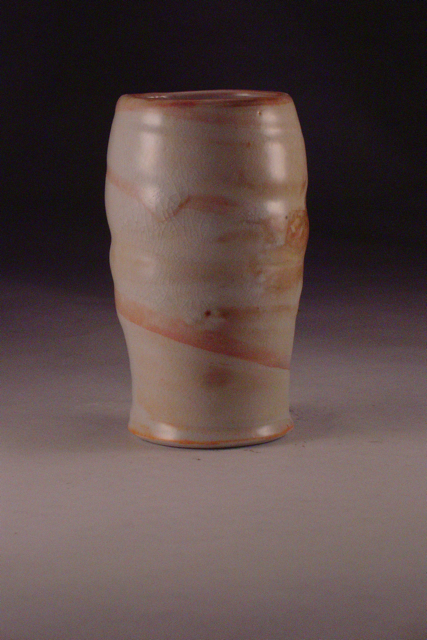
This last tumbler was made by me and you can see how the others influenced me. I made several but I loved this one so much I couldn’t sell it.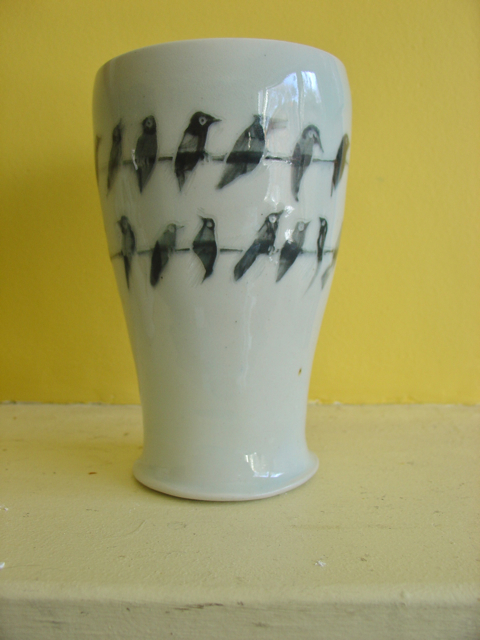
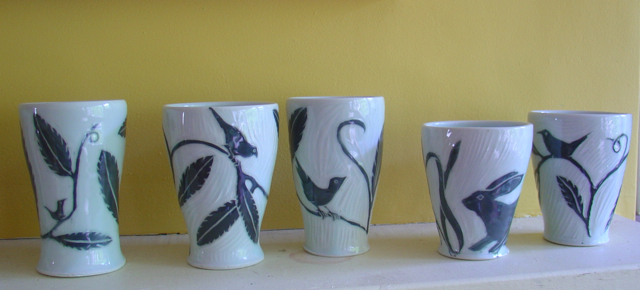
Since then, I have made a couple more “birds on a wire” tumblers and because the wire is so hard to get straight and thin, I actually incised a line while I was throwing it and then when it was almost dry, inlaid slip into it. * Then I added the little dabs that I touched up into birds. I thought I took photos before they sold but I did not. I will just have to make more!
*This is done by painting slip into the line and then scraping off the surface with a metal rib leaving a very clean line
Here are a few more that I did.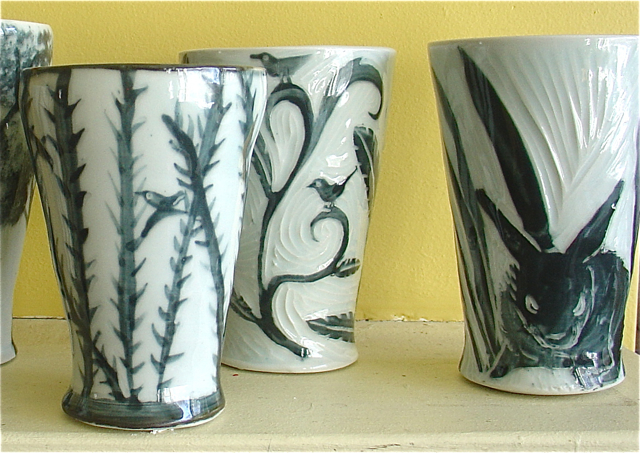
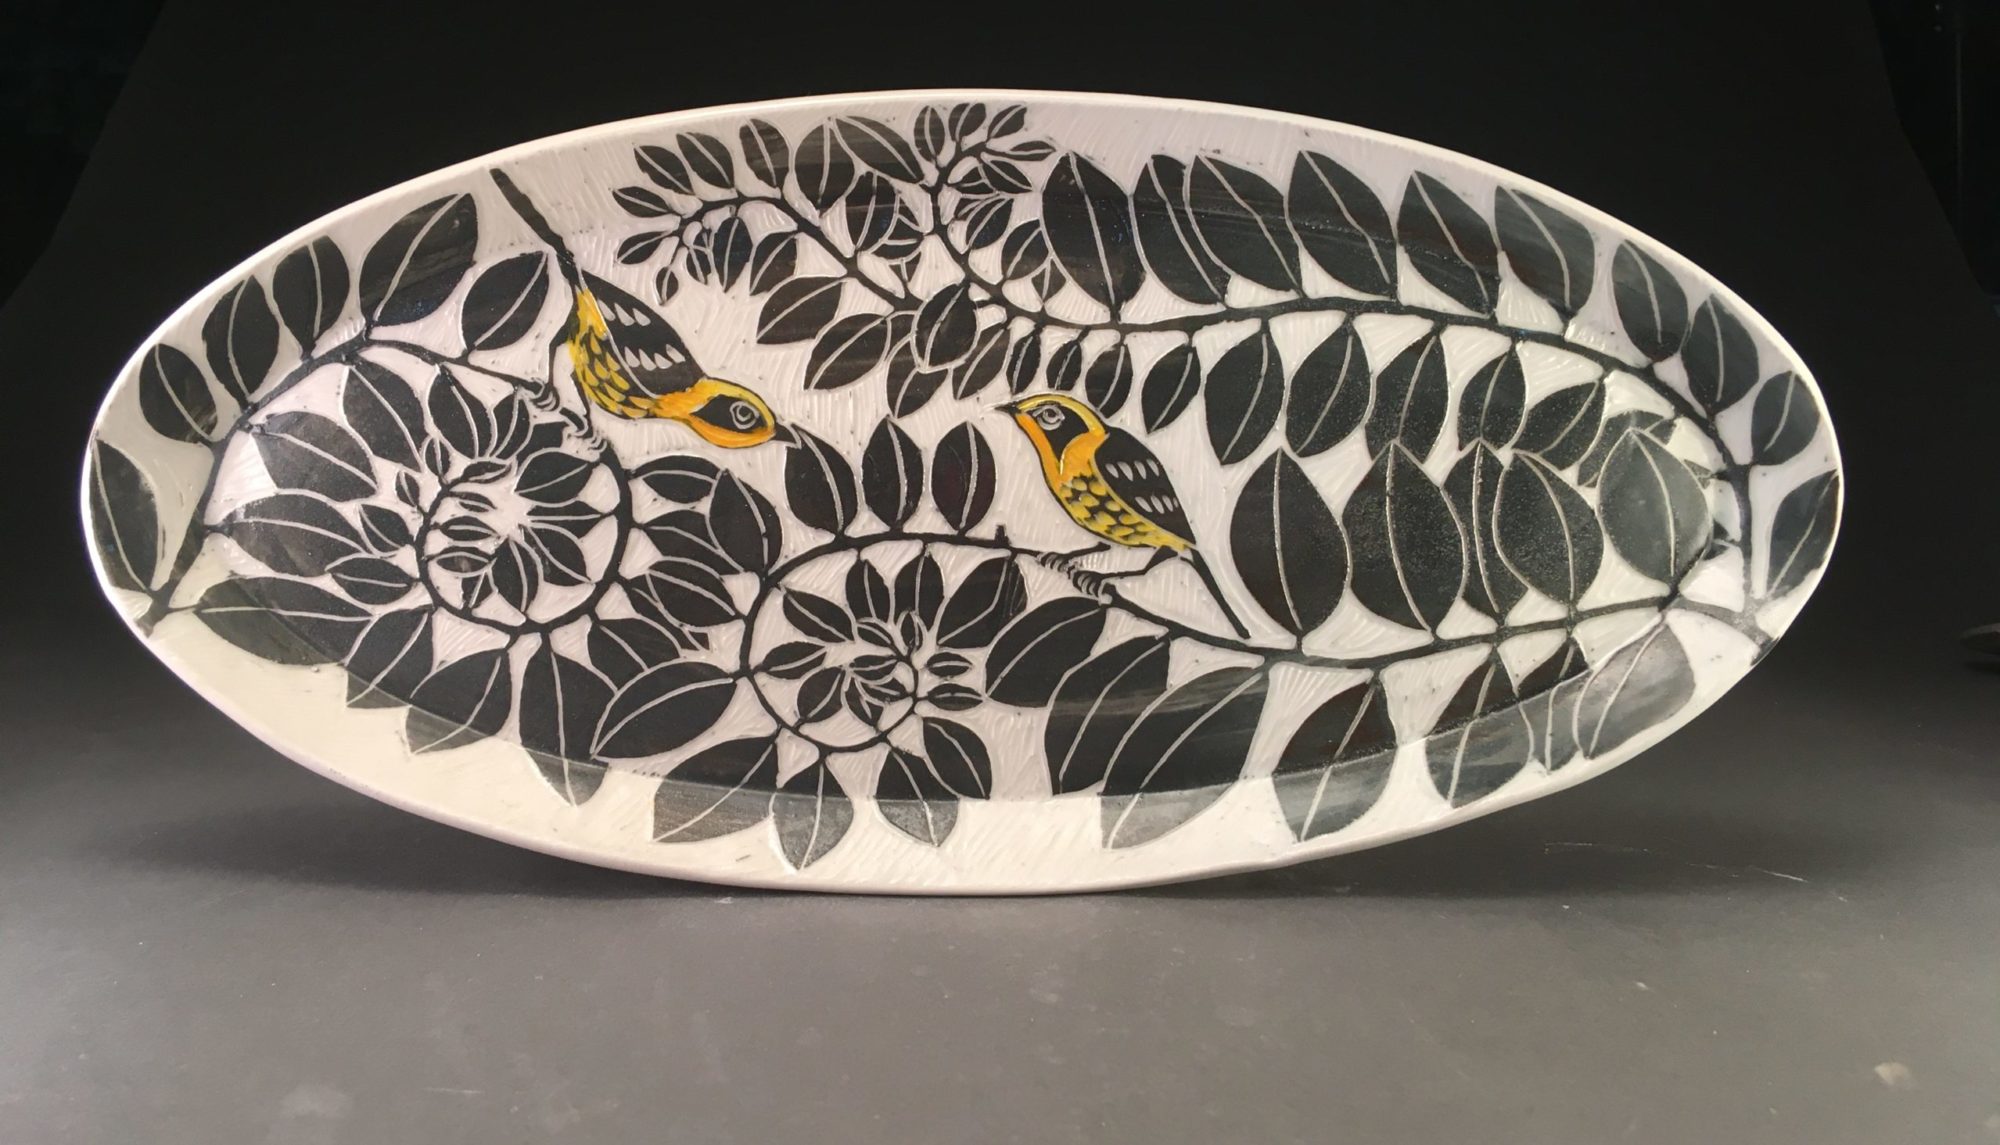
What stage of dryness are you carving at, it looks like it must still be soft? What tool do you use for carving?
Suzanne, It is, I do almost all my carving when the clay is leather hard. I find I get a fluidity of line that would be hard to achieve with the clay at a bone-dry stage. Additionally, I think it’s much less healthy to carve when it can more easily turn to powder and be inhaled.
I used fine wire loop tools – I just got some new tools and I’m hoping to post about it soon.
Haven’t been here for a while. As always, a pleasure to read of your experiences with clay and look at the b beautiful results.
I thought I was the only one who struggled a bit with getting tumblers “just right”! It seems such an easy form but I too have to really work to get the grace and feel that I want….after shrinkage! (And I don’t even work with porcelein!) Your’s turned out beautifully.
I just came across your work whilst searching for something quite different. I love your work – beautifu. I also love how you share your knowledge and show interesting pieces by others. Thank you for your generosity.
Thank You! I really enjoy sharing.