Just a few of the women potters of Northfield were able to gather at Kip O’Krongly’s studio this past week to watch her demonstrate how she makes her wonderful handbuilt terra cotta plates.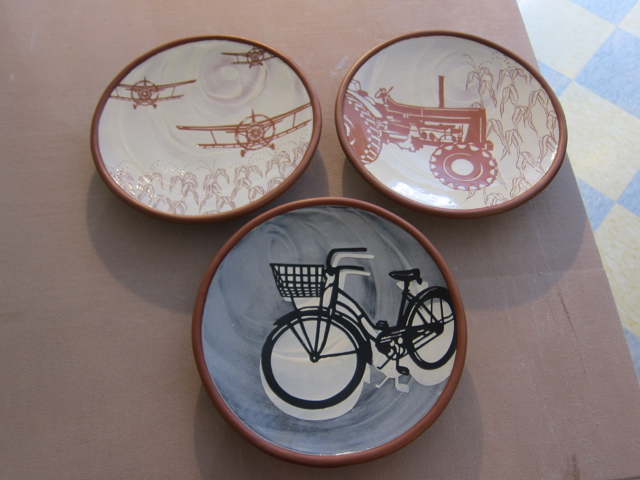
My first caveat in this tutorial is that Kip works with Terra Cotta and additionally, it is a custom recipe of hers. That said, I do believe most any Terra Cotta will work and possibly stoneware. What I’m really not sure about is if you could do this with porcelain! Those higher fired clays tend to get a little slumpy at cone 10. I plan to try this in the spring and will post results (eventually!)
What you will need:
A file folder or other heavyish card stock for templates
Cutting tool like this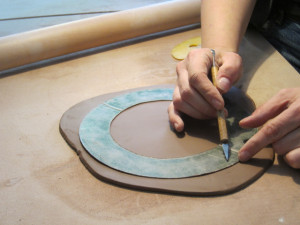 or a needle tool
Rolling pin and 2 ¼ “ thick sticks or a rolling pin like Kip has with rubber washers that set the depth or maybe a slab roller
And an extruder that looks like a calking gun. I’m sure you could try the whole thing out with just a coil but if you were going into production, you’d probably like to have the extruder.
Banding wheel(s)
Scoring tool
Water
Yellow rib
A beveling tool with a rubber tip
Here we go:
Kip took about a pound of clay and began to roll it out with her special rolling pin- I think she said she got this from a kitchen supply store- it comes with various sized removable rings- what a great clay tool, right? (*If you Google “Fondant rolling pin” you can find them for sale in many places)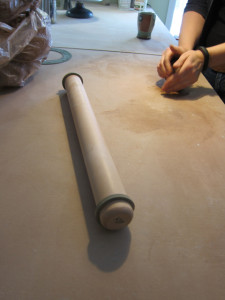
She had a tip for rolling it out- just roll up to near the edge – not over the edge and then work that lump outwards until it rolls under and becomes the edge.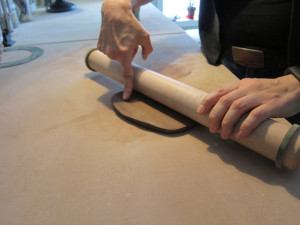
Lay your plate template down- she made hers from a file folder and laminated them. Her template for dessert plate fit right inside her dinner plate template!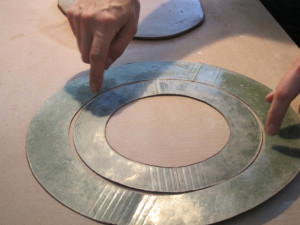 They will eventually wear out.
Cut around the outside edge, lightly trace the inside circle.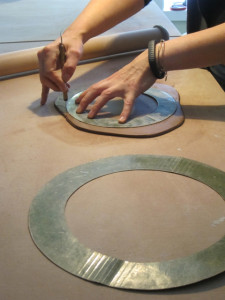
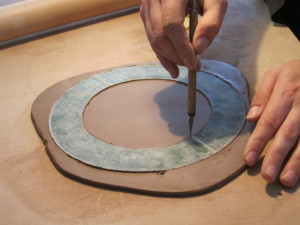
Because Kip makes about 10- or 20 of these at a time there are points at which she makes a bunch and lets them sit. This would be one of those points- she would cut out quite a few of these and let them sit until she was ready for the next step… which is
Extruding the foot. 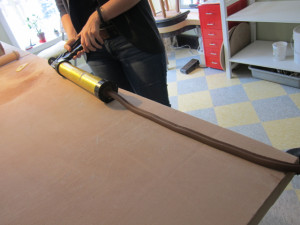 This is her extruder and templates.
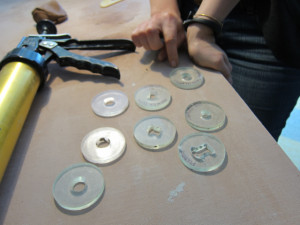
Kip has used old credit cards or 2 thicknesses of yogurt container tops to make her templates but she finally had these made. This is the one for the foot.
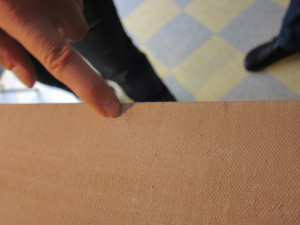
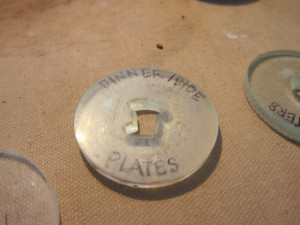 They are beveled to enhance the compression. She has marks on her table for the lengths she needs for the various sized plates she makes. So smart!
If she is doing a lot of these, she will immediately wrap each one in plastic. It’s a lot of surface exposed and it can dry up fast plus it needs to be flexible!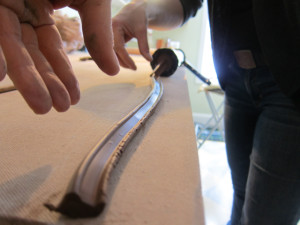
She curves her extrusion a bit while she is scoring the plate bottom along that line she traced earlier 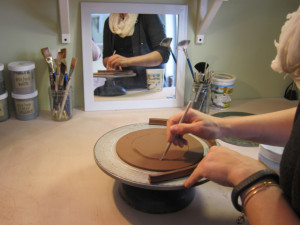 all the while, dipping her scoring tool in water. She then scores the extrusion and begins attaching it.
 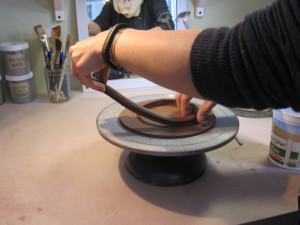 When she reaches the end, she does not leave an overlap.
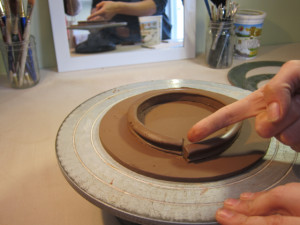
She scores the ends and butts them together, compressing and smoothing with her finger. 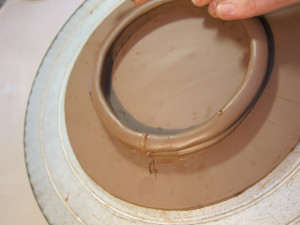 She presses the foot on very gently with her finger while turning the banding wheel.
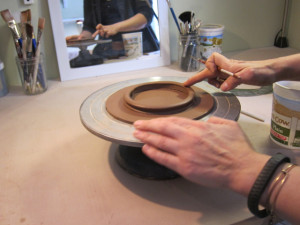
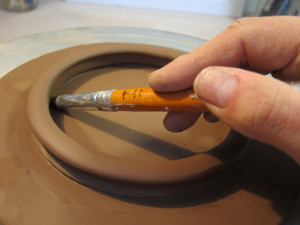
Now she will pay attention to finishing the attachment area. First she brushes it with a damp paintbrush and
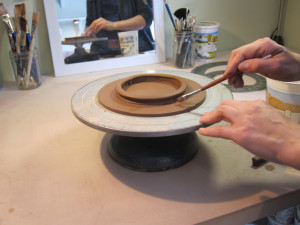
then uses this tool
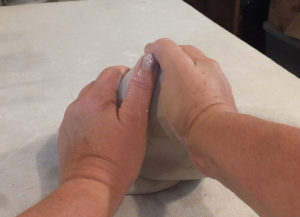
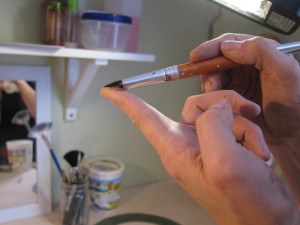 to go in on the outside to clean it up and compress it
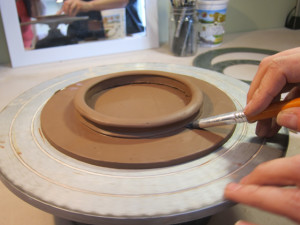
and on the inside and make a bevel that will aid later in curving the plate.
This is another stopping point. These flat plates will be set on top of plastic 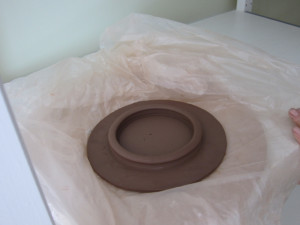 and let dry to leather hard. If Kip is making a dinner sized plate, she would have set it on a bat instead of directly onto the banding wheel but the dessert plates are small enough to lift fairly easily.
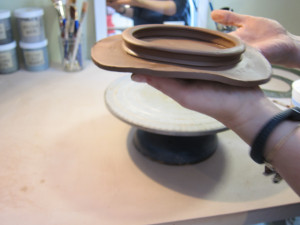
Once the plate has set up, Kip works again on the banding wheel and in front of a mirror.
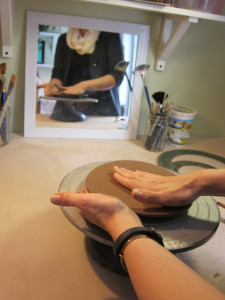
The mirror is invaluable in helping her see the rim and plate and keeping it even as she gently curves it,
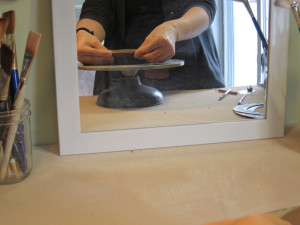
she goes around the rim pinching and thinning it out toward the rim.
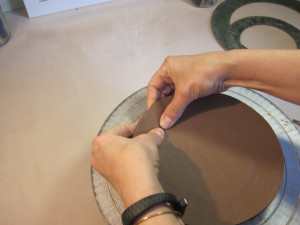
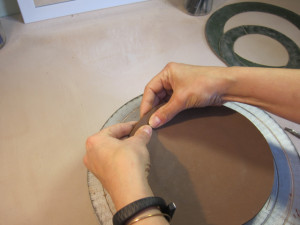
She also pushes down the center gently with a yellow rib. If you want a more dramatic dip and differentiation between rim and plate, you can really go in there and push down.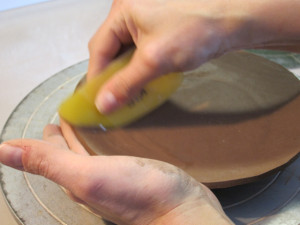
She cleans up the rim with a sureform type file and angles it slightly in. She also scores it with her pronged scoring tool.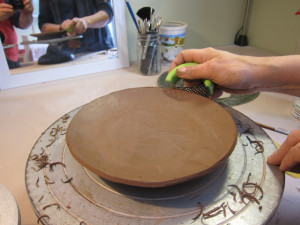
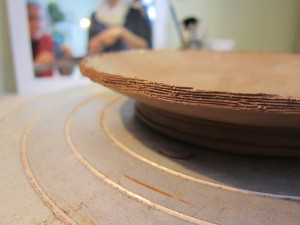
Then it is time to extrude the rim.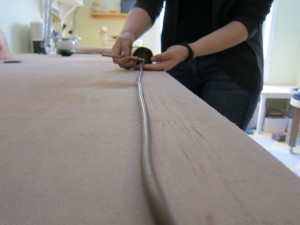
She immediately coils this up to make sure it doesn’t crack later. She sets this piece on a smaller banding wheel next to the banding wheel with a plate on it.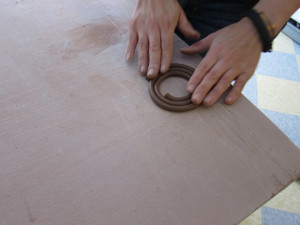
The rim of the plate is wet-scored and then the rim is wet scored with a ridged rib all at once.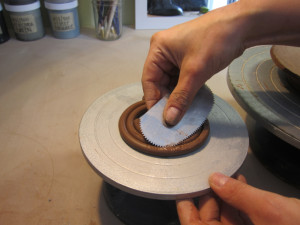
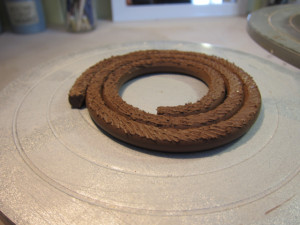 Kip then attaches the rim.
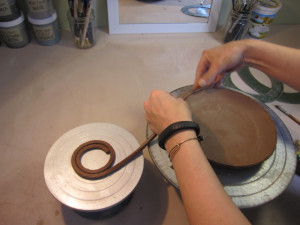
This time she does leave a slight overlap but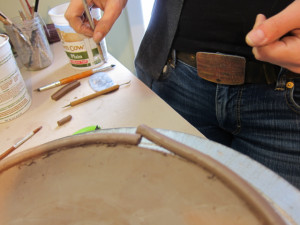 she abuts the pieces
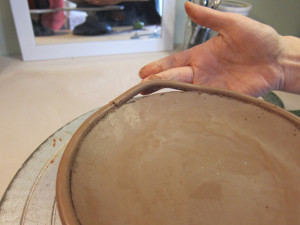 and then compressing, and working it along, she moves that part of the rim in and attaches it. This is to keep the rim from cracking- it has to do with attatching a slightly wetter piece to the leather hard- at this point the rim will shrink more than the plate body.
She goes around the rim now; first with a damp brush, then a wooden tool and then the beveling tool which she uses to make a line. 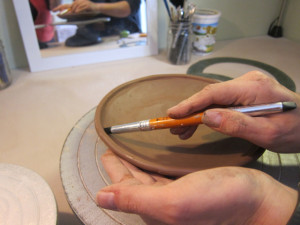 This makes the application of her latex easier and she fills it in later with slip- the latex keeping the rim clean and bare.
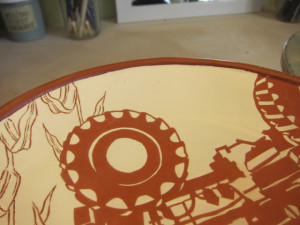
On the underside, the rim must also be smoothed and beveled and then a crack that inevitably forms when the curving is done must be addressed.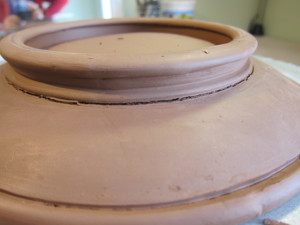 A wooden tool and then finger do the job.
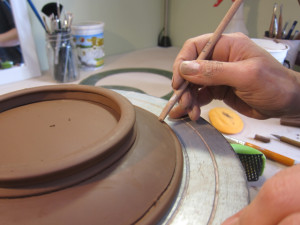 and the beveling tool is used again.
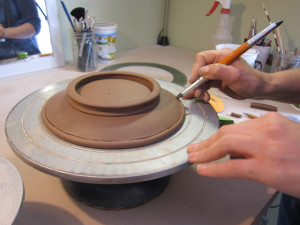
Another natural stopping point, the plates could be wrapped for days until kip is ready to latex them. I will do a second post talking about Kip’s decorating process.
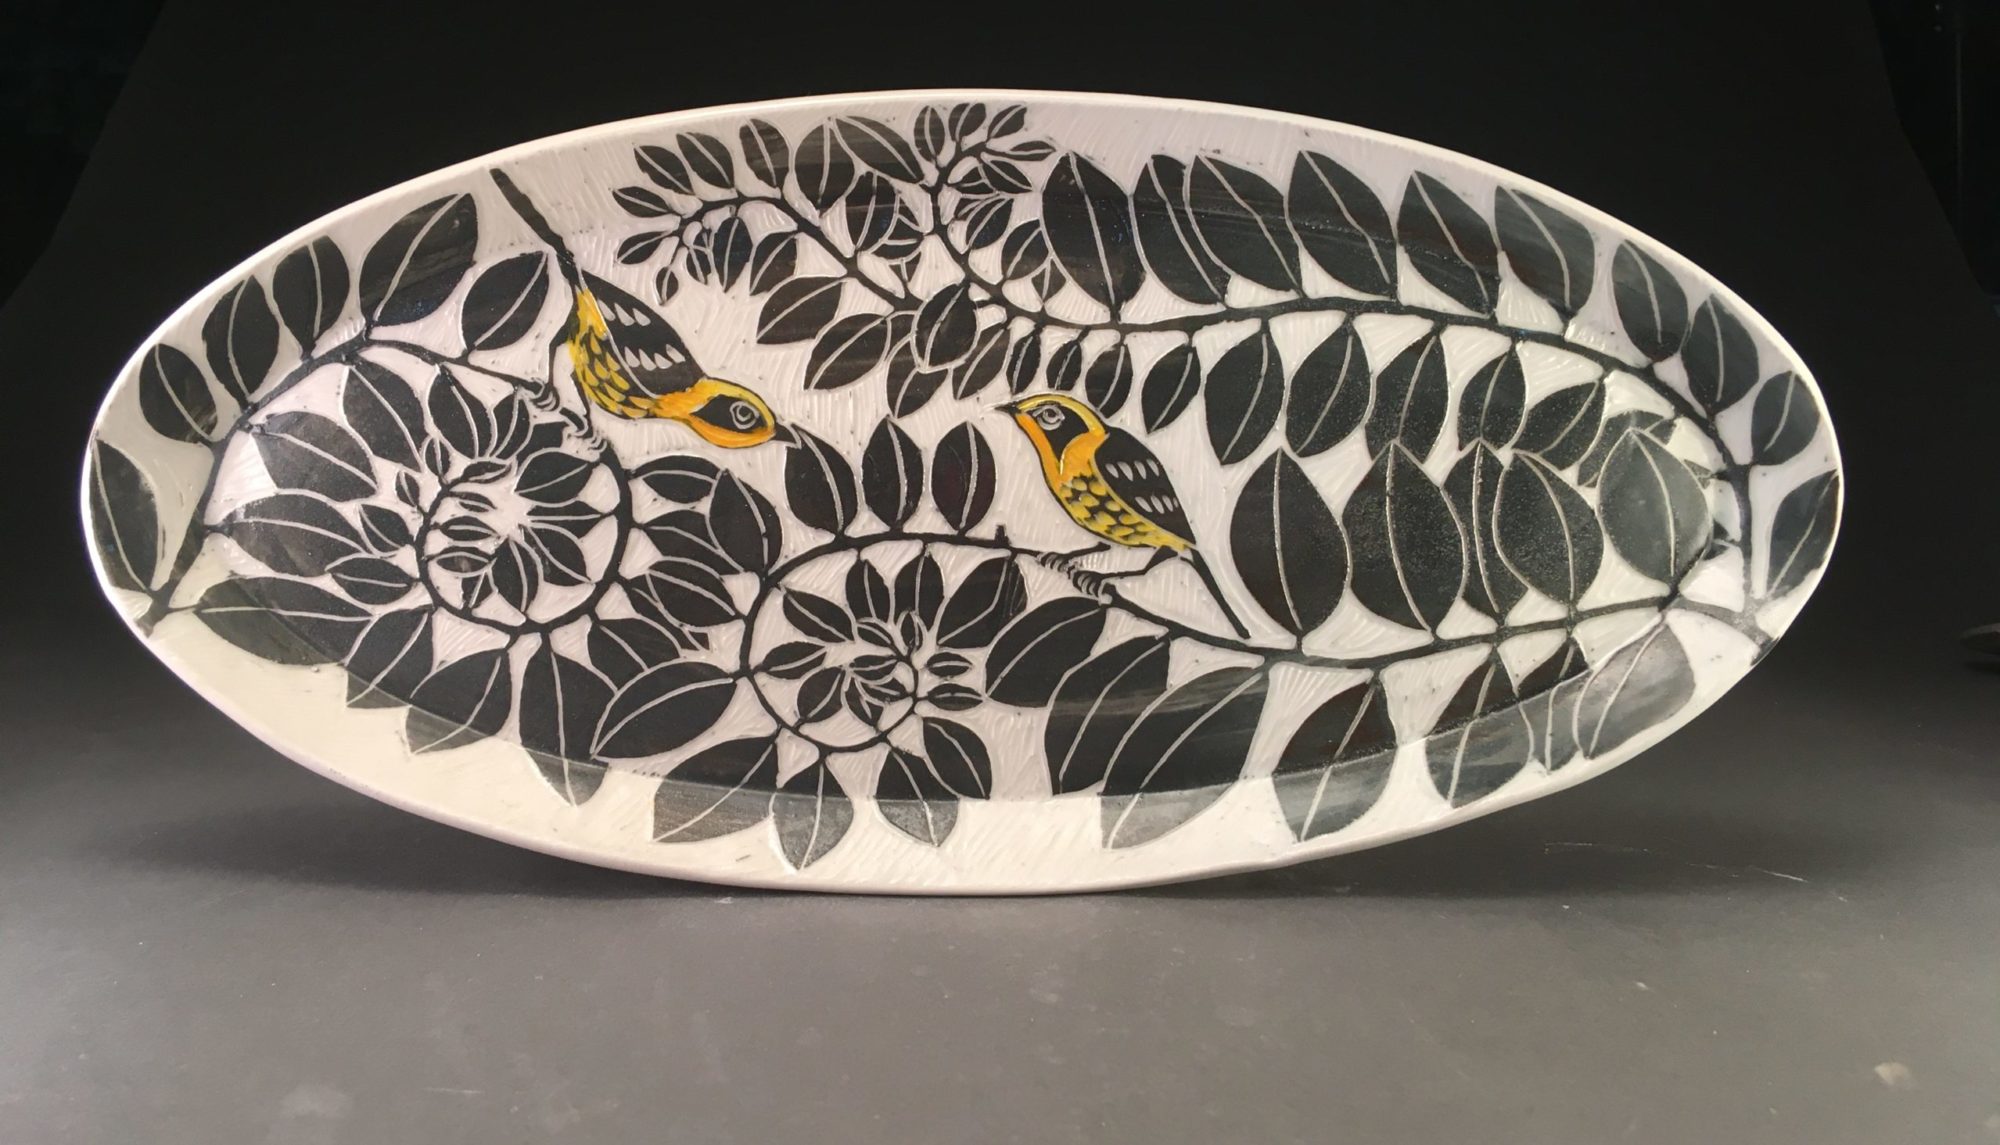
For now, you are left with a super lightweight plate that looks thrown!


 to go in on the outside to clean it up and compress it


