GNOMES!
I have to say, Garden Gnomes could easily fall into the “too cute” category but we had a blast in my Garden Gnome workshop.
My class was wonderful- I had at least two people who had never really done anything in clay before and they all came out great!
We had a very short discussion on what your standard gnome looks like and we did look at this book  which may have had undue influence; but I stressed to everyone that the gnomes could look like anything, be any gender and wear any type of clothes. That said, I think we all liked the way the book (and example) looked. Perhaps because these are supposed to be Garden Gnomes, we wanted them to be recognized as such.
I started with the body being a double-pinchpot construction which turned out to be ideal for him. To make double pinch pots- you take two balls of clay roughly the same size make a sturdy pinch pot of each one- pinching below the rim so the rim stays thick and attaching them to each other,
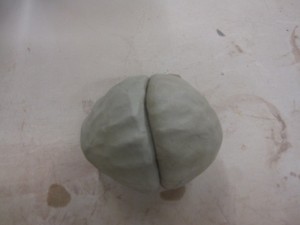 making sure to seal them completely so the air trapped inside keeps them from caving in when you roll them to smooth them and get the shape you want- I rolled mine along the table to get a “waist” . Then set him up on two sturdy legs that were hollowed-out cones.
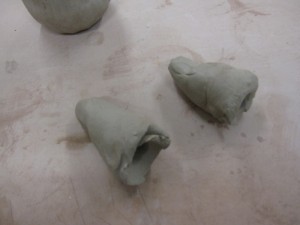
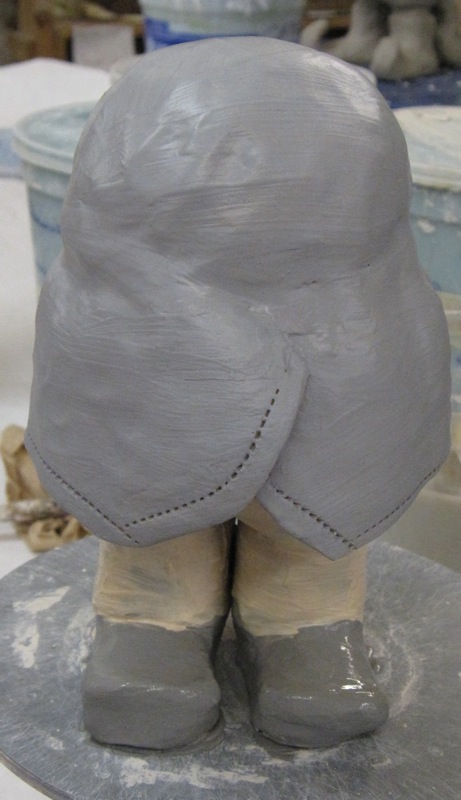
the tips were bent over to make his feet. I put a flange on the top of the cones for ease and security of attachement. Here is the body on the legs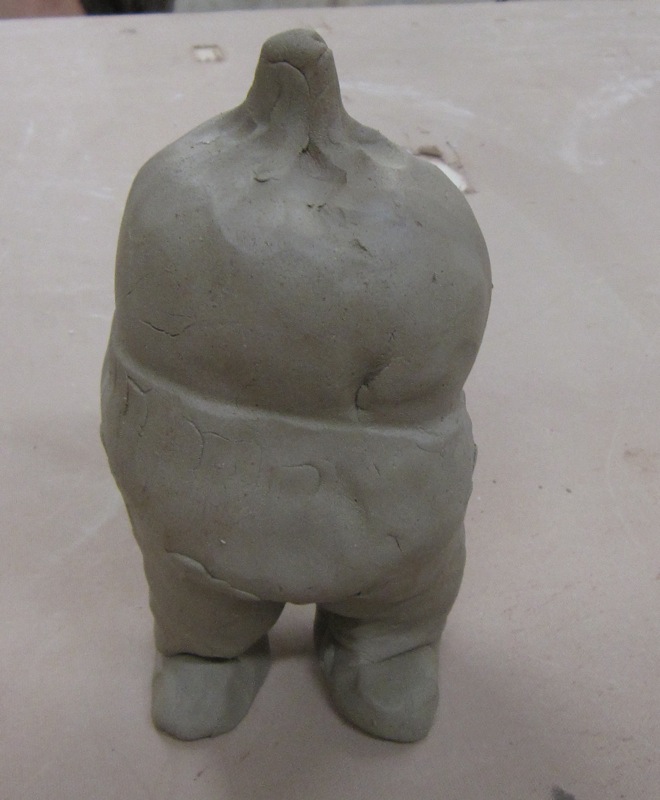
IMPORTANT: any trapped air needs a small hole to let it 0ut, we pierced all our sealed air traps after we were done.
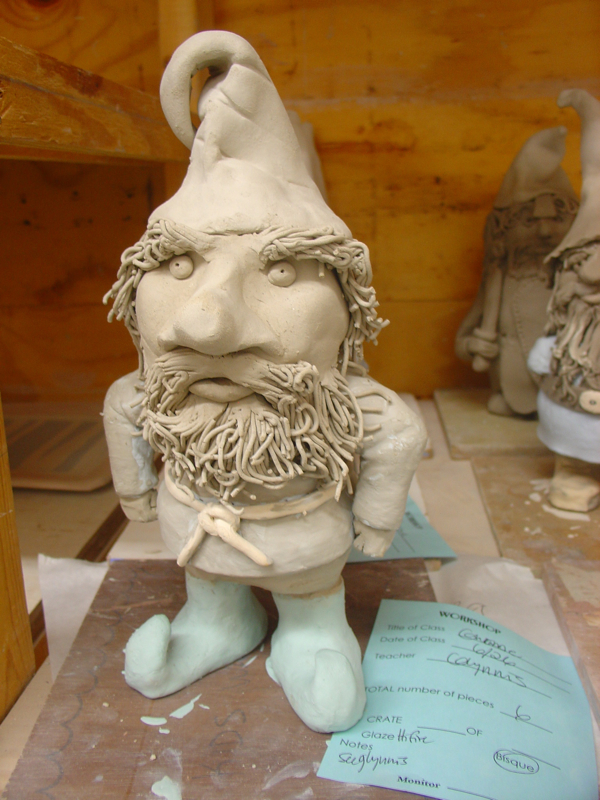
I have a little neck knob there but it turned out I didn’t need it- we made the heads as a single pinch pot with maybe a coil or two added to get the height right. here is Shawna’s head with the beard on it-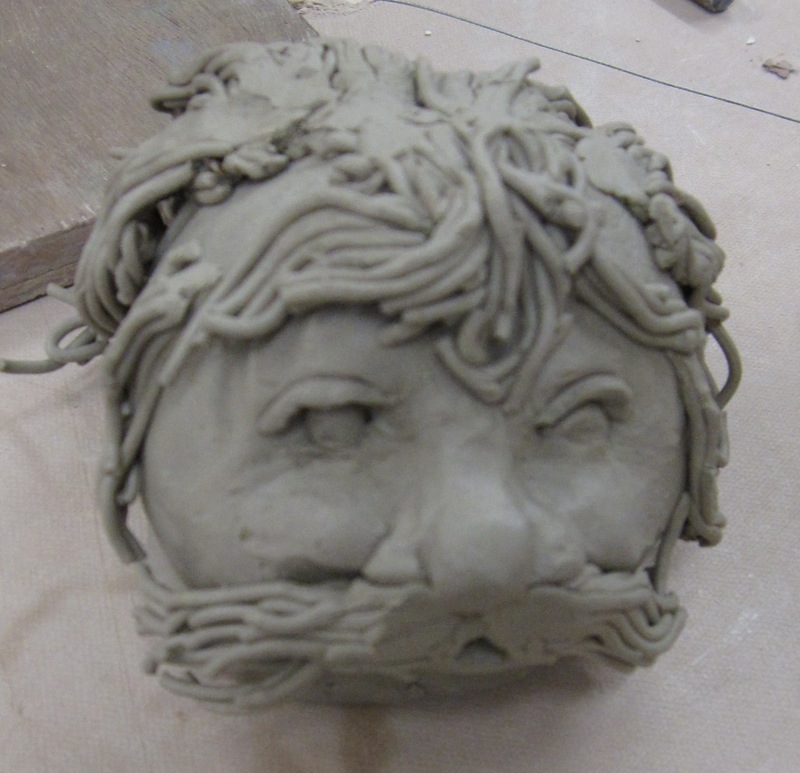 the beards were made using a garlic press. you just have to remember to press all the little hairs against the body so they don’t break off.
I foolishly put the head on next and the beard before painting slip on his jacket.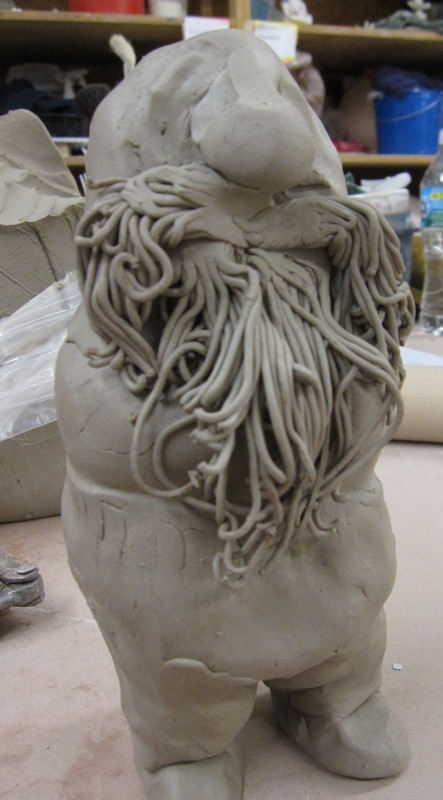
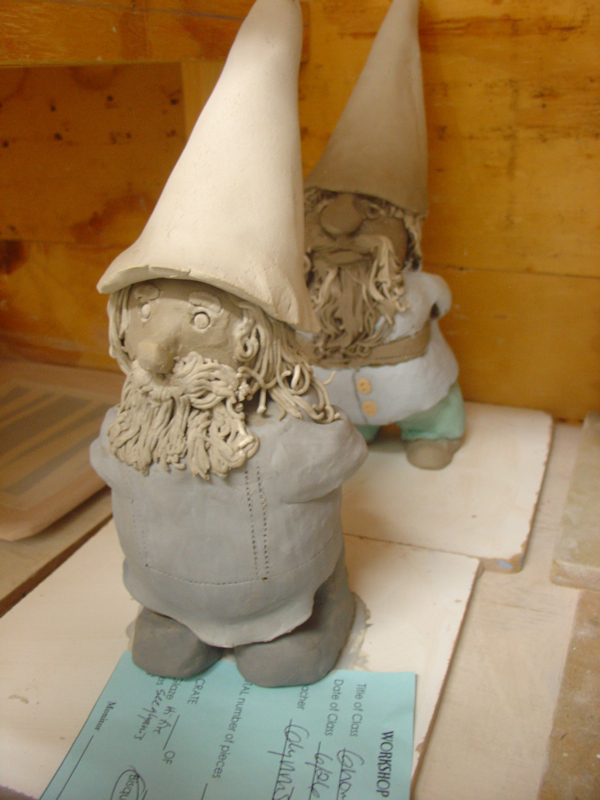
After that my students did it the right way, painting the coat before adding the head. We added a little skirt around most of them to make it look like a long coat, blending the top edege into the body .
To make the “stitches” I had brought a notched wheely tool that is often used in sewing. Note also that Shauna’s Gnome is wearing clogs.

Above, you can see Jennifer’s body and legs awaiting belt, head and arms. In the background, Rich’s body rests atop curly-toed boots and already has the belt.
Next we attached the heads-  Krissy’s guy looks a little like the muppet version of Uncle Fester but later he got hair. He is also sporting a super-fashionable spotted belt.
The arms were pretty simple and most people chose to copy the pose in the book where he has them clasped behind his back. Here is one of my arms: Veronica put her Gnome’s arm to good use, bearing arms!
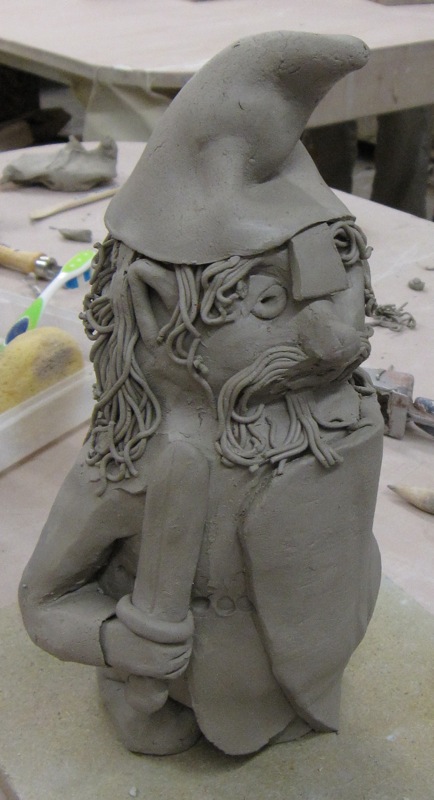 check out his great ears too!
Belts were also added after painting the coat- we used slip for the colors since we will be high-firing these so they can be outside all year ‘round. What I’m missing are photos of how to make the hat. We just made thin slabs, rolled them up with a point at one end and cut away the rest- they are only one layer thick- we attached the edges to seal the hat and tried them on the gnomes- cutting off clay around the opening and shortening them until they fit.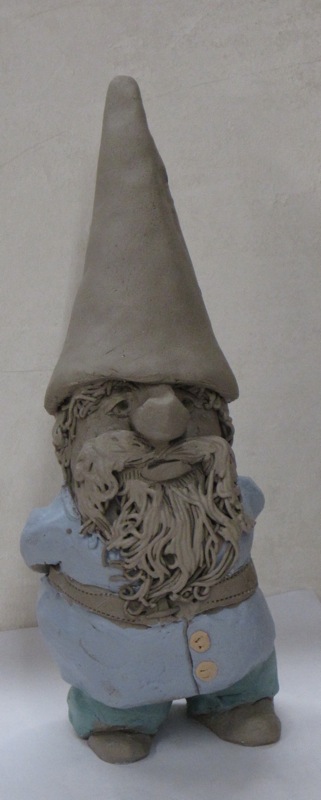 As soon as he’s fired, he’ll be ready to move into my garden!
Here are some more finished but unfired Gnomes:
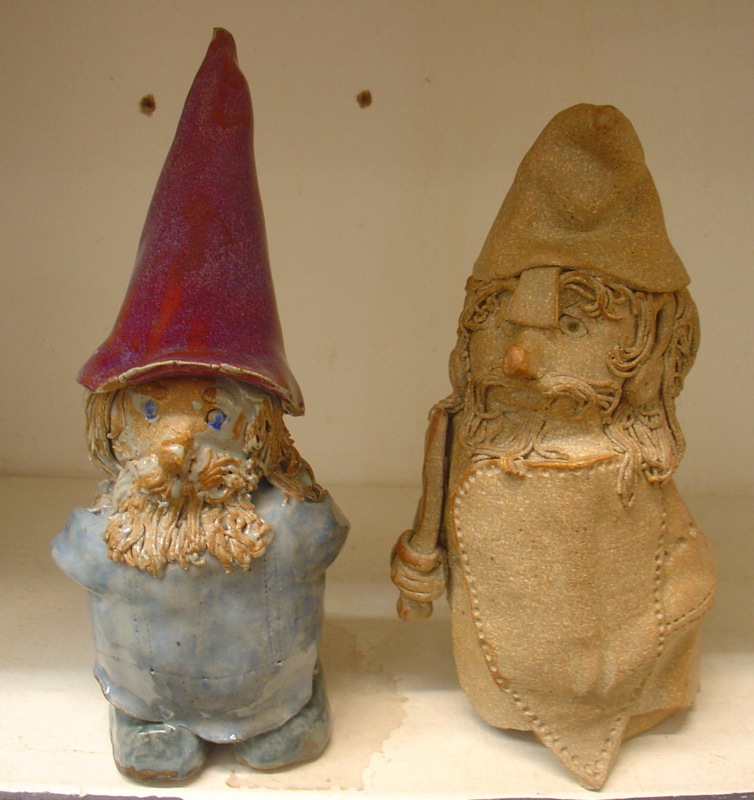
Finally, here are some photos of the finished gnomes!
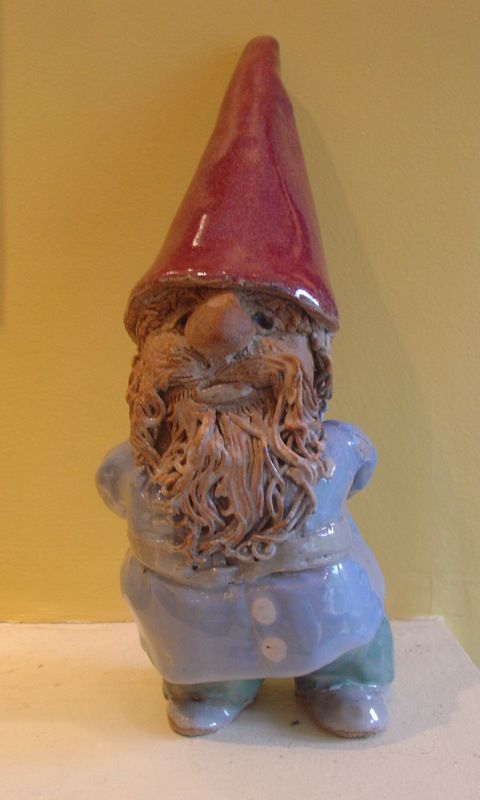
the hat color comes from Cohen’s Red glaze and the body is covered in clear. I left the face just raw, unglazed clay. The gnome on the right, above has no glaze on it anywhere.
And here’s my little guy
