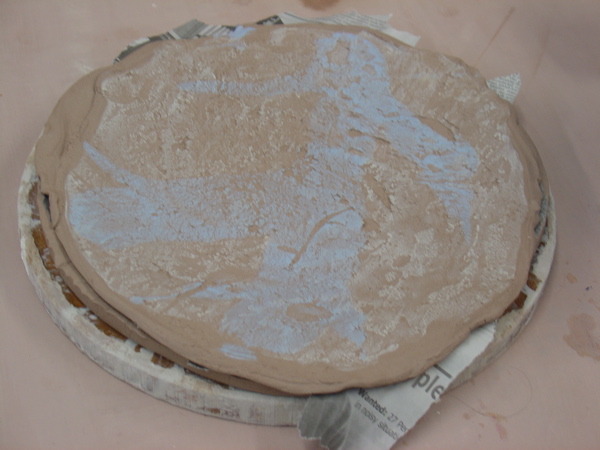
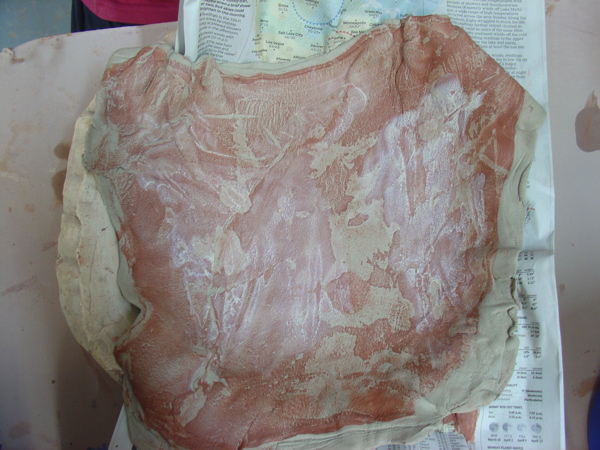
Throwing a foot onto a piece and boxes
For week 2 of Handbuilding I demonstrated:
Throwing a foot onto a handbuilt piece
Making a Butter dish- folded clay method
Making a box with a lid- pieced method
Thanks again to Leah who makes recording this class seem effortless!
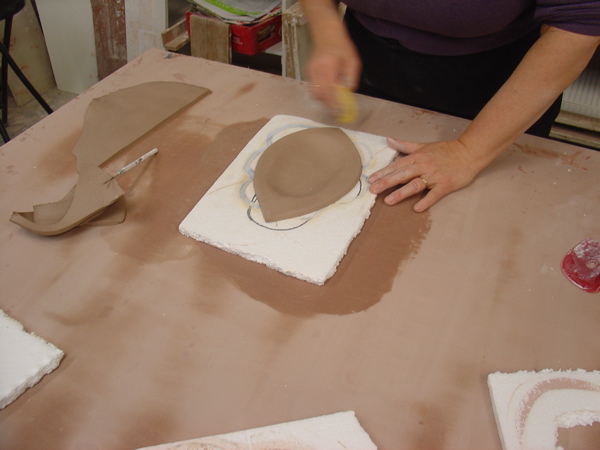
I attached a low profile plaster bat to a wheel.

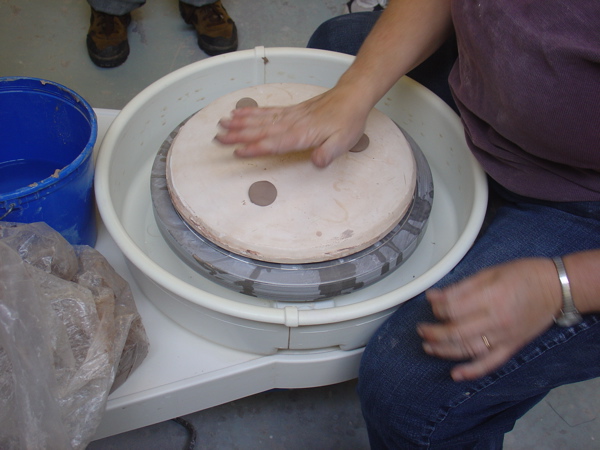 You can see I’ve put three dots of clay on there to hold the piece I chose.
I took a plate that I made last week using the Eric Jenson method and I put it on the plaster form and centered it as much as I could (it’s an asymmetrical form)
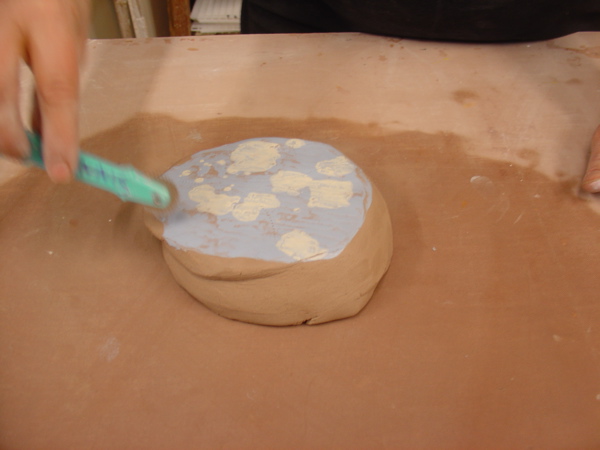
Then I used a wire brush tool while the wheel was moving to scratch a circle the size I wanted the foot to be in the surface of the plate.
 I further scored it with a needle tool and wetted it .
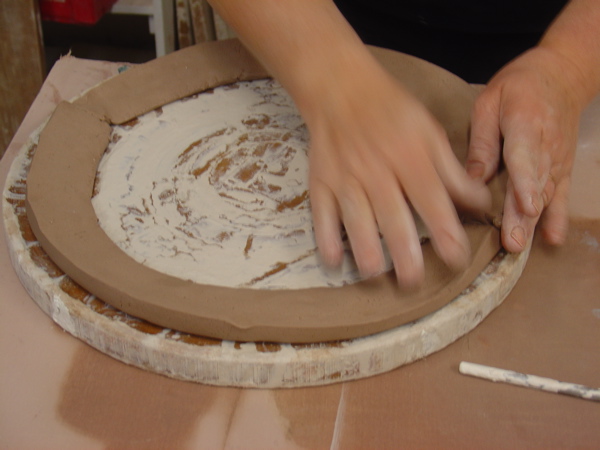
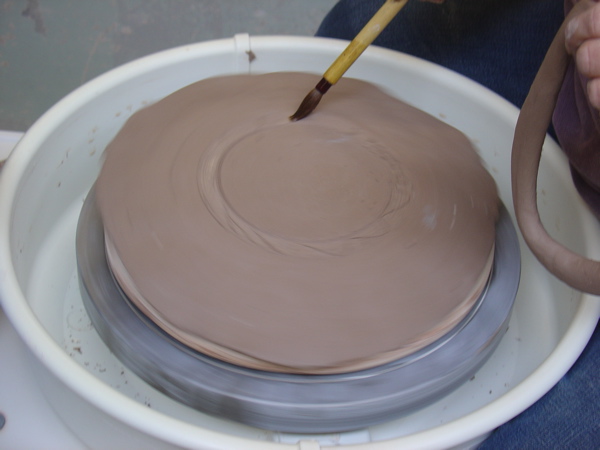 I then rolled a coil and laid it on the circle, cutting off excess so that it fit.

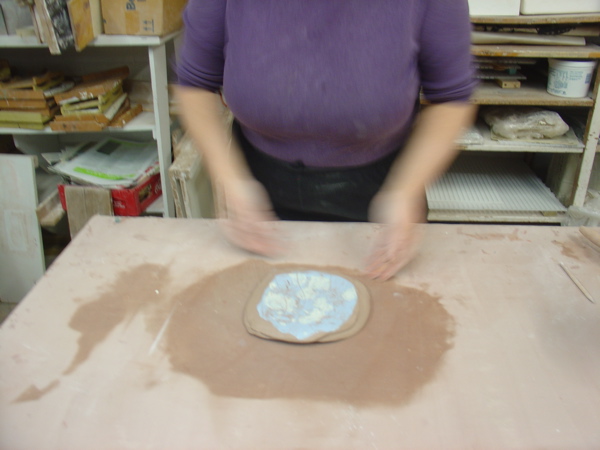
Then I firmly smeared the entire outside and inside of the ring to attach it to the plate bottom. 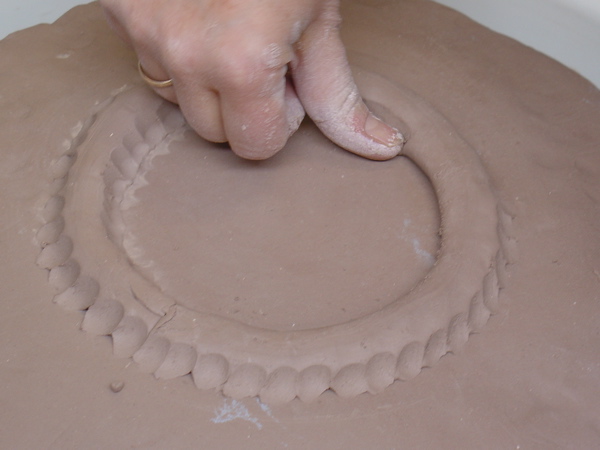
Once it was completely attached I turned on the wheel again and used a medium wet sponge to smooth the irregularities created by the smearing of the clay and then I shaped the foot.
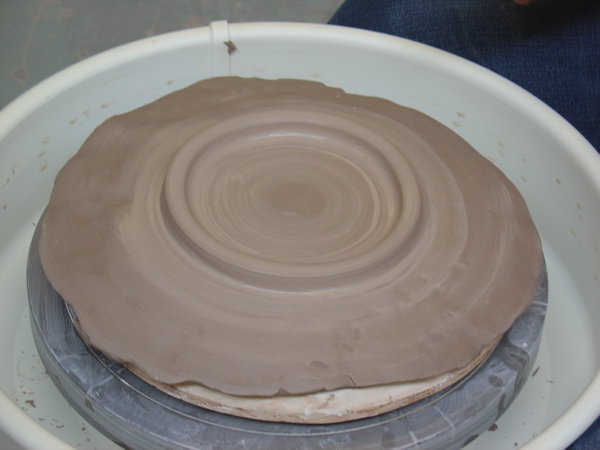
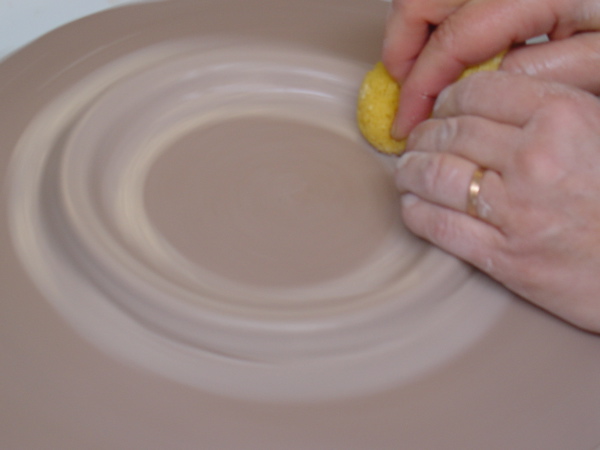 Here is the finished foot.
******
Next we started on basic ways to make a box. I started with a folded form.
Draw a pattern that is all one piece, the top (or bottom) and sides. Make sure all the sides are the same height.
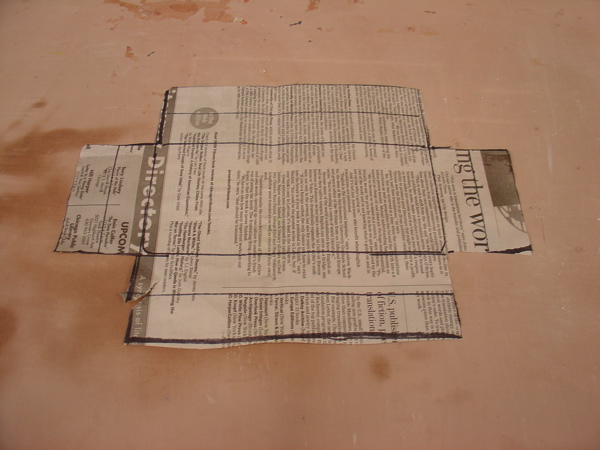
Cut around the pattern and then push down on the lines you do not cut to make crease lines. I used a needle tool but you could use a pointy wooden tool or a fettling knife
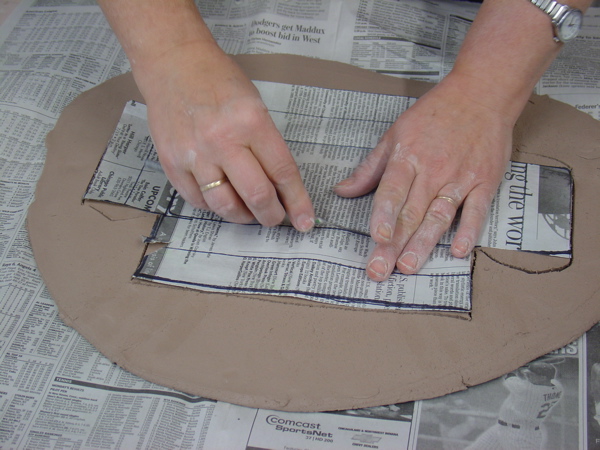 I also chose to add “tabs” to the sides to strengthen the corners of my butter dish.
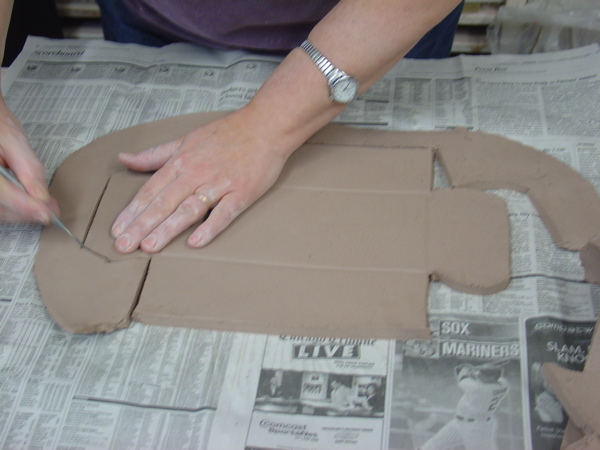
Fold up the sides of your form now.
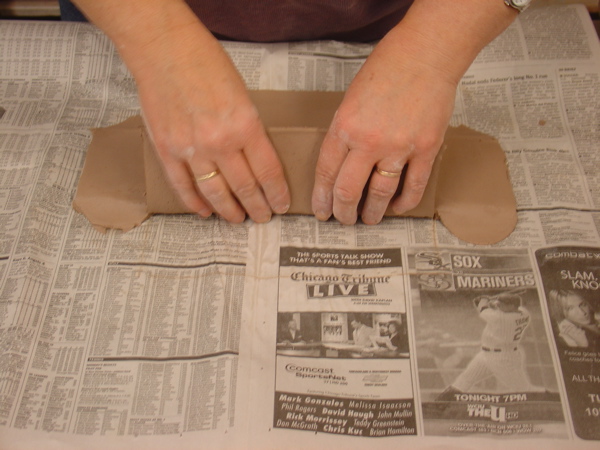
After scoring and wetting the points at which the edges will touch,
 (note that I have thinned the tabs)
attach the sides to each other and fold and attach the tabs around the corners.
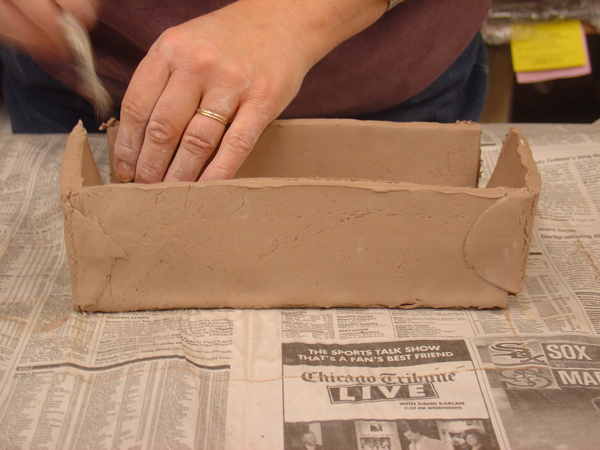
Here, I’ve flipped it over now and I am smoothing the corner with a rib to define the corners or joints to be more square (or you could use the rib to make them be more rounded if you like.)
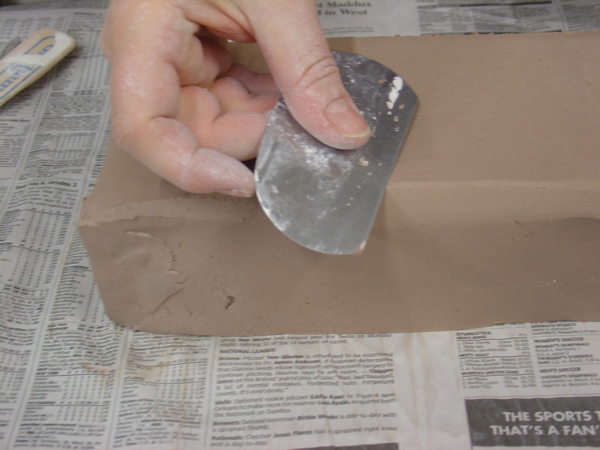
To make a lid, use the butter dish lid as a template and give ample space as you trace around it.
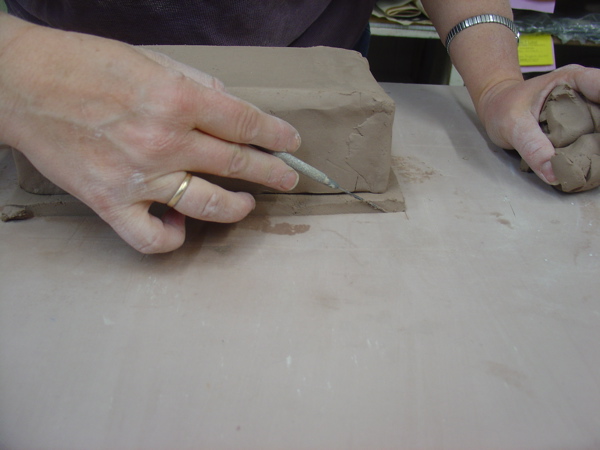
I used a loop tool to make a subtle indent in the base.
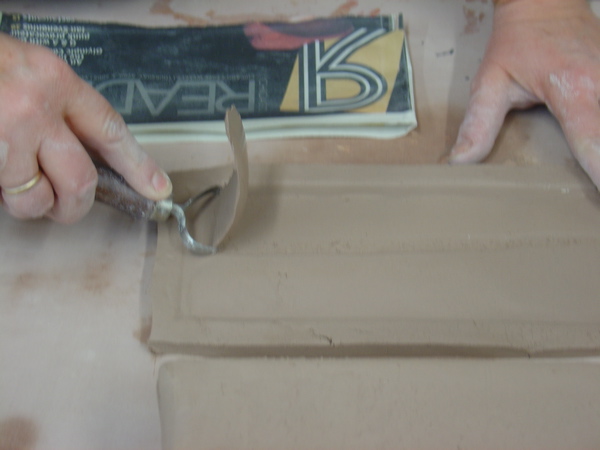
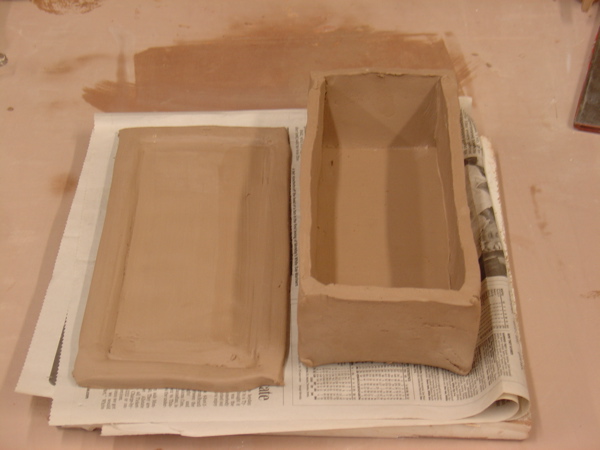
For the other box, I cut all the pieces separately then joined them the same way, scoring and wetting them before using firm pressure to join them together.
If you want to reinforce those corner joints you can always add a thin coil and blend it in. I think it’s easiest to blend in a triangular coil as it fits nicely against the walls.
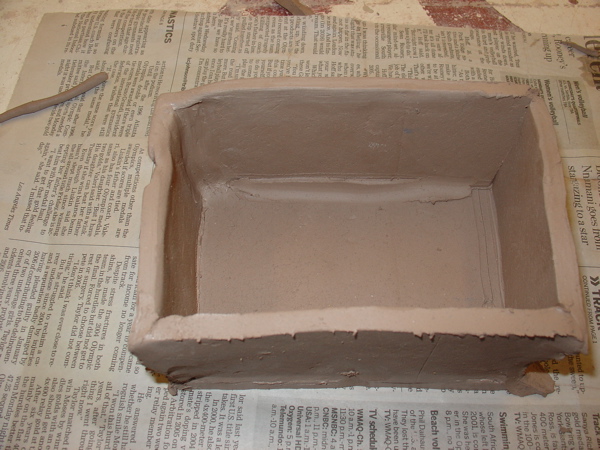 This is only partially smeared so that you can see it. It also does not go the full length of the wall as it should. The upper left vertical corner also is fully reinforced and the coil is completely blended. For contrast you can look at the right side which does not have a reinforcing coil.
For the lid, I put an inside flange or lip to keep the lid from sliding off. You can be very precise about this and measure and mark it or just guess and have a loose fitting lid (as I did).
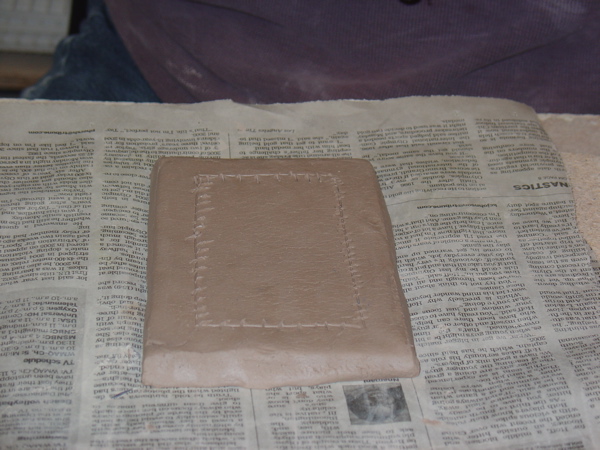
I scored the area and then took rectangular coils and bevelled them at the corners to fit.
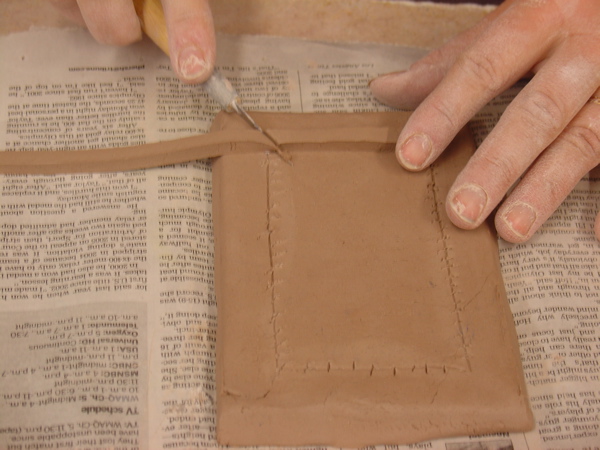
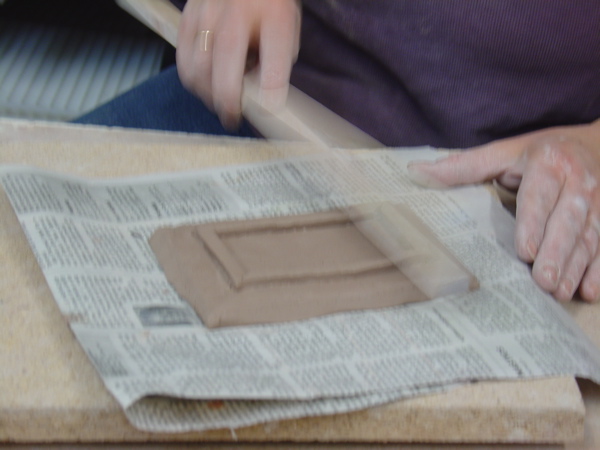
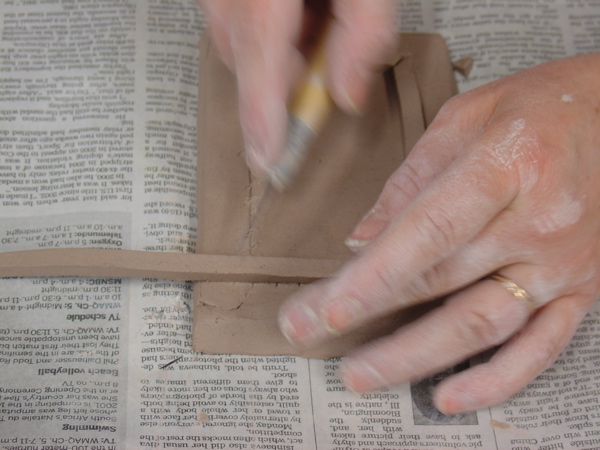 I then used a flat piece of wood to straiten the edges
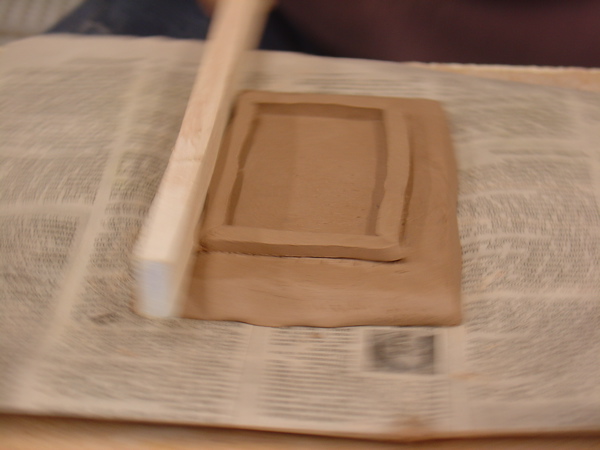
Then I paddled them to make sure they stuck to the scored and wetted area.
The drying box and lid. You’ll note I added feet to the box- these were just rounded flat triangles bent and attached at each corner with water, scoring and pressure again.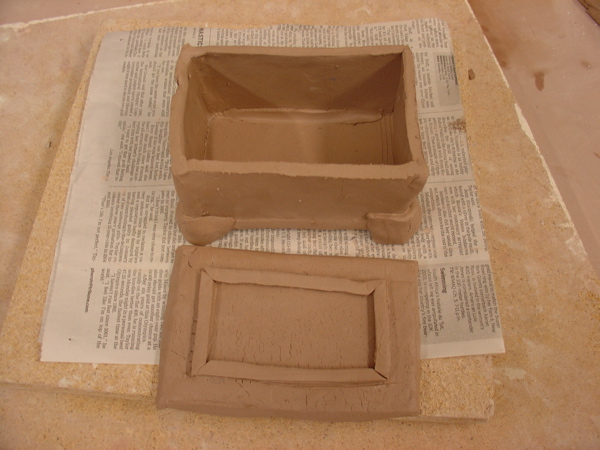
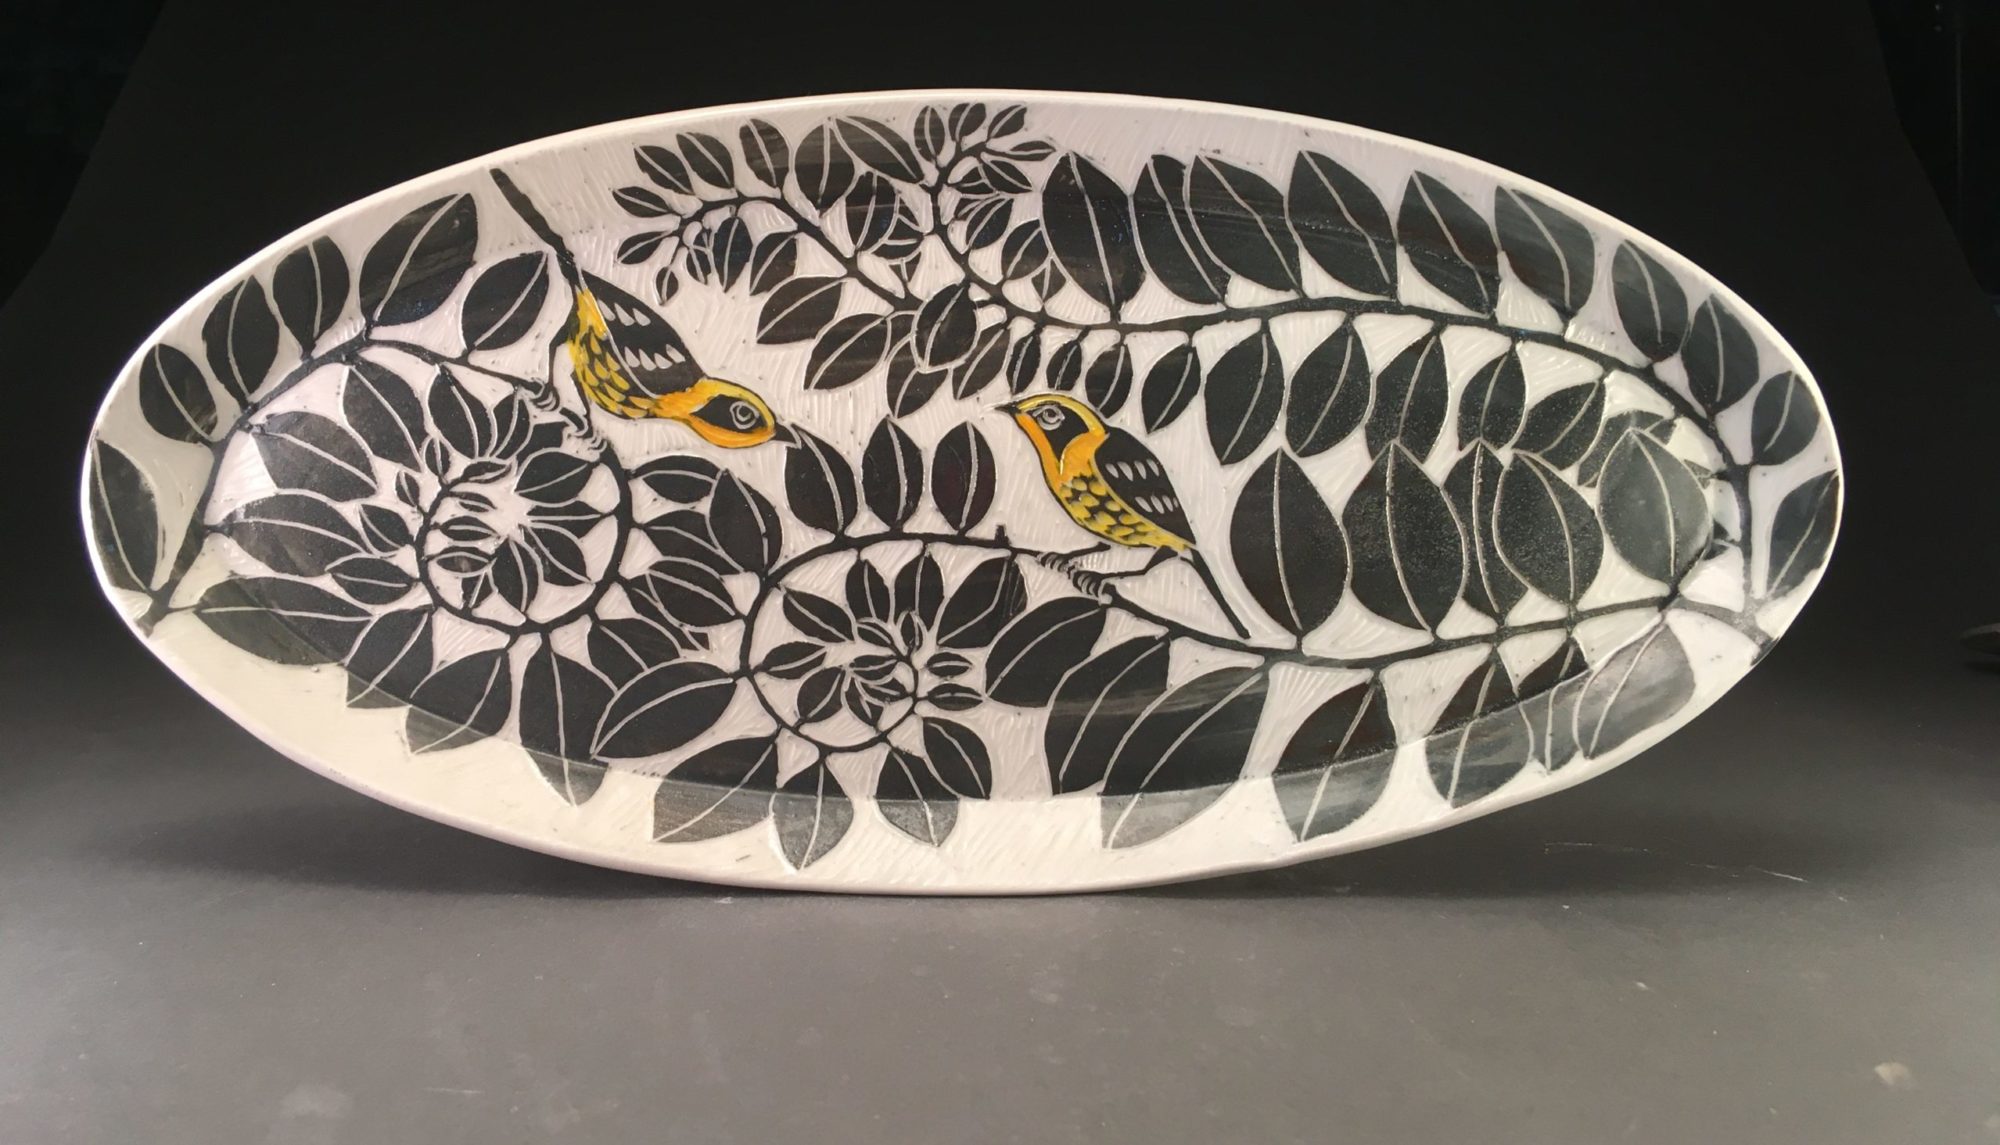
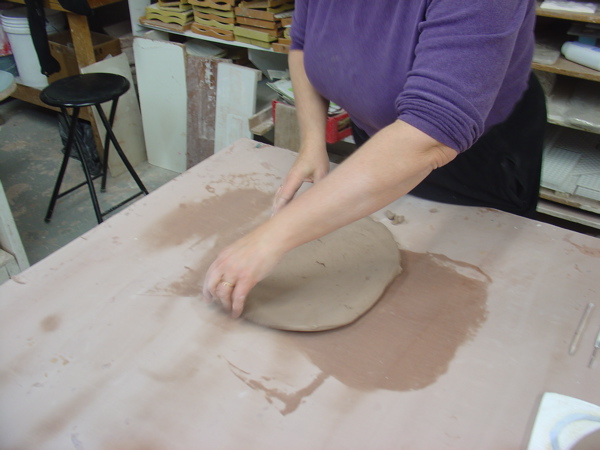
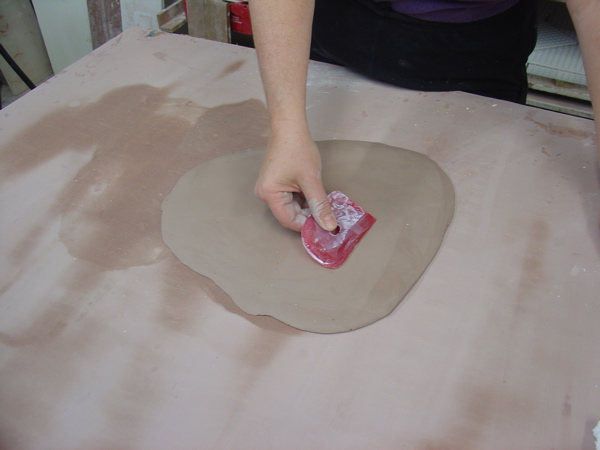
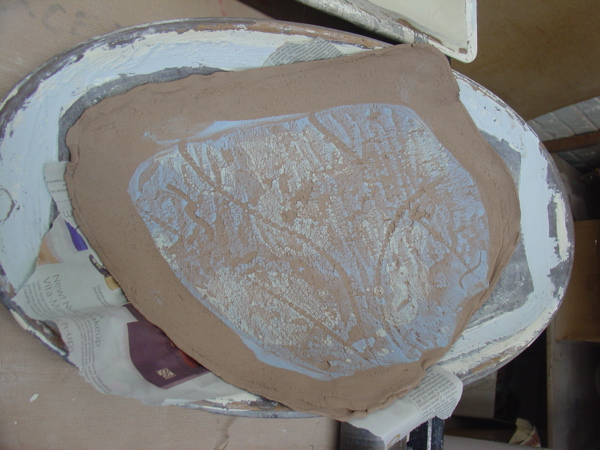
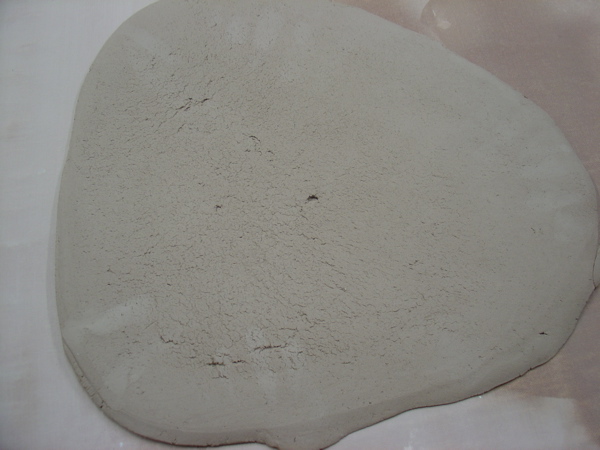 Then smooth the surface and eliminate the cracks and canvas texture by gently “wiping” the surface with a rib.
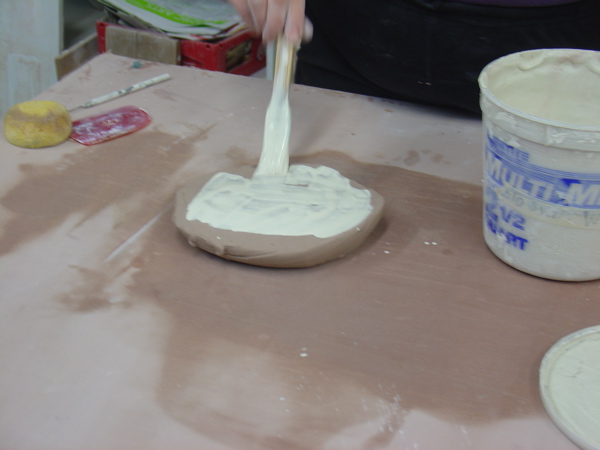
 close up