A Big Change

Announcement

In 1971 and I was a tween, my mother started a commune with her best friend. This was a rural “Intentional Community” in northern Wisconsin.

Instantly there were a lot of people in our lives. We were living with 2 other families with children. Suddenly I was the oldest of 7. Many college students would come and stay for the summer, other people for a year or two. We became acquainted with other people living in the area who were also trying out alternative ways of living.

Throwing in the barn at 17

As a result of these connections and my interest in pottery (which is a whole other blog entry) when I was 16, my first job was working part time for a potter. I sifted straw ash, pugged clay, sat up during wood firings, washed his dishes (I loved doing that because all his dishes were handmade pots- many by Warren MacKenzie, his teacher, mentor and friend) I also met and spent time with a few of his potter friends.

Somewhere in there, I think I assumed I would become what I now call a “country potter”.

I didn’t think about it consciously. I didn’t even realize at the time that there were “city potters” I just loved the people I knew who lived out in the country in these funky cool houses and made pots for a living (sort of – there were auxiliary sources of income like teaching and employed wives and insurance settlements).

I went off to college at the U (Minneapolis) took ceramics, met my husband there and eventually moved to Chicago. After about 5 years living here in Chicago (and not making pottery), I met a potter at an art fair who told me of Lill street. I called there that afternoon and was signed up for a class that week, teaching there within months.

That was in 1989 and I’ve been there ever since.

I met so many “city potters” and saw the great benefits of belonging to a large community of potters where we could see each other’s work every day and in process and grab anyone to discuss technical or aesthetic problems as they arose. Resources could be pooled, glazes shared, firings happened 2-3 times a week, test tiles came back immediately. I learned a huge amount.

Most of all at Lill, I learned I was a teacher. That I loved teaching, loved imparting information, loved the challenge of finding the best way to help someone understand how to do something. Teaching is an ever-changing, ongoing endeavor as you adapt to your students and their age and the environment in which they are learning. At Lill I came to realize I truly had something to offer people.

And now, I’m choosing to leave.

It’s not that I actually want to leave Lill it’s more that I have never completely let go of my dream, my image of myself as a country potter. Of my children growing up in the country. Of open sky and forests and the freedom of space you get when you live in the country and so we are moving back to Minnesota. Most likely to Northfield where my family is from so we can be near aging mothers and other family.

I will be tackling such challenges as setting up a studio and, most worrisome for me, figuring out how to continue firing my pots to cone 10 reduction. I don’t know if I will build a kiln or buy one or share an existing kiln. I hope to connect with a small community of potters in that area and perhaps find a place to teach again. I have some friends and connections left over from my college days and also some transplants from Lill who have inspired me. I will be excited to see them again.

I look forward to sharing this whole journey with the readers of my blog.


Lastly, in between selling our house and moving to Minnesota, we will be traveling to Nepal!!! I am sure I will want to post about the potters there because I have always wanted to see in person, those potters who throw off a massive hump on a hand-turned wheel set in the ground; the fruits of their labors spread around them drying in a sunny courtyard.
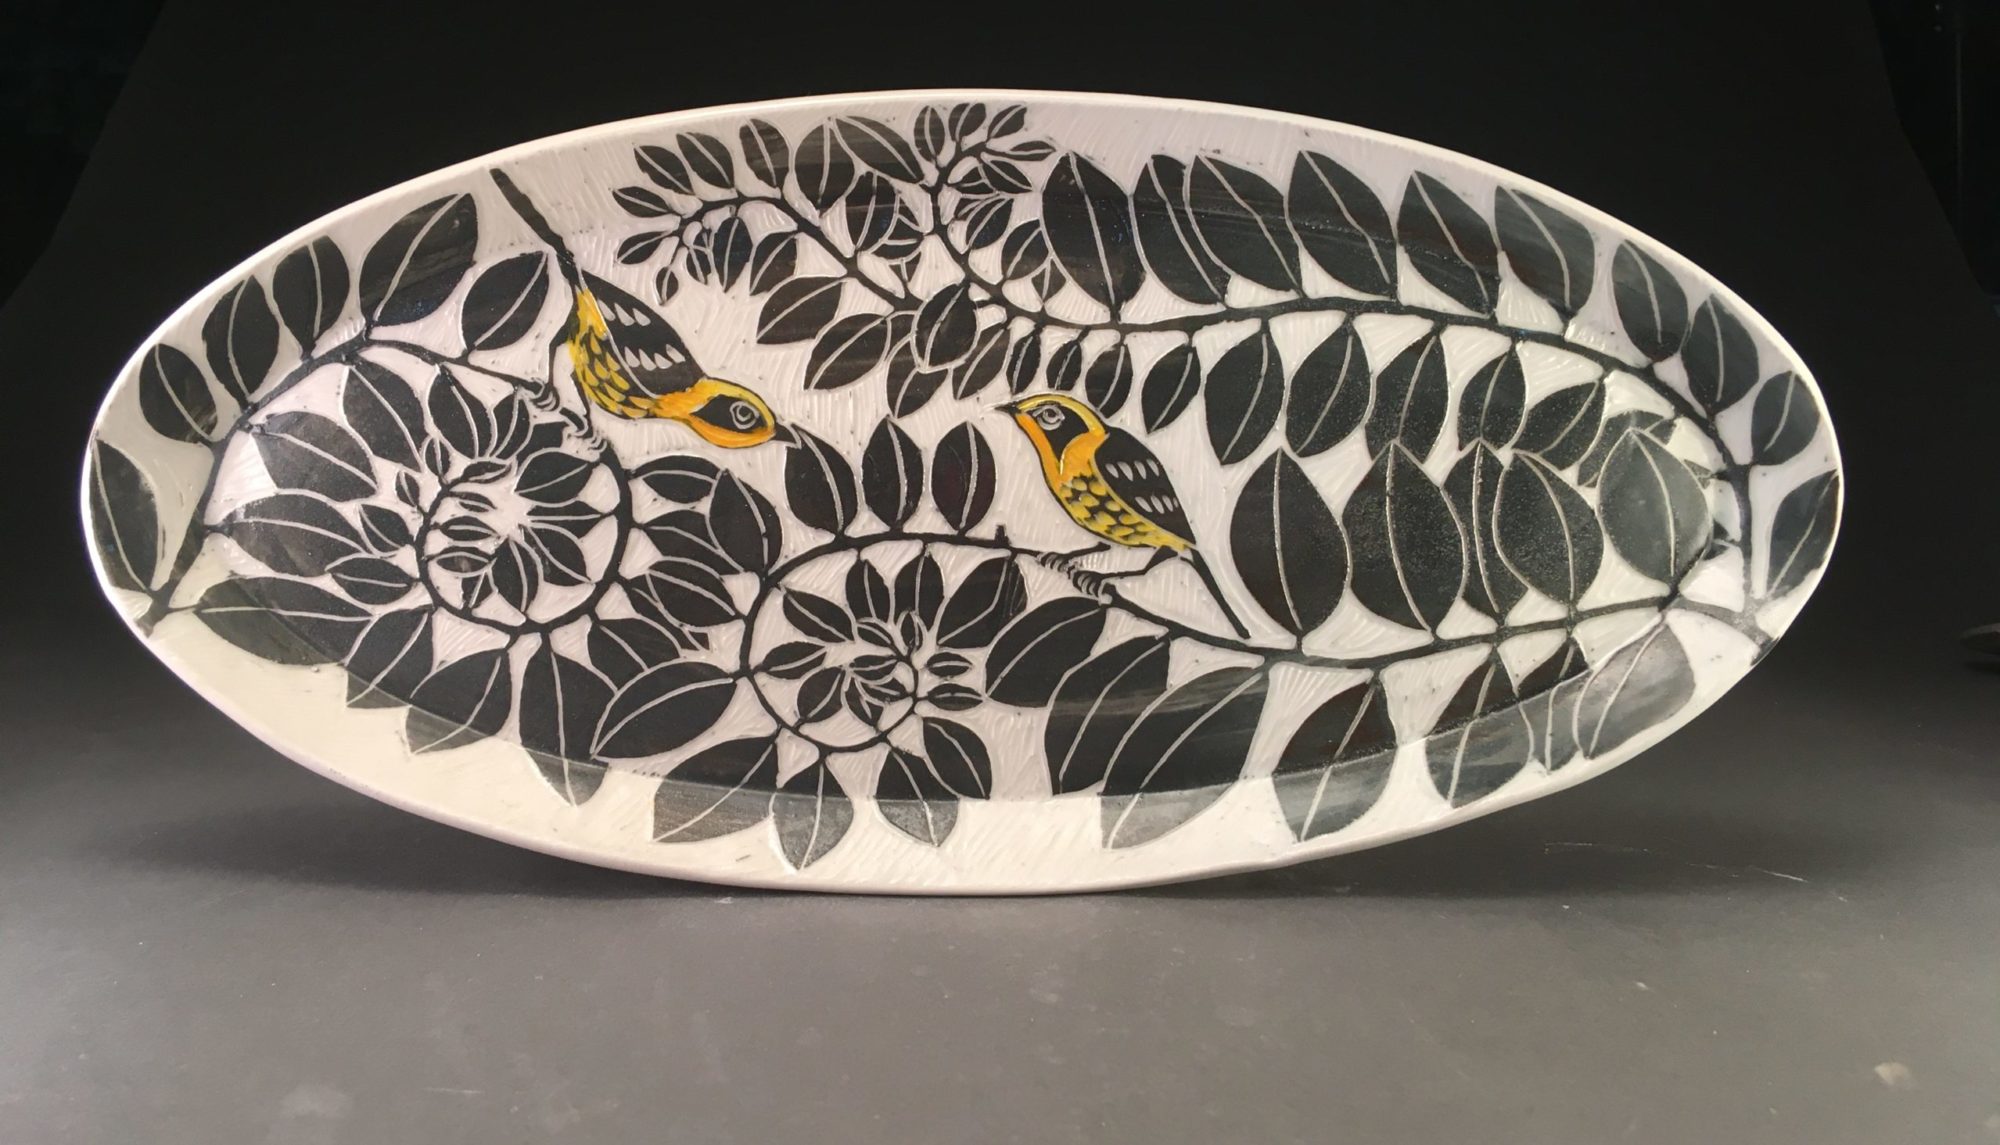
Re-wetting and repairing an already carved Oval Casserole

Recently, I constructed 4 oval casseroles that I was quite pleased with. I was inspired by some casseroles that Nate Pidduck had made that I  really liked.

The construction is fairly straightforward: I first threw some ridged (not rigid) discs about 3/4 of an inch thick on a plastic bat. I set those aside while I threw 4 almost vertical—they tilted inward– walls with a gallery at the top but no floor; also on plastic bats.

By this time, the discs were set up enough for me to wire them off and throw them out on the canvas covered table, stretching them into ovals.

At this point, I also threw out several slabs for what would eventually be the lids. You want all the clay involved to be about the same dryness so that it is all shrinking at about the same rate.

The timing on this altering of pots is crucial.

Too wet, the walls tend to cave in or flop around and the oval is at best, overly controlled by your hand, at worst, a total asymmetrical failure.

Too dry, and the rim cracks as you try to force it beyond what it was once willing to do. If you get it right, the clay chooses its own curve; a delicious, aesthetically pleasing curve that the clay knows so well how to do. You see this curve most often in handles.


Back to the walls which had I wired off and, making sure they slid easily on the slippery plastic surface of the bats, gently –squeezed is not quite the right word–“encouraged” them to be oval as well.

Once this oval sets up, you can set it on the (now)oval disc base and trace around the inside.  Score outside that line, then turn it over using a second bat and score the underside of the base of the wall, wet it (I used magic water) and then set that on top of the scored disc base to join wall to it, trimming off any excess on the outside and sealing it by going over it with a soft rib- you can also use the soft rib to give a curve to the edge of the base.

Once this is sufficiently set up- wet-leather hard, you can turn it upside down on top of your slab and again trace the oval (the outside this time) to cut a lid. Add handles to the sides of this casserole if you like and drape the now oval slab inside the opening of the top- separated by a piece of plastic.

Once the lid is medium leather hard- holding its curved shape, you can refine the edge so it fits precisely inside the gallery and then add a handle to it.

At this point, before it is any drier, I coat the entire thing in black slip. When the slip is also leather dry, I carve.

These had a lot of surface area and the carving took a considerable amount of time. Of the 4 I did, 2 came out beautifully, the lid of the smallest one warped in the glaze firing  but it’s the 4th casserole I want to tell you about.

The last was quite nice but as it dried (and I dry them slowly under a loose cover of dry-cleaning plastic) the walls were proportionally too thick compared to the floor and they pulled away leaving the floor cracked on the sides. I discovered this when the pot was pretty much bone dry.

There was really no way to realistically repair it- especially since the entire outside surface had been delicately carved. I certainly could not spray it down- the slip design would have run and been destroyed. I was pretty upset about this until Dave Trost, a fellow teacher at Lill, told me about his method of re-wetting.

He told me to take one of the slabs of plaster –they have many at Lill for drying slurry and clay scraps- they are about and inch and a half thick; and to soak it in water until no more bubbles rose off its surface. Then to take my pot and set it on the plaster and wrap the whole thing tightly and let it sit.

Well, I had nothing to lose –I had already invested at least 4 hours in the pot-so I did just as Dave suggested and then double wrapped it in plastic and let it sit on the shelf for at least two weeks maybe more.

When I finally got back to it, the clay was back to a pliable leather hard consistency!! I was able to push the walls back in, reinforce the bottom and repair it.

Then to slow down the drying of the floor this time- to keep it a little more pliable should the walls pull on it as they were drying- I waxed the entire bottom inside and out and then waxed all the handle joins just to be on the safe side and set the piece to dry lightly covered in plastic again. This time the piece made it to the bone-dry stage and is being bisked as I write this. I will keep you posted.

Sadly, I did not take photos during construction. If I make more (and these were popular) I will post them.

Addendum: Okay, the casserole made it safely through the bisk, I glazed it and waited on pins and needles to see if it would split apart in the glaze firing and it did NOT! It came through intact with a few cosmetic cracks but is fully functional! Here are some photos:


Verso


Interior: there are reflections that look like cracks but really, the whole thing held together perfectly!