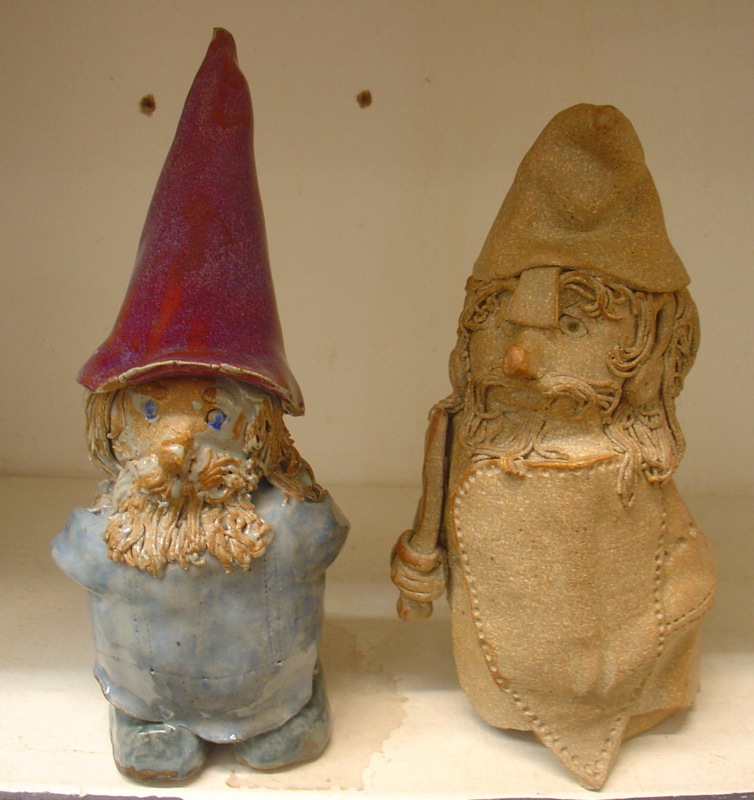
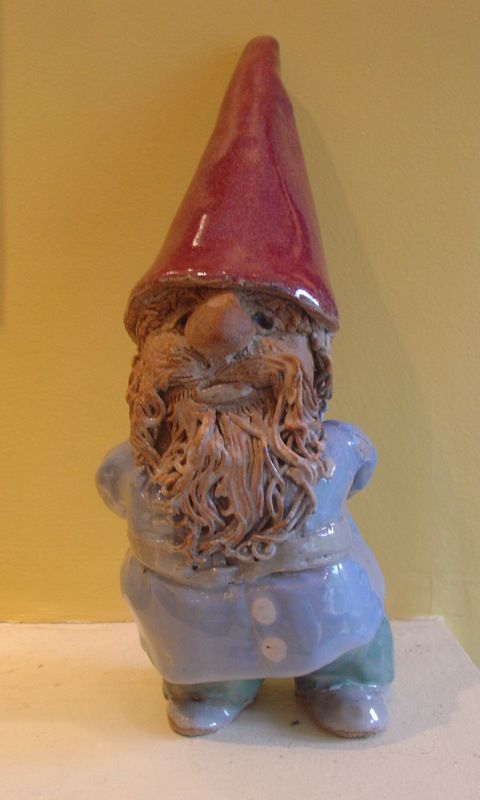
It was so interesting on my trip to Minnesota to see how clay was ever present and in so many forms!
Naturally my focus was on clay while I was in the Powderhorn Park Art Fair and I was lucky enough to trade with Ryan Myers again- I feel so honored he wants to trade since I love his work! This is from a thrown cylinder.
I also walked around and bought these e tiles from Martha Enzler 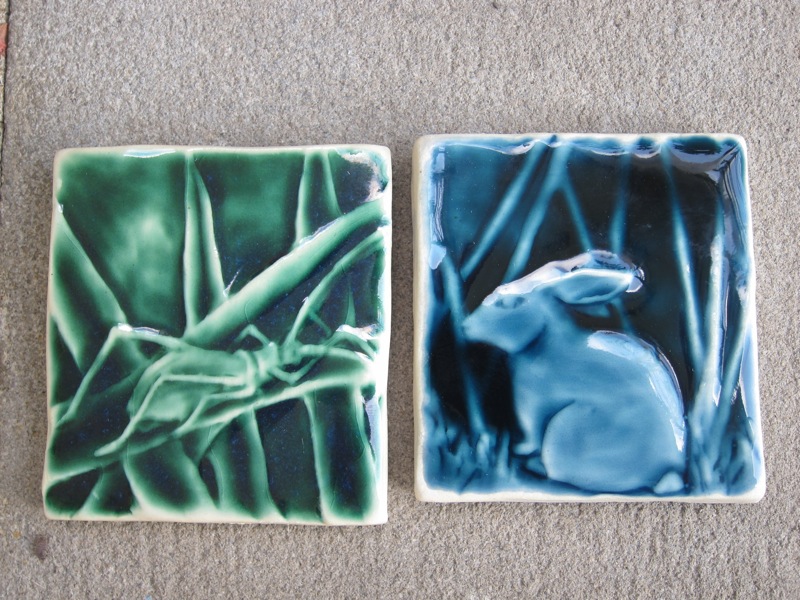 I love those breaking glazes!
A potter was also named the winner of Best in Show, giving us all hope.
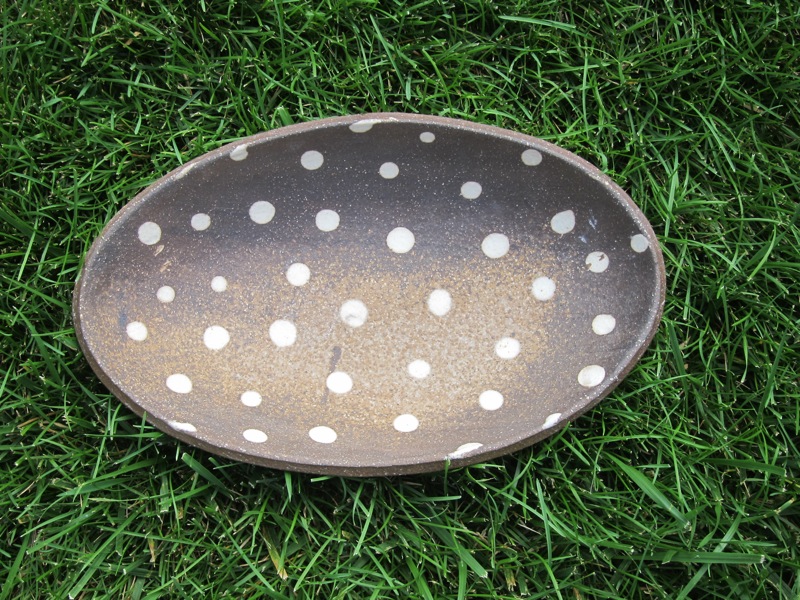
But even after the fair was over, I found myself buying clay in various forms. We went to the Uptown Art Fair where I saw my friend Bob Briscoe and I bought these wood fired bowls from Sarah Dudgeon. She is so nice!
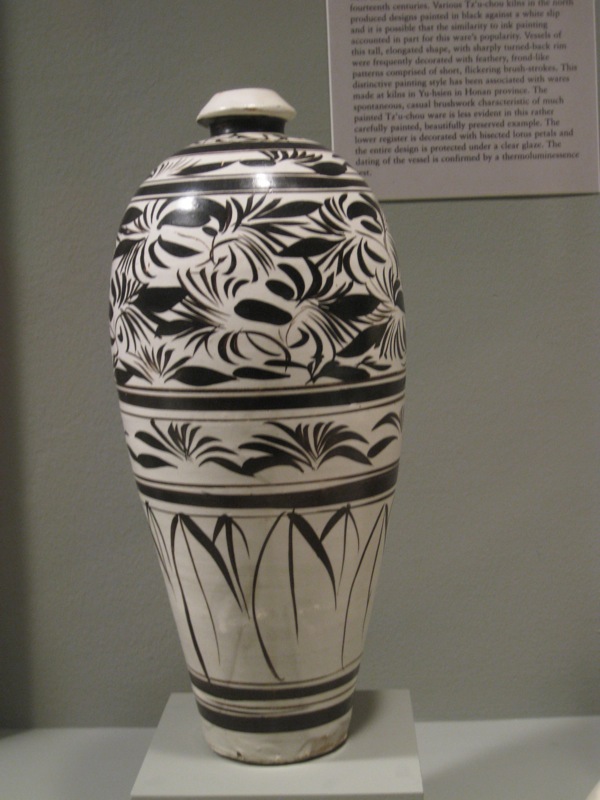
On a different day, I took my cousin-in-law to the Minneapolis Institute of Art where I commandeered her camera to record these breathtaking pots from China 
Afterwards I took her to see the Northern Clay Center as a way of showing her the type of place where I work. It was fun to look at their kilns 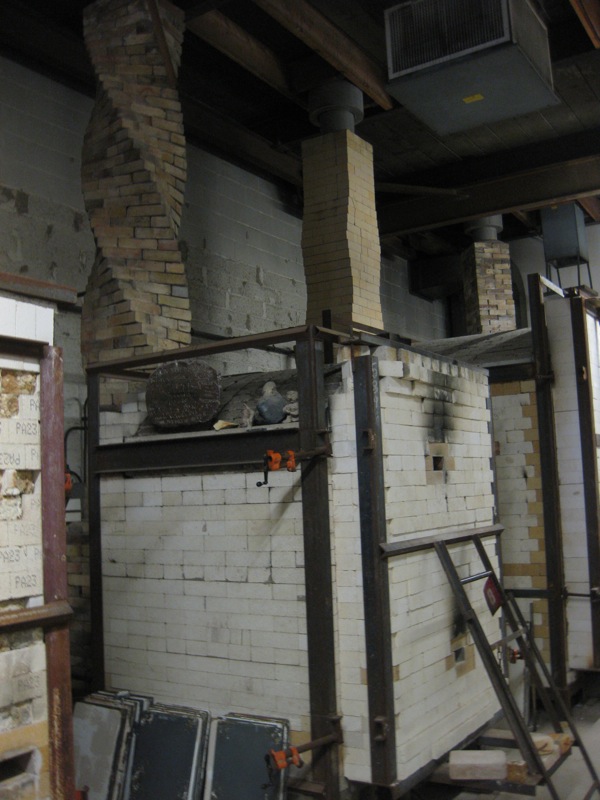 [-cool chimney!- is it merely decorative or does it serve some sort of pulling/updraft purpose?] and explain generally how so many potters and students share the space. I also had to try to explain kiln gods- in Spanish!
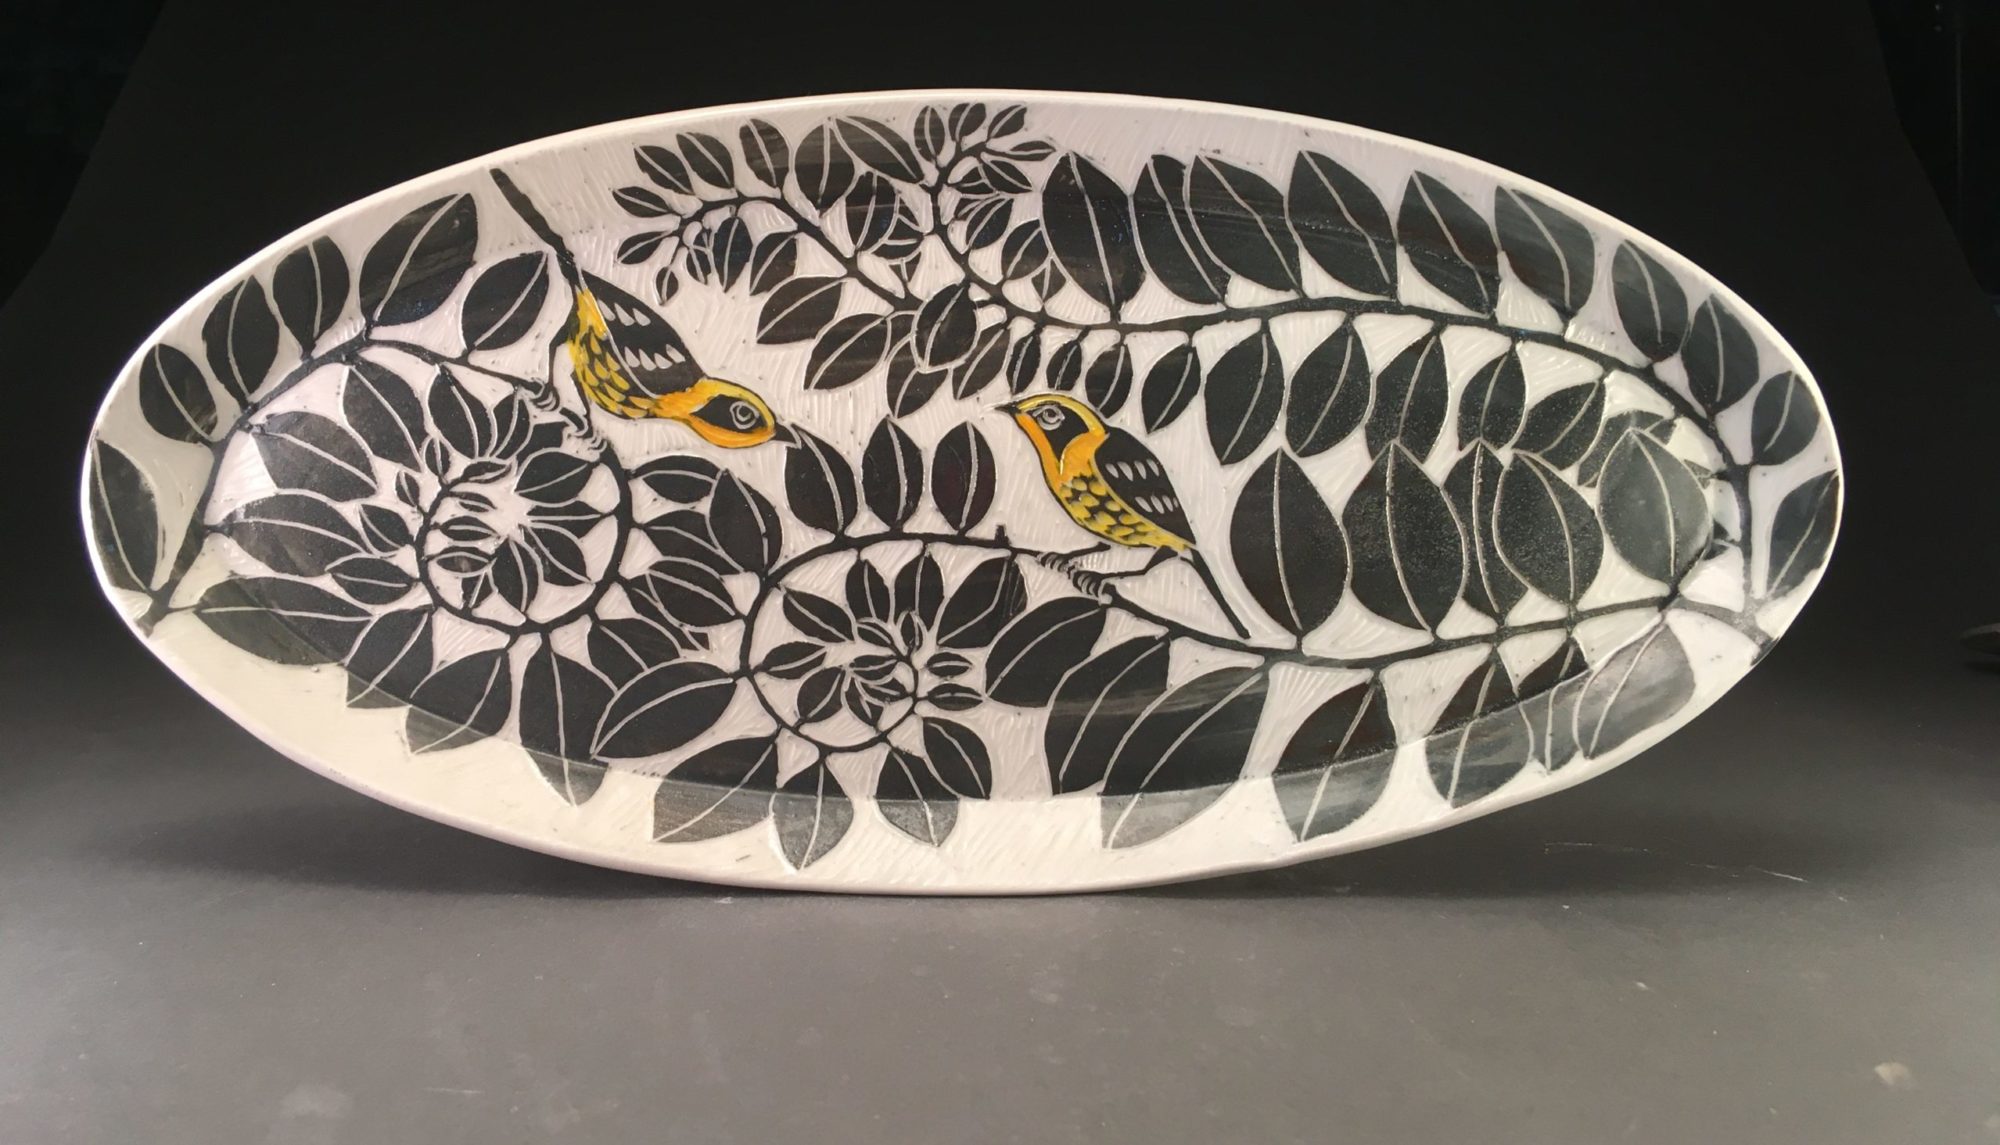
While there I chatted with and admired the work of Kip O’Krongly and her delicate stencilling technique. It didn’t hurt that she was stencilling my favorite thing- a bicycle! onto a tumbler.
A day-trip to Stillwater had us traipsing through antique malls and there I saw endless examples of mass produced pottery. 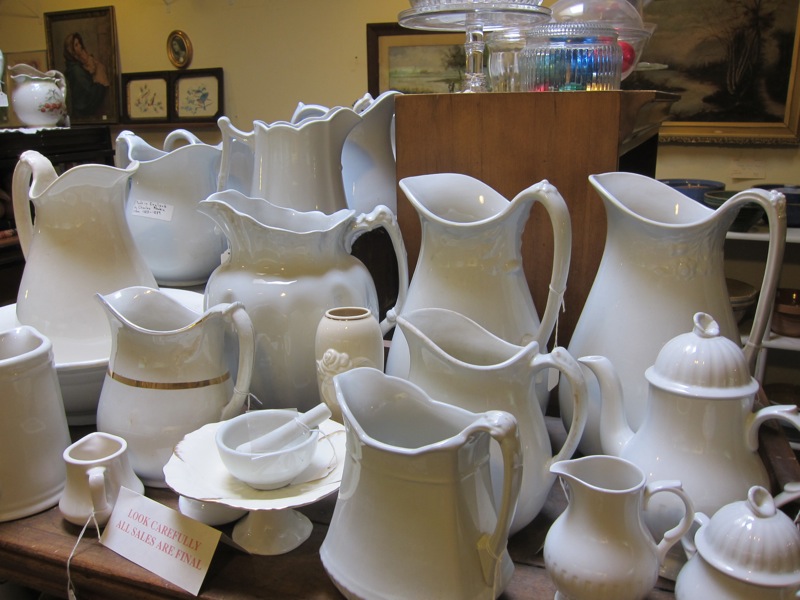 I personally have a deep weakness for mixing bowls.
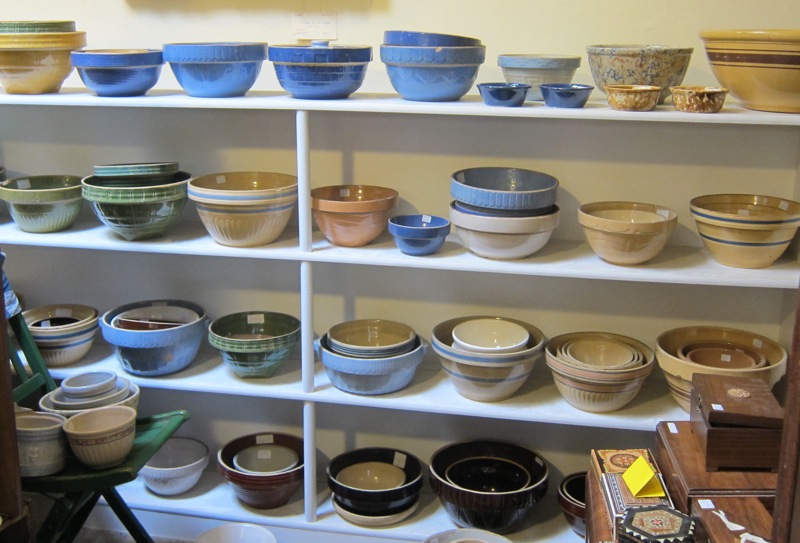 I bought this beauty
  I love mixing bowls because they are so utterly useful and functional and yet balanced and beautiful. Bowls in general are my favorite form because they are so all about receiving. They are open and inviting. They are voluptuous and curved and generous.
Another daytrip spent at my friend Riana’s is always profoundly inspirational, healing and invigorating.  Her attention to detail and her aesthetic sense means that there is nothing ugly or unattractive at her place. EVER.
 You see? she COULD have some hideous but serviceable plastic bucket there to catch water but NO- she has taken the trouble to make a pig shaped trough. No plastic, and in fact not much that is mass produced. Her cupboard (which is handmade) is filled with pots made by potters- most of whom are her friends or acquaintances.
Riana was kind enough to accompany me to Randy Johnston and Jan Mckeachie’s place so I could buy these: 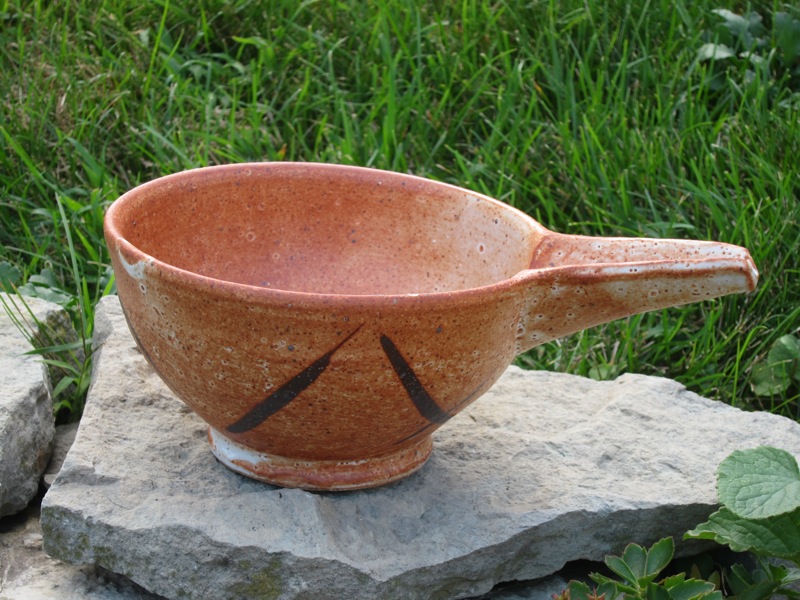
and also to ogle their new-ish Anagama kiln. It’s a bit of torture to see scads of gorgeous (but somehow mysteriously flawed) pottery just lying about
 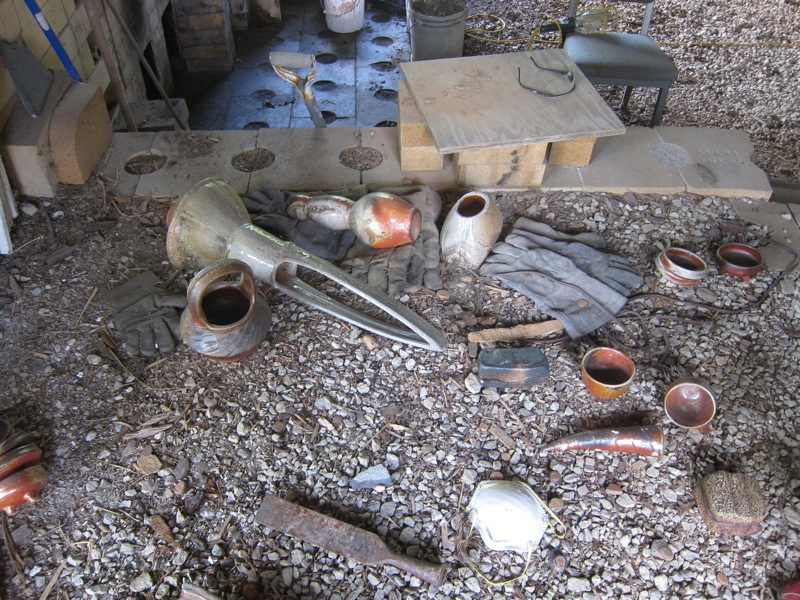 Jan took time out of her busy schedule to chat and answer my multitude of questions.
At a party at Emily Murphy’s I was utterly surprised to see all my Lill street friends and we all admired Emily’s amazing and enviable studio as well as to receive beautiful tea bowls made by her. Here’s mine I had such a great time there and the music and desserts were awesome!!
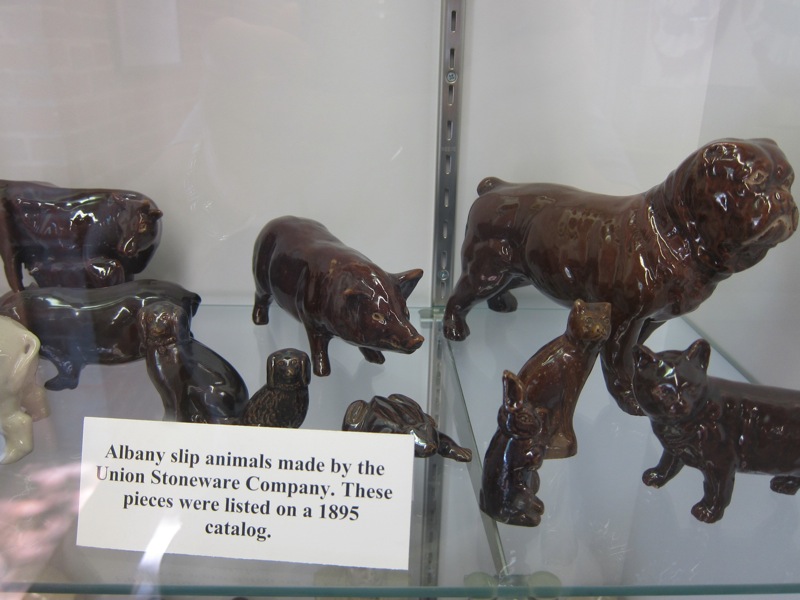
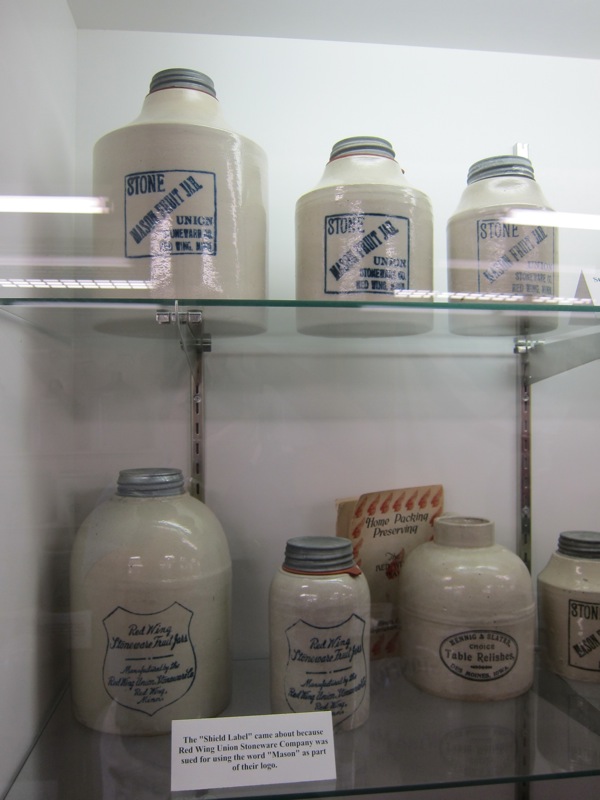
For our anniversary my husband and I spent the day in Red Wing Minnesota -of shoe and pottery (!) fame. They have a small museum in the old pottery factory and I found it absolutely fascinating. I learned a lot. I didn’t know the grey was salt glaze and the brown on all these pieces was Albany Slip! So simple!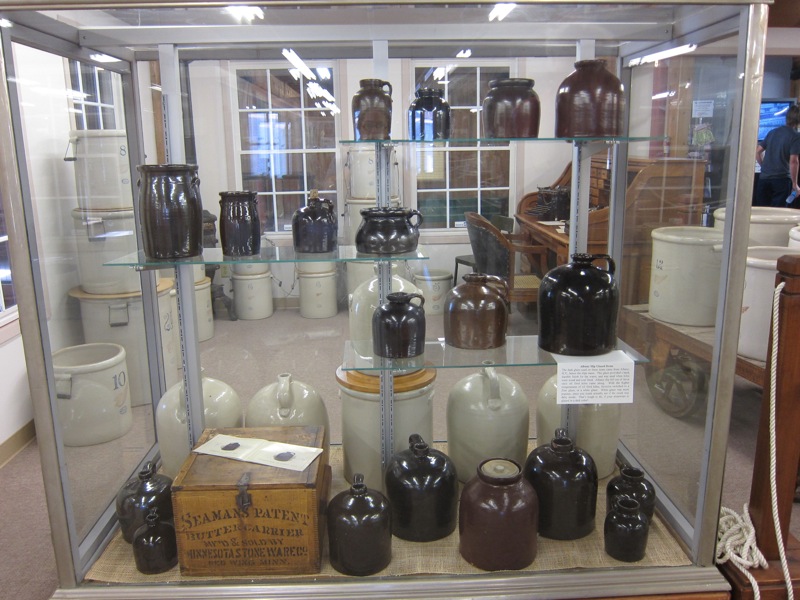
I would never have believed that the early crocks- even the 30 gallon ones were hand thrown!!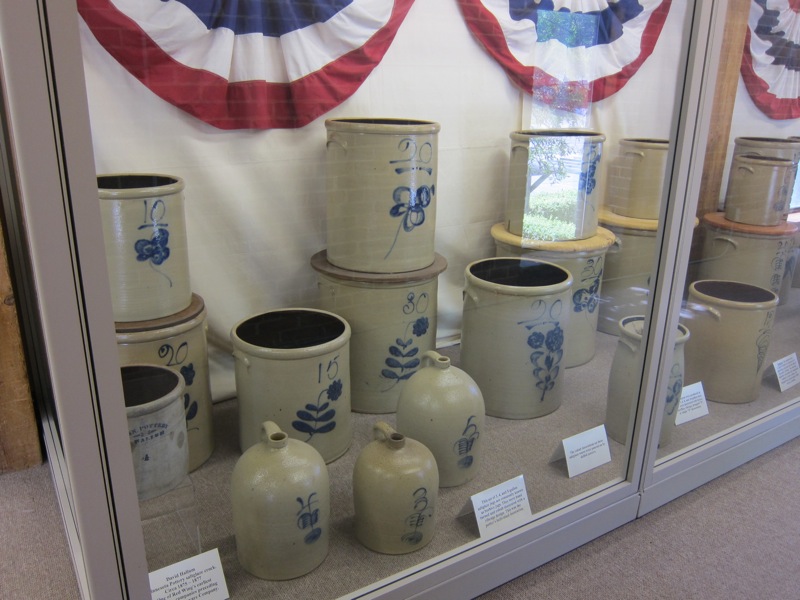
I felt compassion for those potters who had to work in what looked like pretty unhealthy conditions with low light. 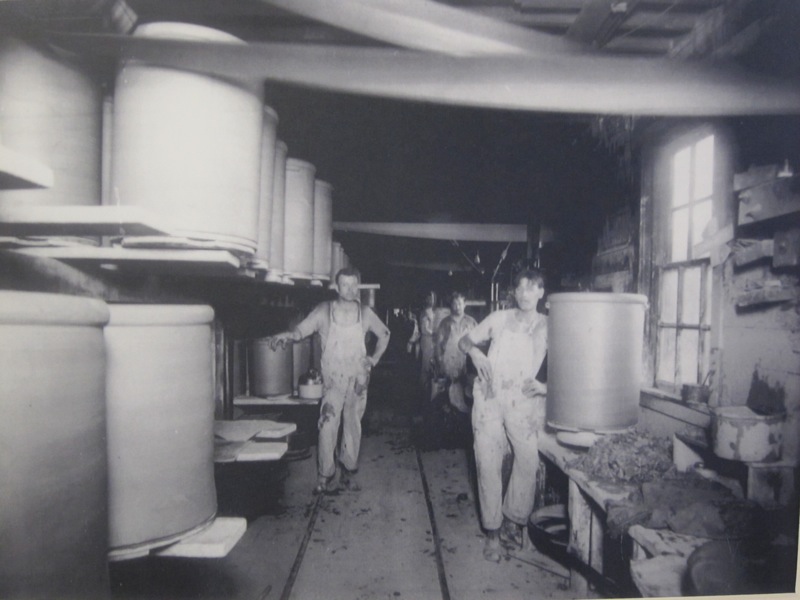 (You can see the belts- in motion above and then running below to power the wheels)
 Look at the small windows, the SINGLE LIGHT BULB and all the shavings and loose clay on the floor. I think he’s working a jigger here.
They did get an interesting special privilege, I very much enjoyed looking at their “lunch work” pieces- things they made on their lunch time with materials from the factory and fired there.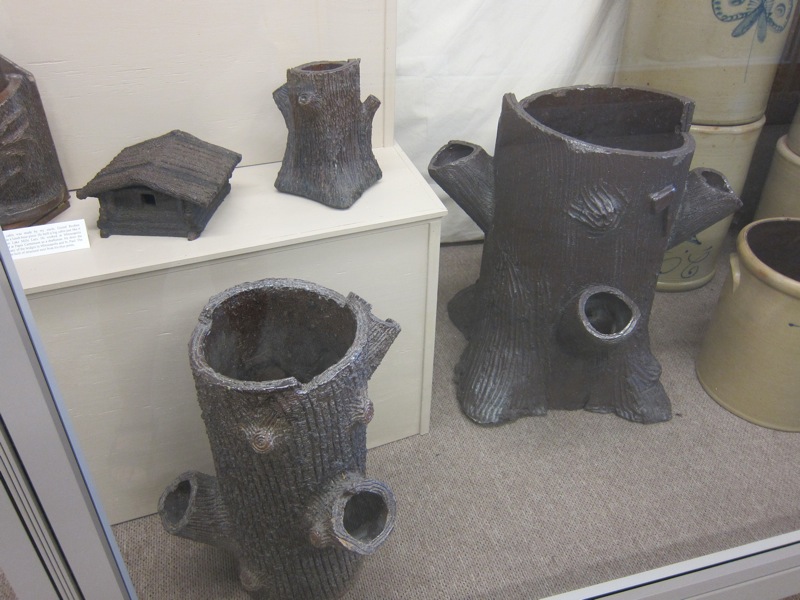
It looks to me like some of the workers took pre-existing forms like sewer pipes to make their “stump” umbrella stands- and others just worked with the raw clay which was mined nearby.
A short movie of the history of the factories (quite a few devastating fires and also mergers) was fascinating and I was tickled by the amazing range of work that came out of the factories over the years.
If I read correctly, these pieces predate mass produced glass canning jars!
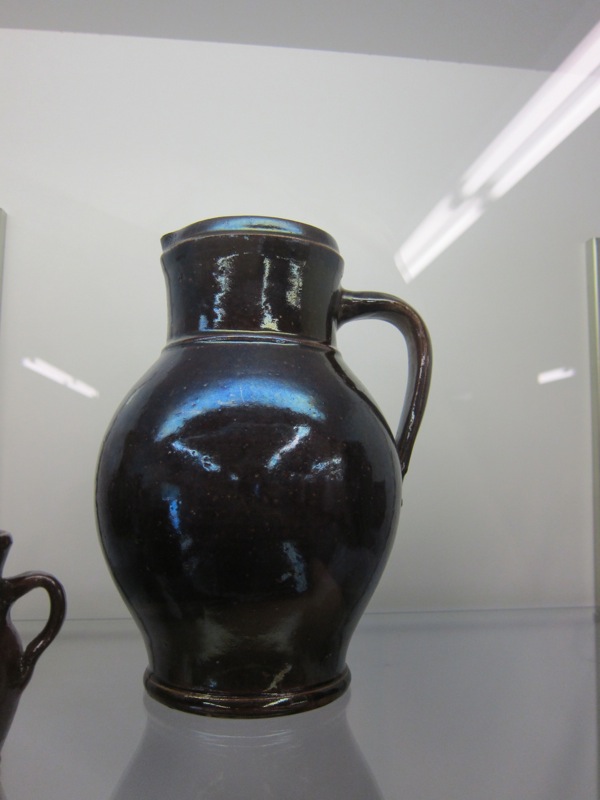
I just love the lines and proportions of this pitcher.
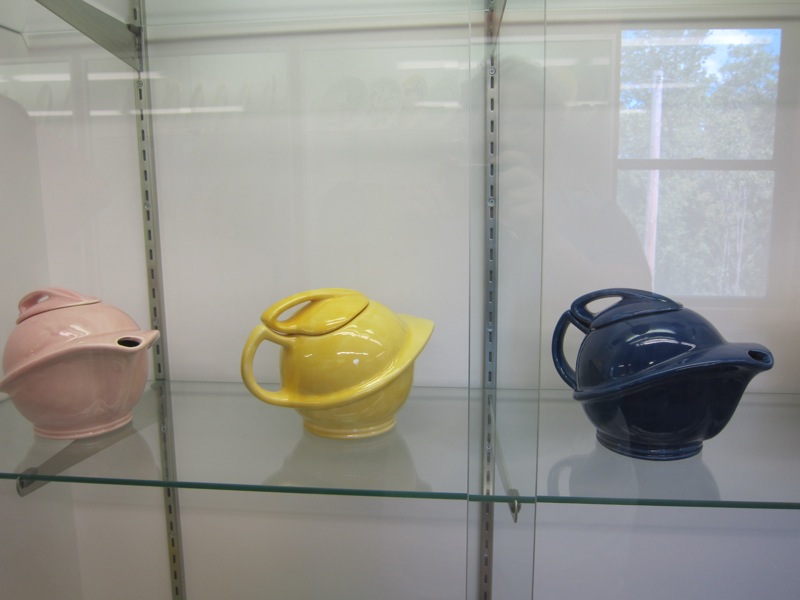 Some of the much later work that came out of the factory.
Here is an early potter’s wheel from there.
I can’t imagine that they threw the crocks on this wheel- certainly that’s not what we see in the photo.
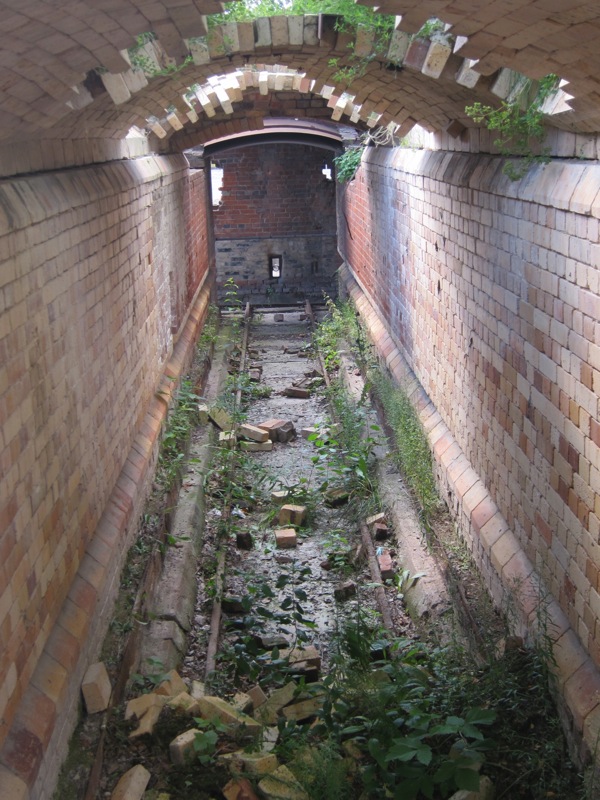
Outsidea huge old kiln is still standing. I saw a set of rails in the floor so I assume they wheeled in the pre-stacked work. This looks like a gas kiln. There was a huge blower on the other side.
Also in Red Wing’s Pottery Place were more antique malls packed chock full of fired clay too precious to abandon.  Look at all that lead!
From Red Wing we travelled to Hastings where we discovered (too late!! It was closed!) a store 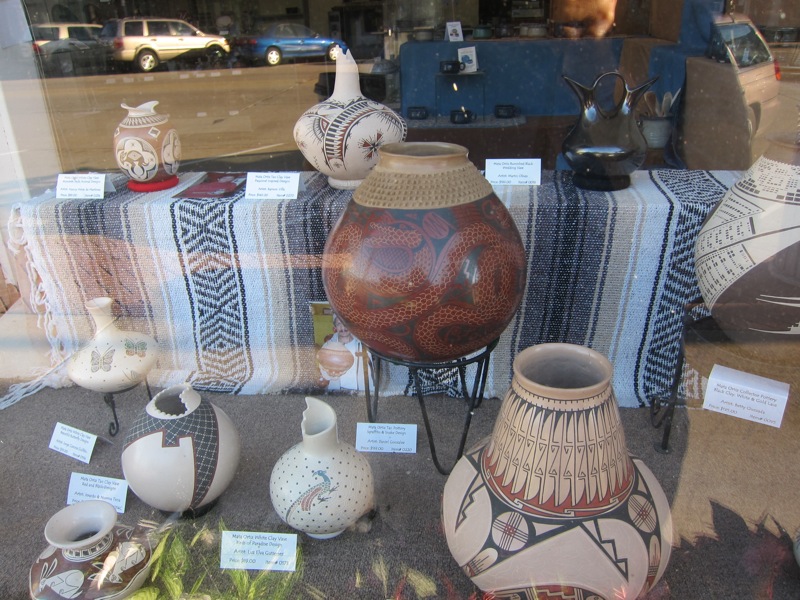 carrying work from the Mexican town of Mata Ortiz- a town on the brink of poverty and saved by Juan Quezada and his personal quest to teach himself how to make pots like the ancient pots that he found in the hills around his town. The work is gorgeous, hand built and the surface decoration is intricate. To learn more about Mata Ortiz click here.
A few days later, on a trip to Duluth. I saw this beautiful and colorful Art Deco Terra Cotta,  reminding me not all clay is made into pots and dishes.
Then, on a hike in a nearby river, my daughter dug up the very iron rich clay she found and made me the most basic clay creation of all:
So there you have it; a mad dash through the history of clay
from ancient Chinese vessels to various local contemporary potters,
from Red Wing production pottery and building facades to a pinch pot made on the spot…
it’s all clay and it’s all great.
