Colanders and Strainers

I did a workshop on colanders and strainers a couple weeks ago

I thought I’d just comment on some of the things one needs to remember when making these thankless little gems.

Why do I call them thankless? Well, you take a perfectly good bowl with a nice tall foot and then proceed to work on it some more- adding handles, poking holes in it and cutting at the foot- now it leaks!

Of course if you’re me, you STILL have to add slip and carve that!

berries

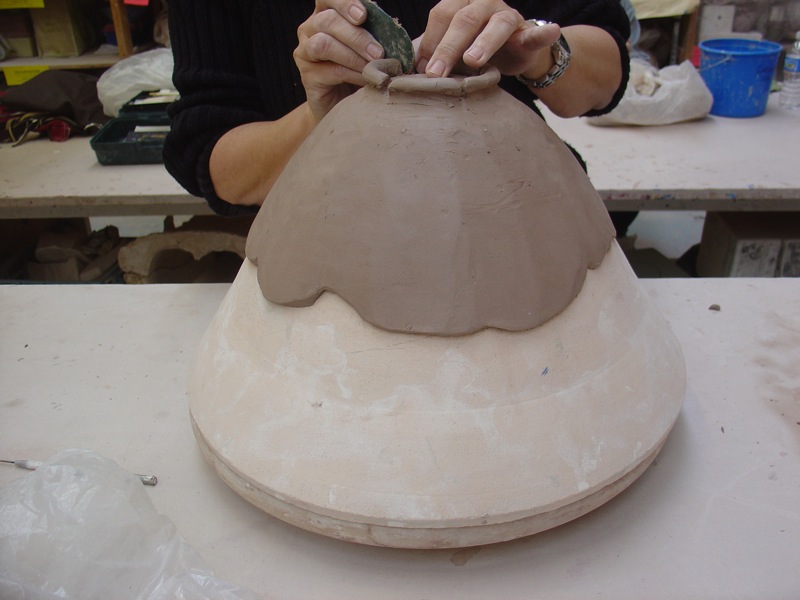
Okay, so you’ve got your bowl, be it thrown or hand-built and if you are making a hand-built one, I recommend putting it over a slump mold so you can work on the outside of it easily since that is where you’ll be doing the most work. colander on slump mold
Things to think about:

How do you want to use this strainer?

Will you want a low bowl or high sided one?

Do you want holes all over or just at the bottom? What pattern would you like?

Will you be leaving the food in there (more decorative) or is this strictly utilitarian?

After your bowl is ready, I would start by adding handles or knobs- really, these small bowls don’t need them- but it makes the statement that these are, in fact, little strainers and not bowls. It makes them easy to pick out and to grasp.various types of berry bowls
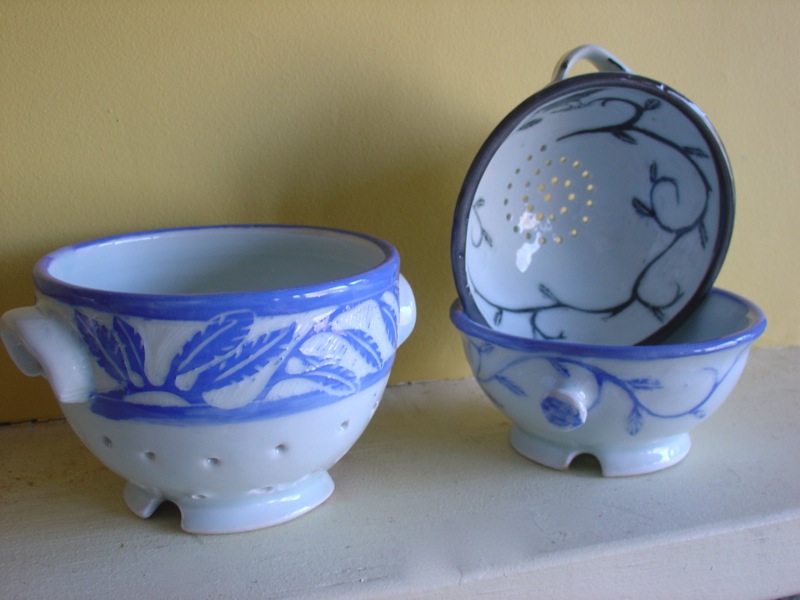
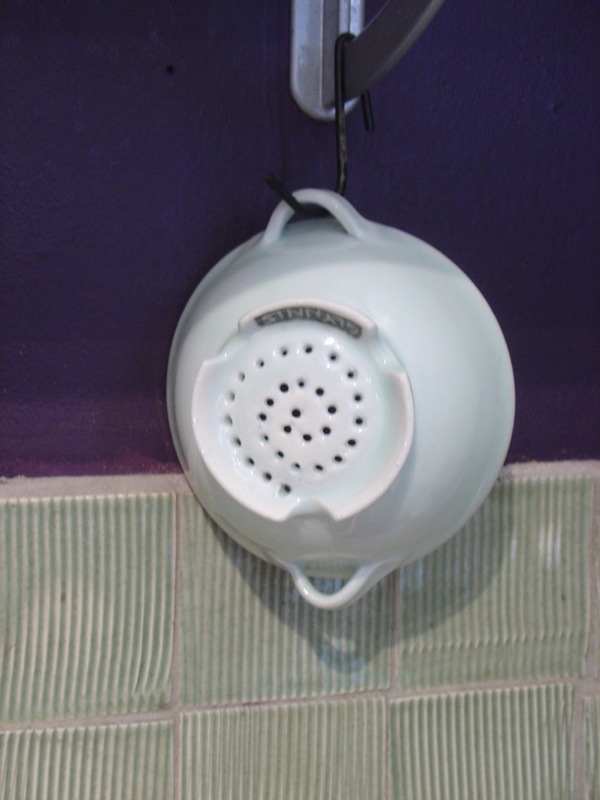
Having handles on the small bowls is alluding to the need for handles on their cousins, the large, full size colanders that do need something to grab onto as you use them. You also might want to think about if you will be hanging them up- as they are so often wet and/or need to be within easy reach of the sink. hanging colander
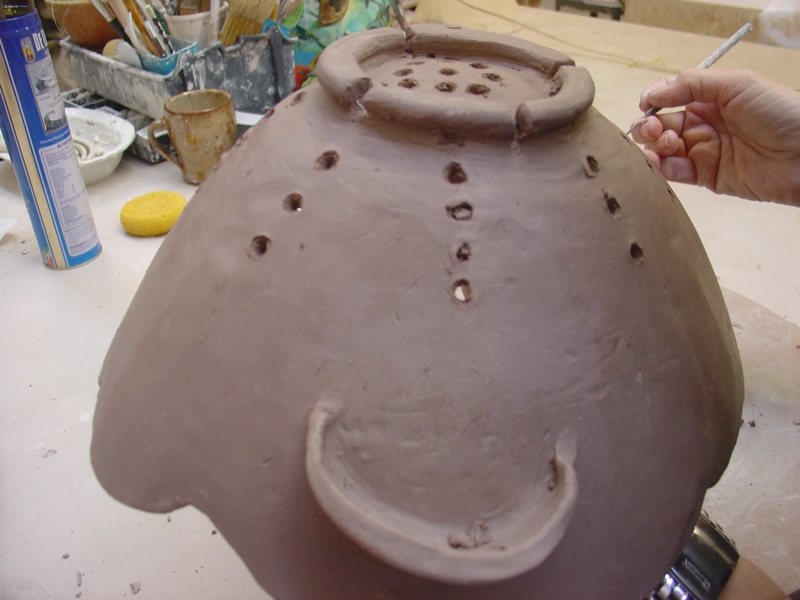
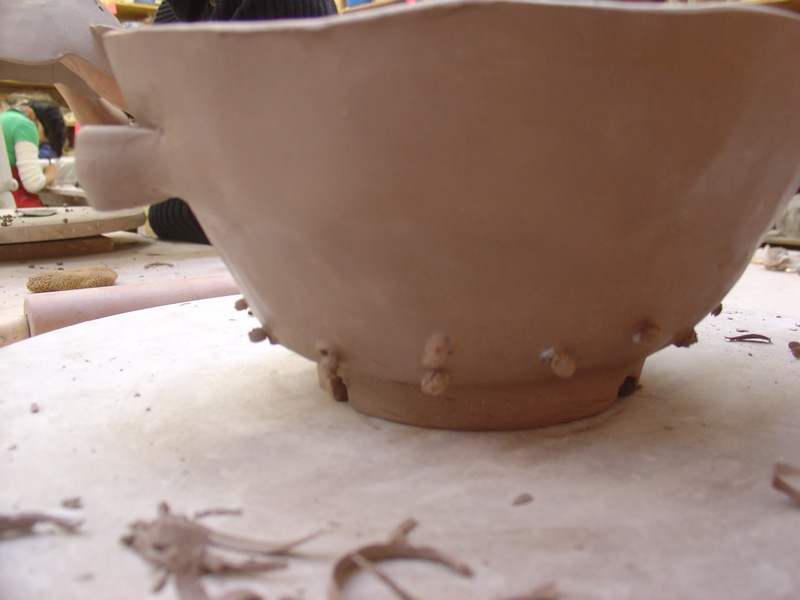
Next, I firmly believe the foot ring needs a place for the water to exit. If you are letting something drain and it is flush to the counter or table, the water will just stay sealed inside the foot ring. There must be some way for the air and water to circulate. I took a large round plastic tube that a tool came in, and used it to make the outline in the clay of the foot and then cut it out and smoothed it. cut foot
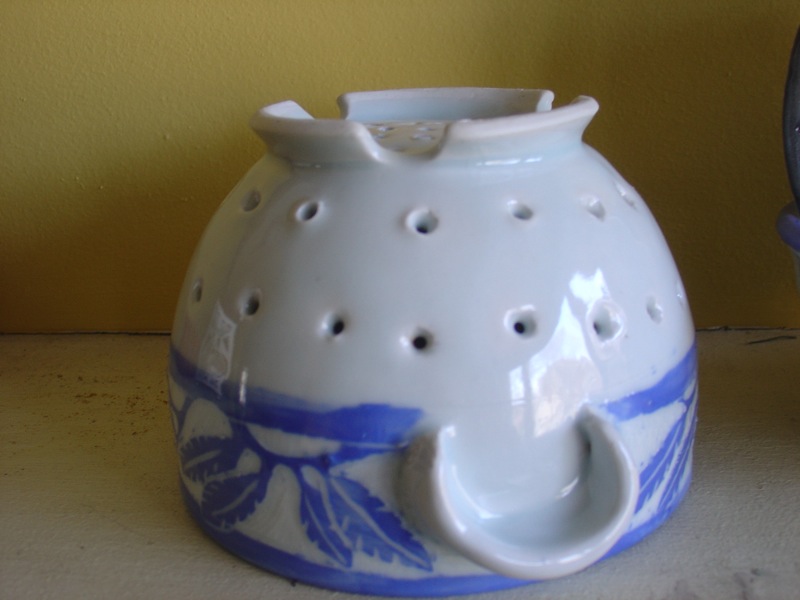
Another pretty and easy solution, is to make the whole bottom round and add little legs.

The final step is to add the holes. You could do handles last- it depends if you think you’ll bump the handles when you are putting in the holes.

I set out to make some berry bowls, so the majority of these had holes just in the bottom for aesthetic reasons.

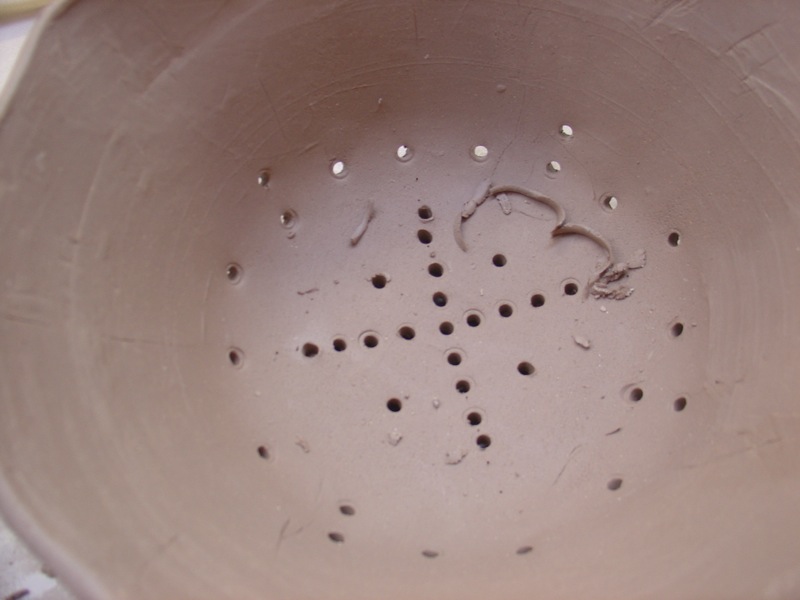
I had a lot of fun picking patterns.  You can make evenly spaced holes in a random pattern; but I liked the spiral I did. spiral pattern
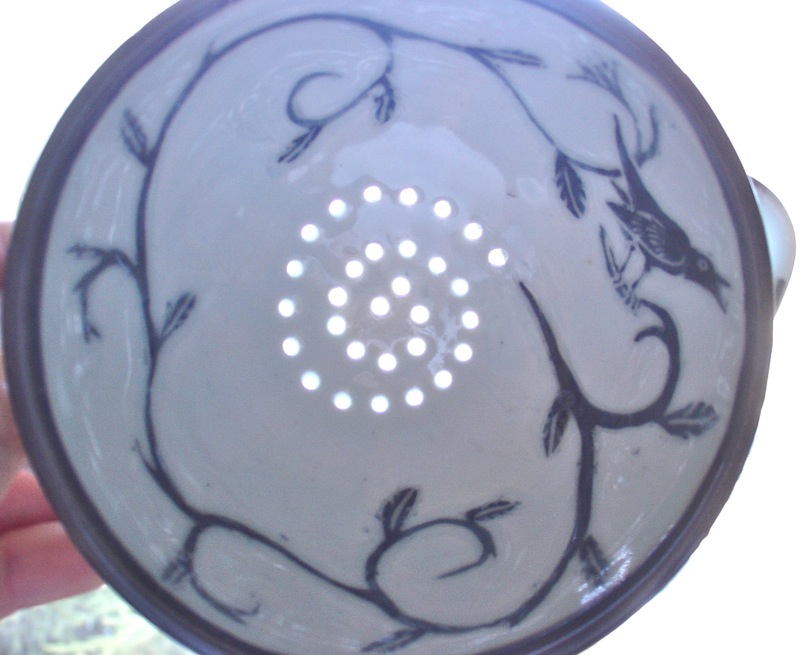
You can also do a shapes of things like stars or  circles,circle pattern in a metal colander
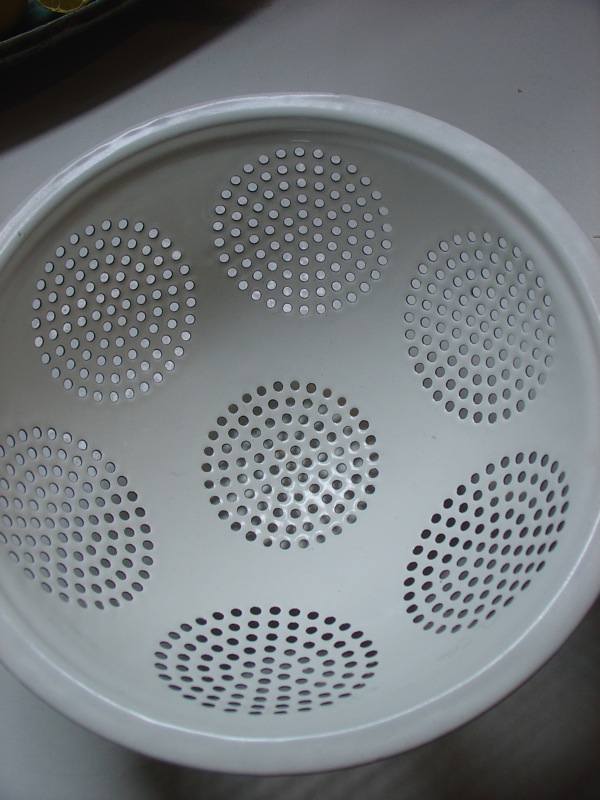
an asterisk- with lines radiating outcolander almost done (student)or colander hole pattern

and I did this one as the lines of a leaf. leaf pattern
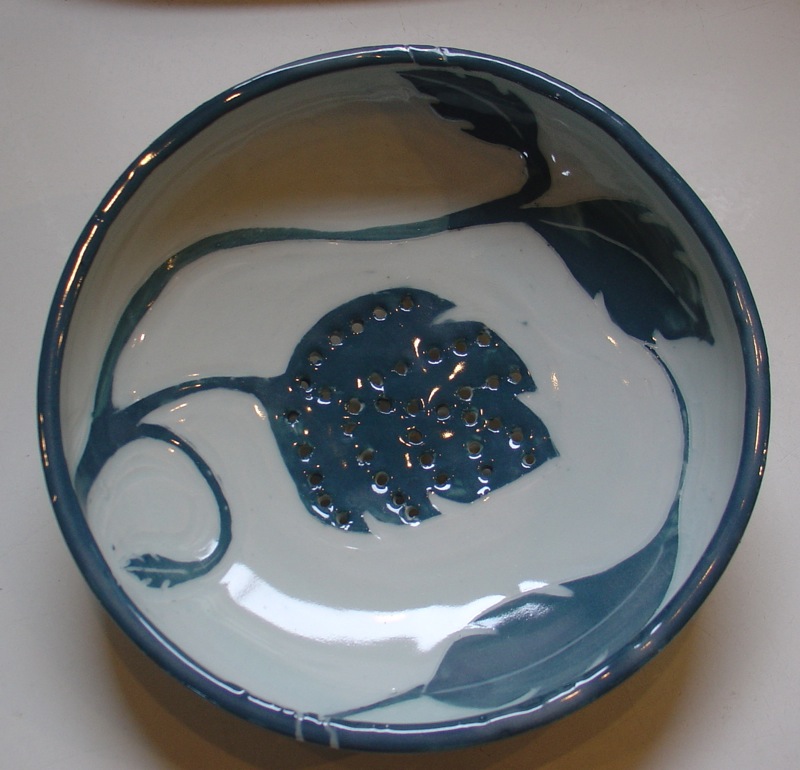
Poking the holes: your pot should be soft leather hard- it’s tricky because if it’s too soft, you risk deforming the pot and tearing it but I did mine in porcelain and with the tool I used, the underside kind of tore so it was really rough- although, again with Porcelain, I was able to go over it with a sponge until it was smooth again.

I think if your tool is sharp enough you needn’t have this problem.

This is ideal:holes- with tags still on colanderand you can just go back after those harden a little and brush them off.
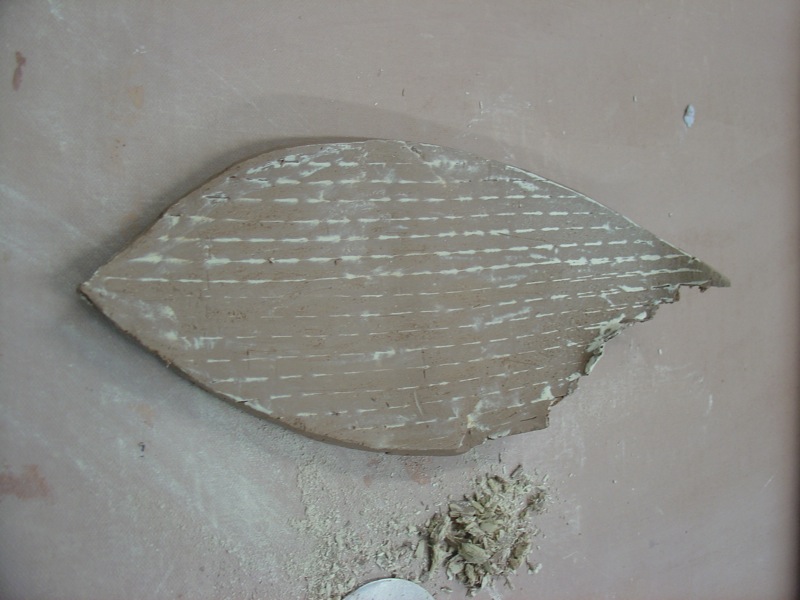
There are a variety of ways to make the holes. I recommend mapping out the holes with little dots from a pin tool or pencil then you can use a hollow tube (far right)hole making tools
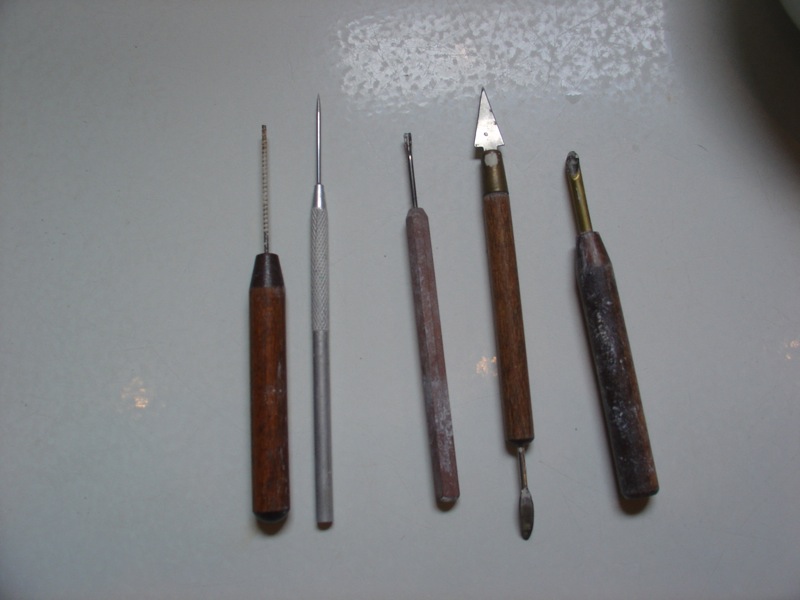
Left to right: this first tool would work better to enlarge a hole in hard-ish clay  than make the opening;   pin tool;  engraving tool;  triangular tipped tool (or use exacto);  and a specialized hole-maker- note how it’s cut at an angle so you are less likely to crack your pot.

A tiny cookie cutter could make a pattern like this metal colander has:different shaped holes
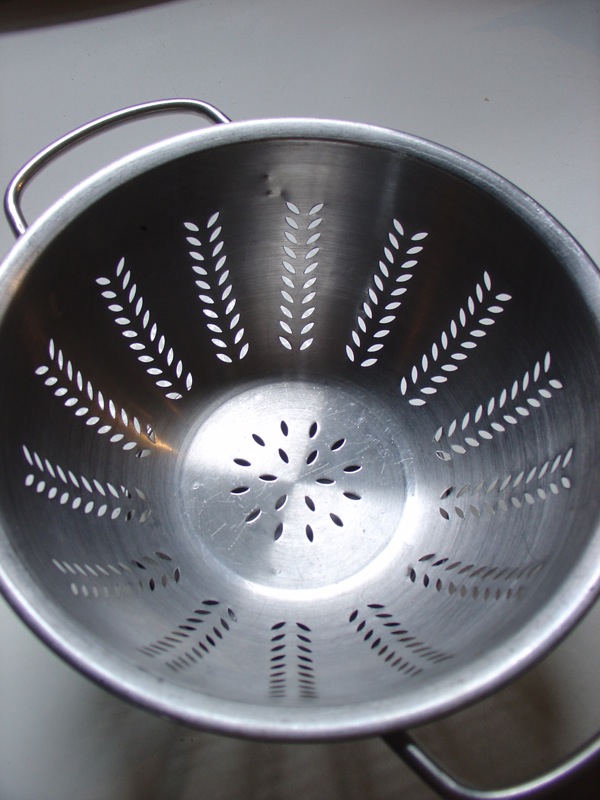
There is such a thing as too small or too large a hole.

Too small an opening  results in holes sealed with glaze

and too large lets food through and weakens your pot.

Of course the best part is using them!
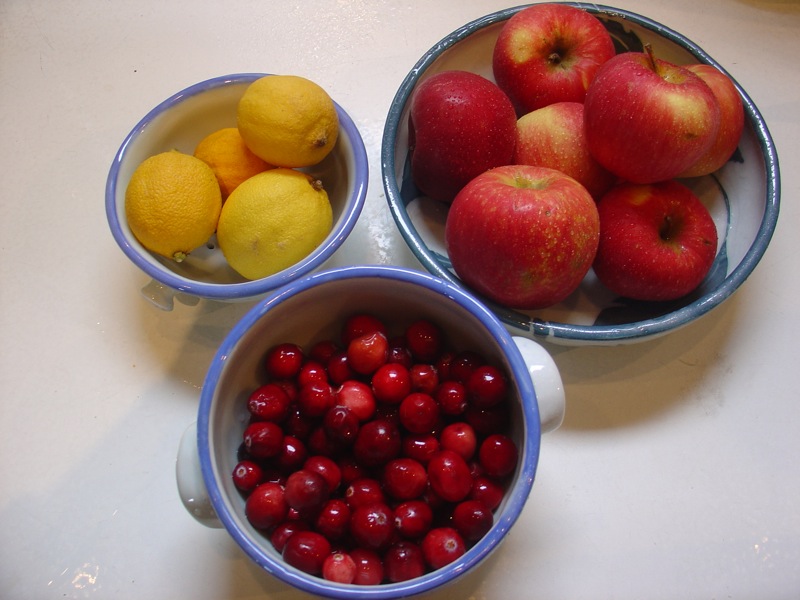
varioius strainers

Winter 2010 Sgraffito Workshop

We had another successful Sgraffito workshop Saturday.

I thought I’d post again, not only for the attendees but also because we covered a couple of new things.

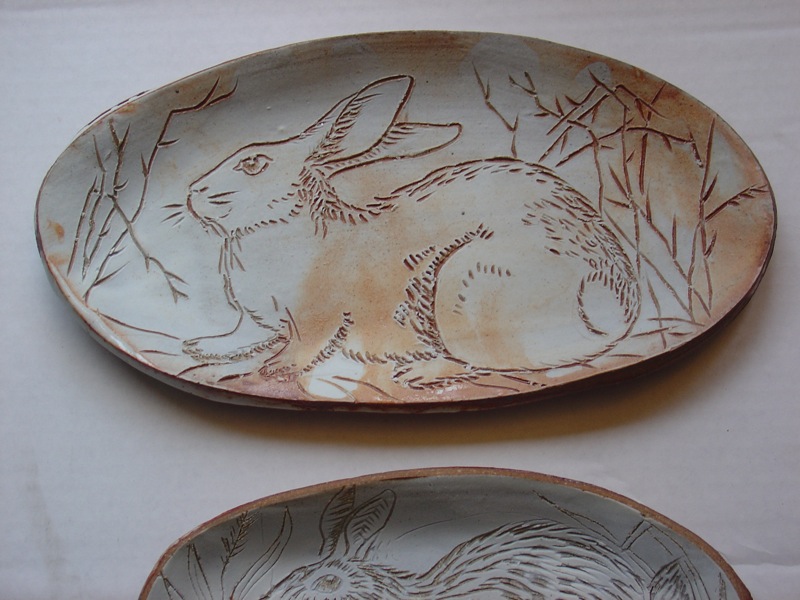
The workshop explored the various ways you can add surface decoration to your pots. We explored ways of making lines in negative and positive ways to make images or patterns;  the ideal times to apply slip to your pots, address the differences between the  clays and also slip vs. underglazes which can also be used in sgraffito; the best glazes here at Lill and various ways to apply them.

Slip application – It is important to remember that slip is clay therefore it shrinks as it dries-if the surface to which you are applying it, is already bone dry and done shrinking, it will flake off as it shrinks; apply it to leather hard clay or wetter!

The slip at Lill is made of Grolleg Porcelain which shrinks at a slightly different rate than the stoneware. Sometimes, if it’s not properly bonded, the slip can flake off as late as days after it comes out of the glaze kiln.

To make sure it bonds well when applying it to stoneware, apply it as soon as you are able. This can mean painting it on while your pot is still on the wheel or in the mold.

I threw this bowl and immediately applied the slip- then dried the surface so the slip would expand along the lines I incised. Then I pressed outwards under the slip. (photos)

The important thing to remember in this case is that if you are really slathering on the slip- the moisture from it is partially absorbed by the clay beneath it and in certain cases, it can cause your pot to collapse- but that is usually on unsupported surfaces where gravity causes the moisture to go down into the clay.

Most often I am applying slip to freshly made trays in their slump or drop molds and because those are supported (by the mold), that is an ideal time to apply the slip.painted stoneware in slump molds

If you are painting several layers of slip- like, for example, white and then blue -let them dry to matte in between applications.

Underglaze can behave very much like slip- it doesn’t run and it can be applied to almost any wetness of clay from just thrown to bone dry surface. It will apply differently depending on the surface. Also bear in mind you are not really adding much thickness with underglaze. With slip, you are changing the quality of the surface and giving yourself almost a cushion of surface clay in which to work. The analogy in class was that ink is to paint as underglaze is the slip.

Carving & Scratching.  I find it best to carve when the pot is leather hard for several reasons:

  • so you don’t breathe in the dust.
  • The pot is not as brittle and less likely to develop fine cracks from being handled. Those cracks show up in the glaze firing.
  • I like the line quality better.

note* I use fine wire loop tools and wooden sticks. I prefer various sized wooden sticks to a needle tool because you get a lovely variable line quality and because it is easier to control the depth of the line. I have a photo up of my tool kit on my last Sgraffito workshop post.

Some types of Sgraffito carving:

  • simple line drawings (note, I “dented” the surface inside the drawing with the rounded end of a tool – I didn’t break through the slip but simply changed the texture.)

line drawing through "white" slip

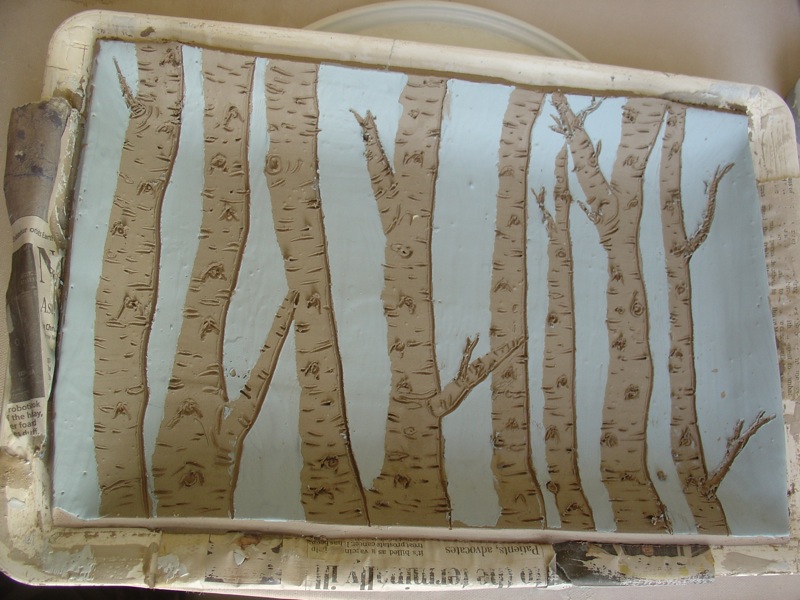
  • Stencil with lines incised

birches with new "white" slip

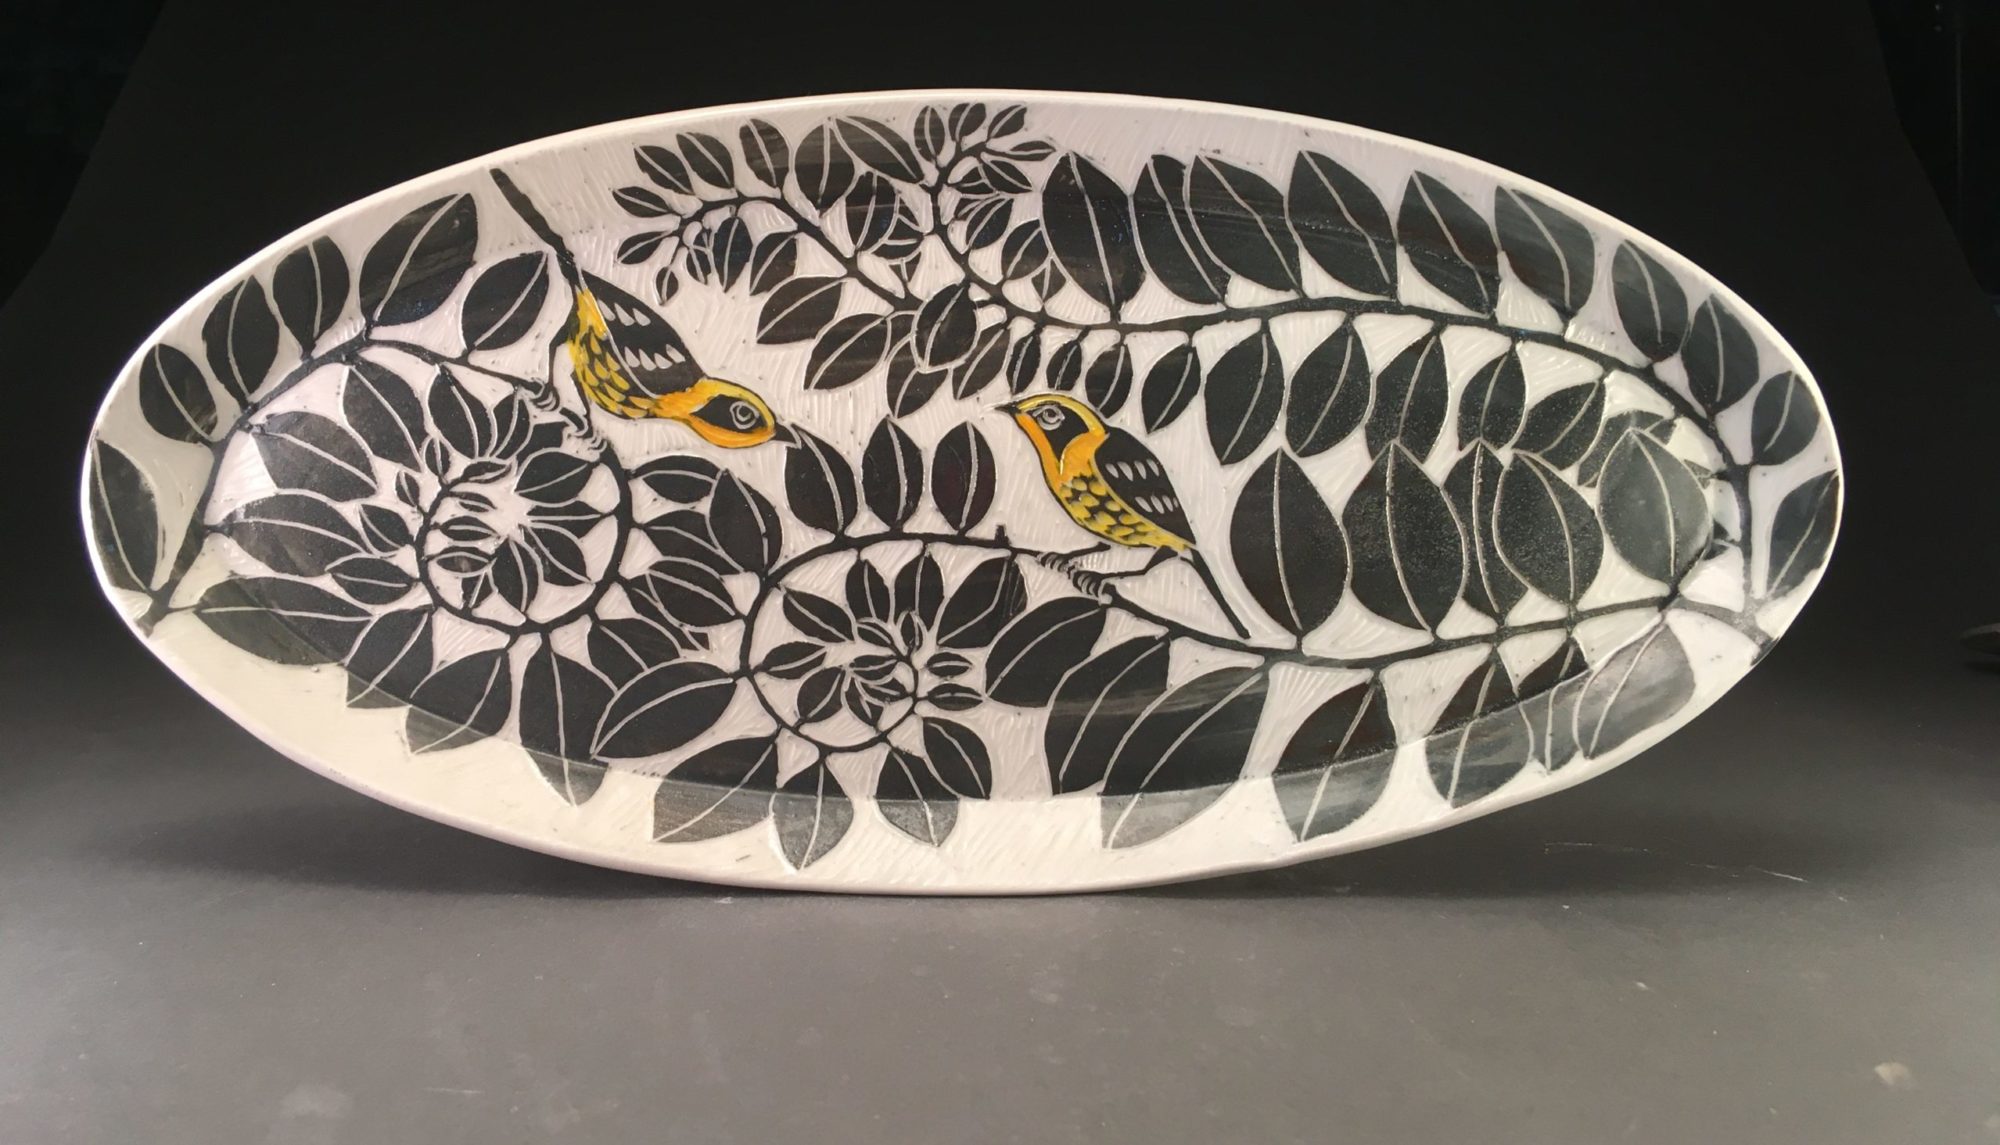
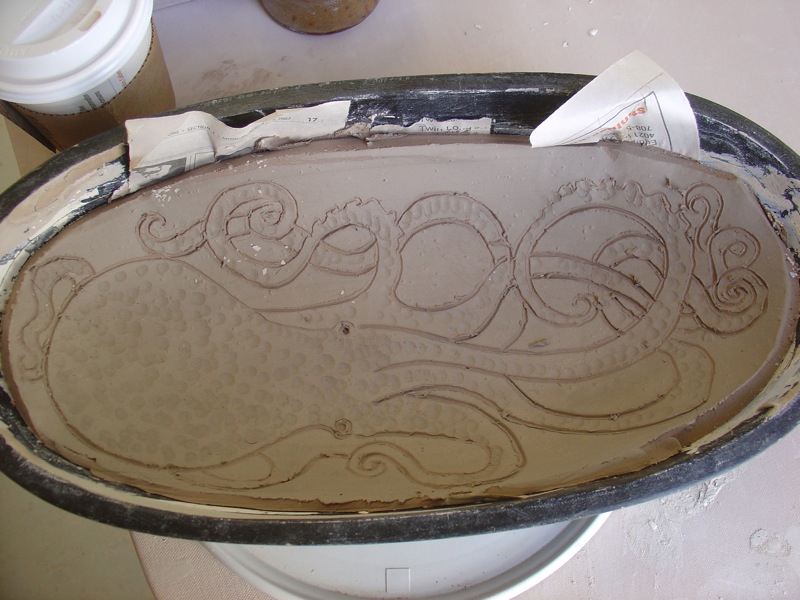
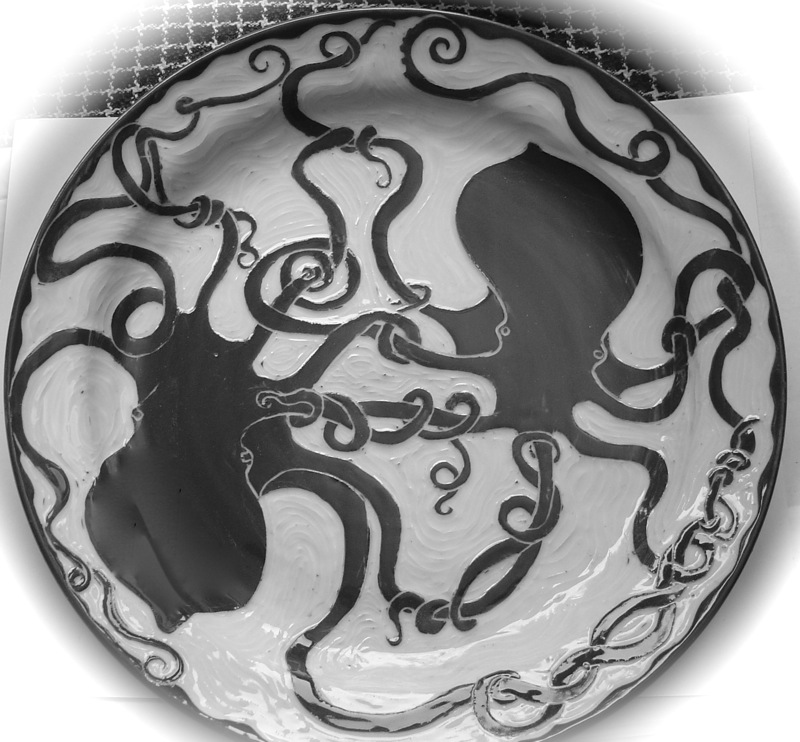
  • negative /positive space- this is the type of sgraffito I do the most. I  draw an image and then remove the black slip around it with a fine wire loop tool.

black slip on porcelain octopus platter

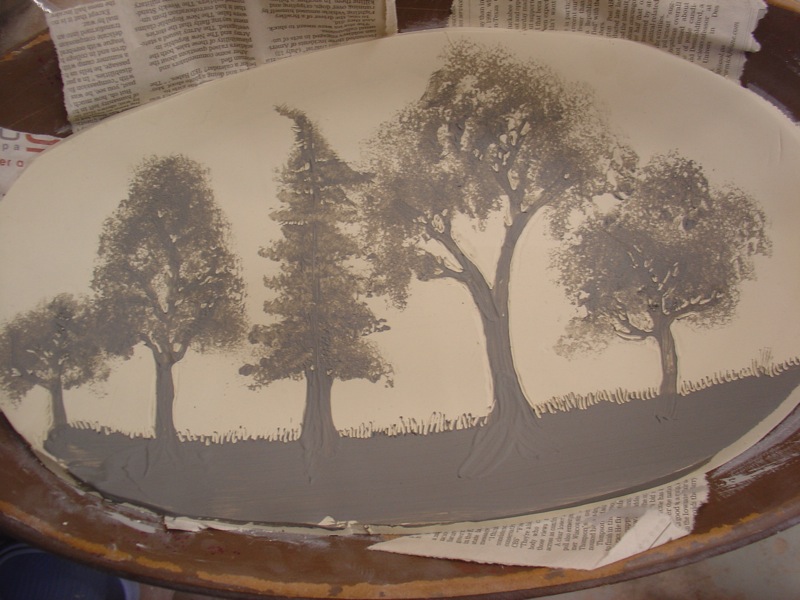
  • Minimal sgraffito to clean up painted images

painted on leafy trees touched up with sgraffito

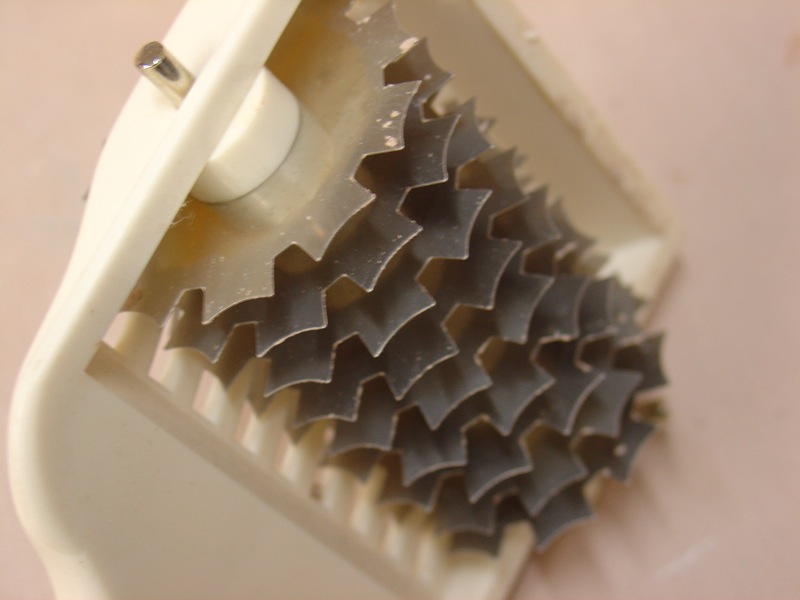
  • Inlaid slip-in this case I made the ultra fine lines with an odd toothed wheely-tool on a long rectangular porcelain tray.  ( PHOTO of actual work to come) I found out this tool is to make lattice work pastry! You can buy them online on cooking supply websites.

cool tool close upfinished inlay- (pattern from Nina's cool tool)You can incise a line drawing or pattern into the surface.  I painted over the entire surface in black- my students didn’t think that such fine lines would even get the slip in them- I let it dry to almost bone dry (but not quite! remember: the clay is more brittle and prone to break once it loses its flexibility!!) so that the slip was pretty stiff and wouldn’t smear at all and then scraped it off with a metal rib. You should make a conscious decision about the size of the line you are putting in when you inlay slip. A wider cut needs to be deeper also or you will end up scraping out the slip that is meant to be left behind.
There was considerable discussion about what glazes to use. It is a hard lesson to learn, when you’ve spent hours carving your pot, only to have it disappear beneath an innocent looking glaze job.

Choice of glaze as well as application are key.

It is important to understand that most of the glazes (at Lill) are at an ideal thickness to really give good coverage-which means way too thick for sgraffito!  I always rinse my pots in clean water just before dipping them. As the pot is already holding some moisture, this serves to lessen how much glaze they can absorb. Remember, the thinner the walls of your pot, the less moisture you need- it can’t hold much! The opposite undesired result is an application of glaze that is almost non-existent. It runs right off your pot.

I mostly use “breaking glazes” these are glazes that thin at edges or high points and pool in low points.

Here is my list for the Best Glazes for over Sgraffito at Lill:

1.Shaner’s Clear**  Again,  I lightly rinse my pots in water just before dipping to thin application of glaze. Shaner Clear is especially forgiving of extra drips etc. However; I do find the Clear gives bare Stoneware a dead gray look so I only use it over Porcelain. shaner clear- "Napoleon in the Woods"

2.Celadon – almost as clear with a green tinge – I use this for Stoneware as it brings out the iron in the clay nicely birches under celadon

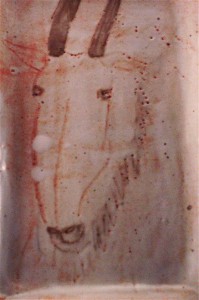
3. either of the Shino’s- here we had a lengthy discussion about application. I often use Shino water (which is soda water) and if I apply the glaze, it must be thin! sometimes I wipe it off with my hand immediately after I dip it. this can give you a very uneven result. white slip and red iron (horns) under shinothere is quite a range of results that can be achieved with shino.
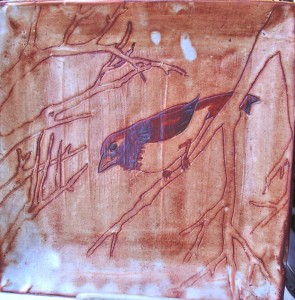
here it is over white and also colored slips-note the spots where the glaze is thicker- it is white.shino over bird tray

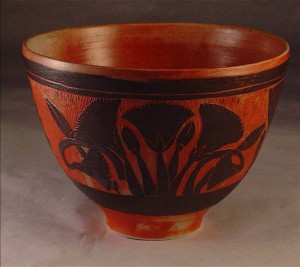
here, it is quite thin and so it is orange.egypt bowl;black on porc. under shino

Soda water– also known as “shino water” which is a good non-glaze sealant that also brings out the brown/iron in stoneware. (when I say “sealant”- unglazed porcelain can absorb dirt over time)white slip on stoneware under shino water

4. Josh Green – this is NOT a forgiving glaze every drip will show but again, you can get some great results from it and as with the others, thin is better.octopus -white slip on stoneware under josh green

5.Rutile Blue– I prefer this on stoneware actually.  white slip on stoneware under rutile blueAgain, you can see the area where it is thicker.
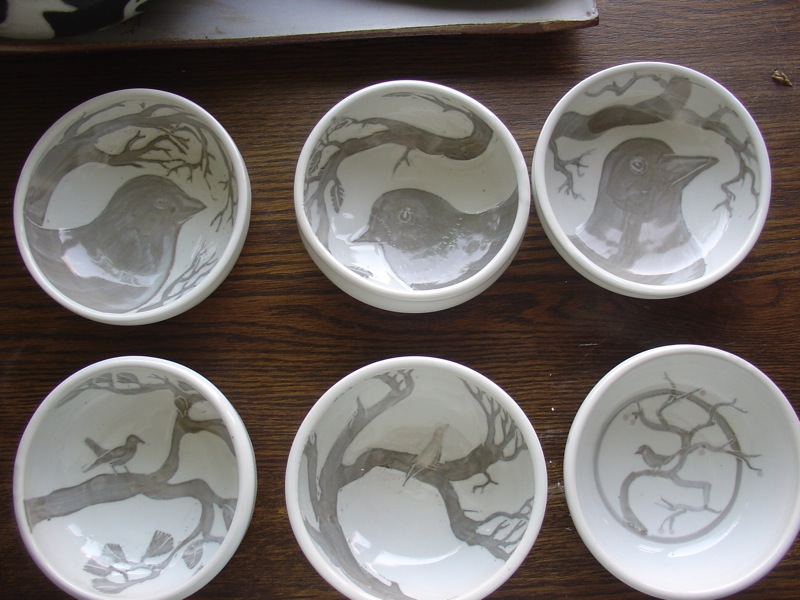
6. Shaner white** – this mutes your colors and lines but your work will show through! Don’t forget, I rinsed these thoroughly in water before dipping them.

black slip on porcelain under shaner whiteThis one below is a special case- I threw this vase in B-clay (a mix of stoneware and porcelain) and it turned grey under the clear so for this one I dipped it in Shaner White and rubbed it off all the carving so that the glaze was sort of inlaid. I really like the way it turned out but it was a lot of work and you have to have just the right touch.
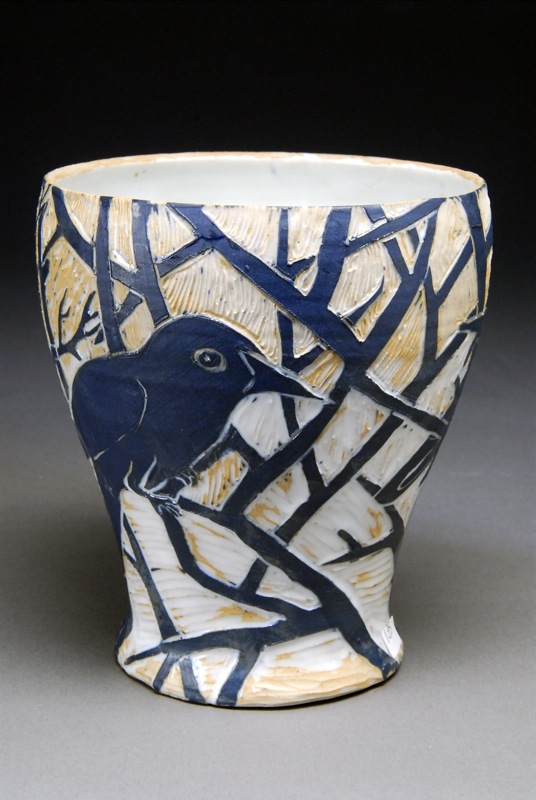
blue under shino water

**It is important to remember!!, that the Shaner White or Clear absorb red iron! If you have red iron slip decorating your pot and you dip it in clear, much of your pattern will just disappear.