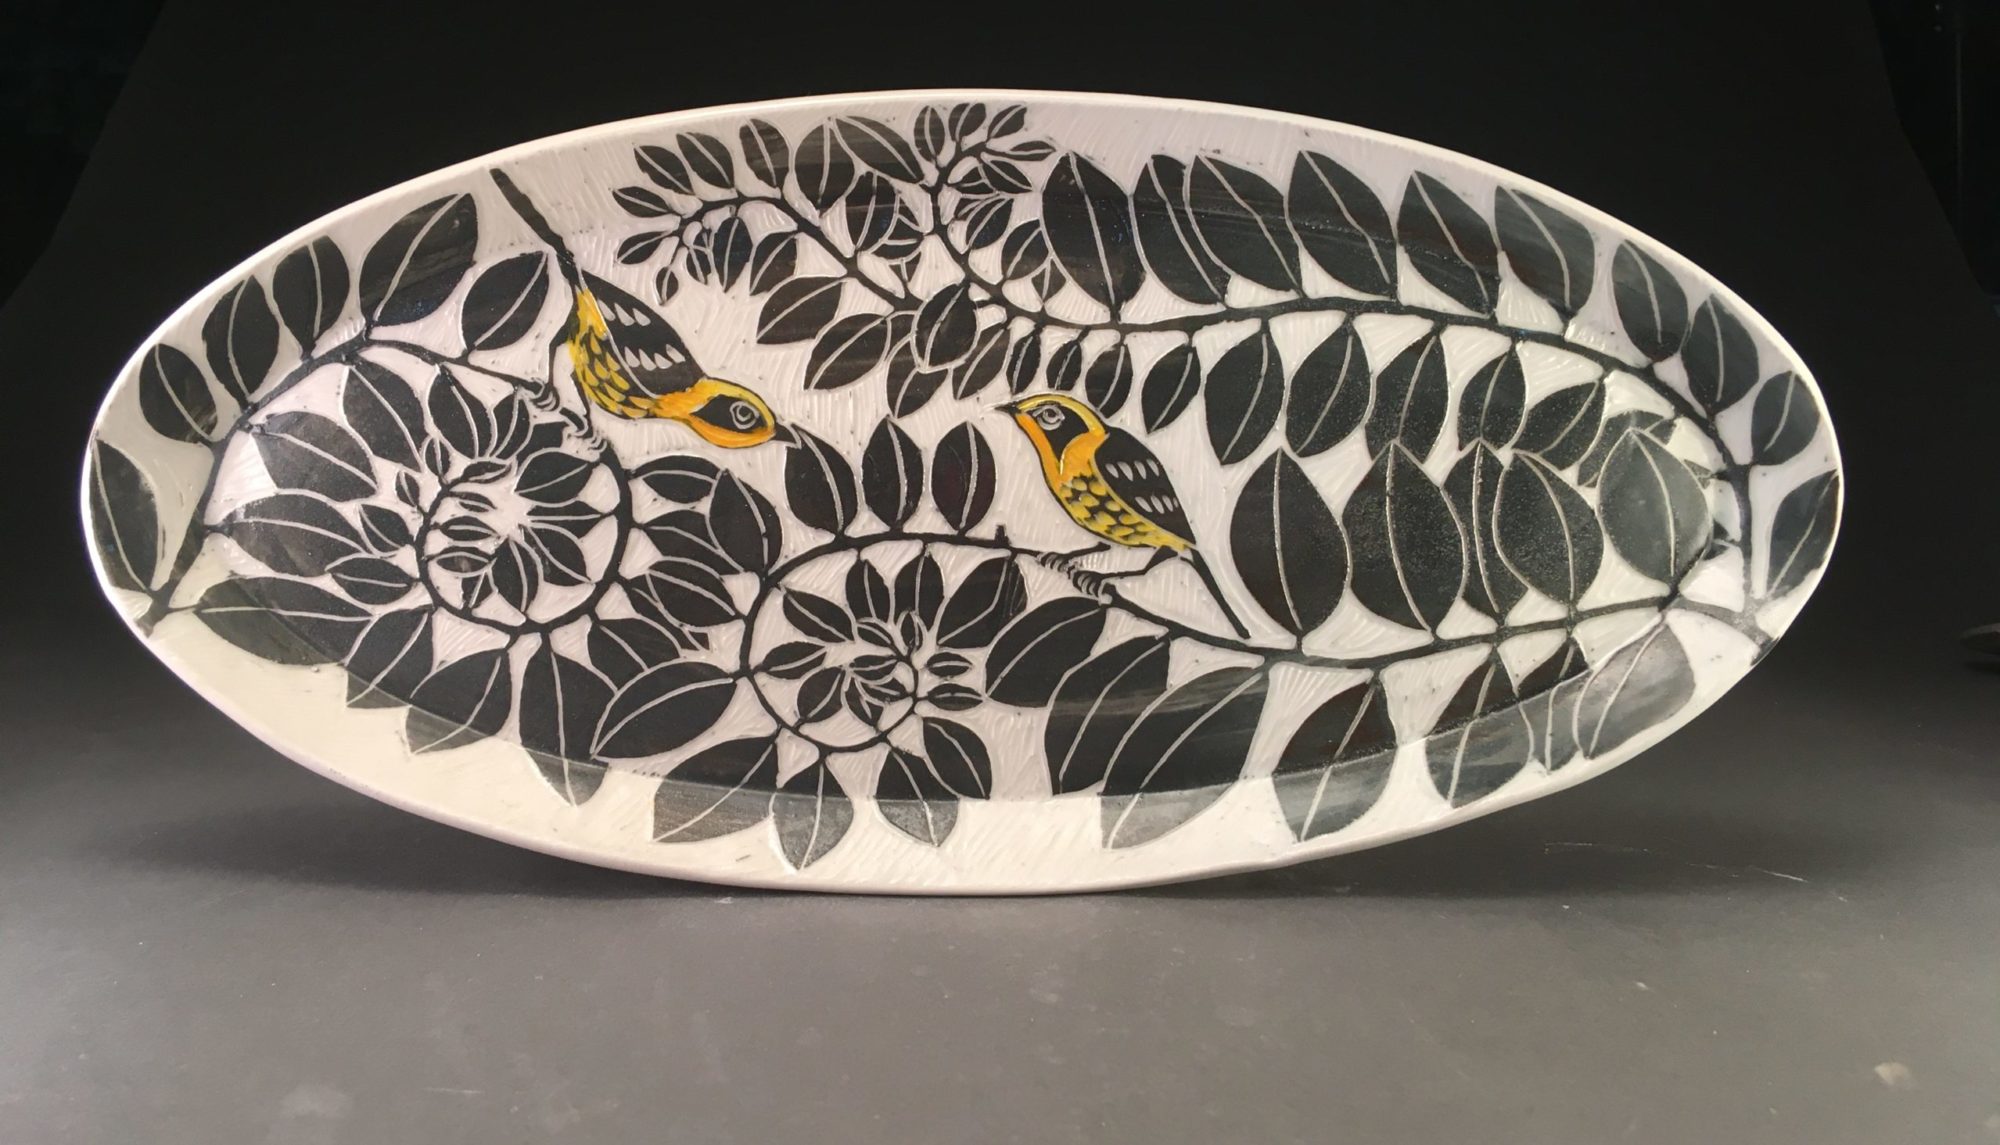
I’m working on something this week that I thought I’d post about:
making really tall thrown forms by throwing two separate pieces and joining them together.
Eric told me something interesting today which I knew happens but never thought about the reason why — technically:
Porcelain is hard to throw tall because- more than other clays- it just sucks up any moisture you put on it and therefore after about 3 pulls, the platelets (that make up the clay) become too far apart to hold up very well; that is, the more water you add to clay, the softer it gets because the platelets move farther apart to accommodate the water. This is true of any clay but porcelain is one of the worst.
SO- to compensate for my inability to throw really tall work in porcelain, I threw two pieces, measuring the opening on the base with a callipers
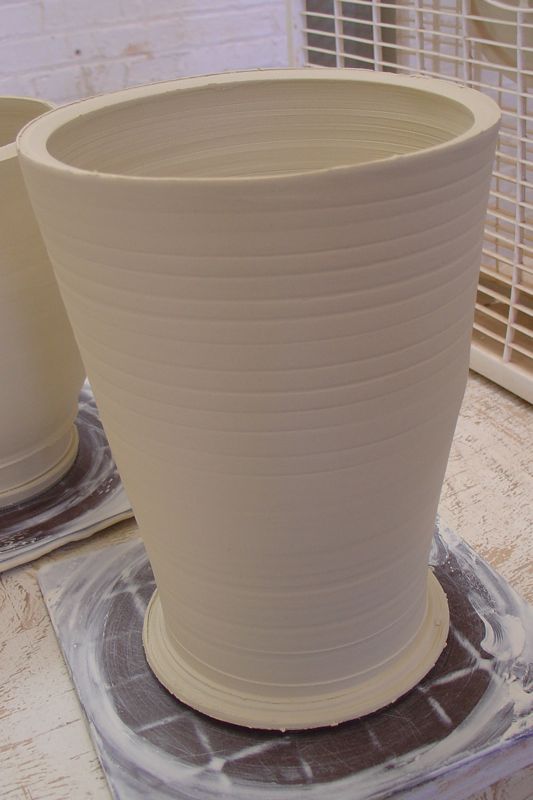
and then making the second piece, which is the top half and will be inverted
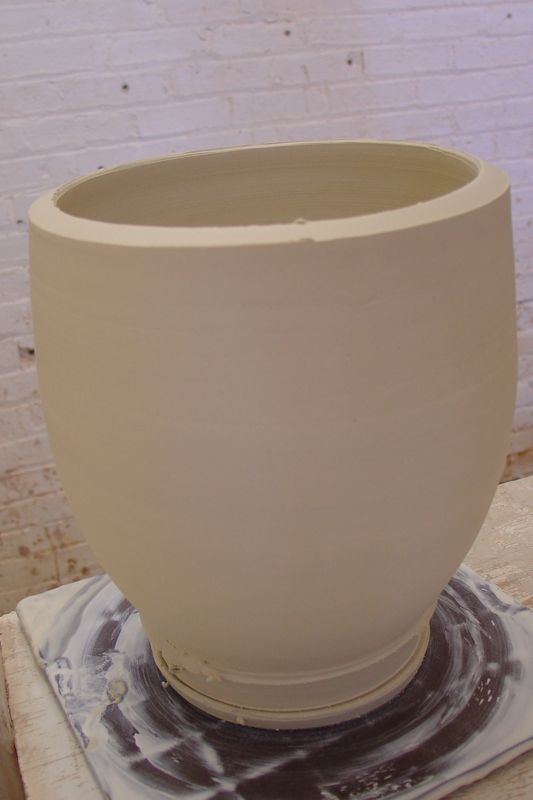
I measured the opening so it would match the size of the opening on the base.
Note: I angled the lip – going in and down on the bottom half and in and up on the top half; and then scored the lip.
The angling maximizes the amount of surface area that will bond together – some people add a coil of clay into the space. I use water to bond the clay but you could use magic water or vinegar to feel secure about the bond.
I left each one attached to its respective bat and let them dry and firm up for about 15 minutes in front of the fan- perhaps longer on a humid day but it’s very cold and dry here today!!
If you throw the base first and then the top, the top will be less dry but that’s okay. It should be a little more flexible and also, it’s not supporting the weight that the base must support.
I reattached the base to the wheel using bat pins (and my trusty but worn Bat Grabber™ instead of clay under the bat.
Then I inverted the top half- it sticks nicely to the bat and lowered it slowly and gently, lining it up as the halves got closer.
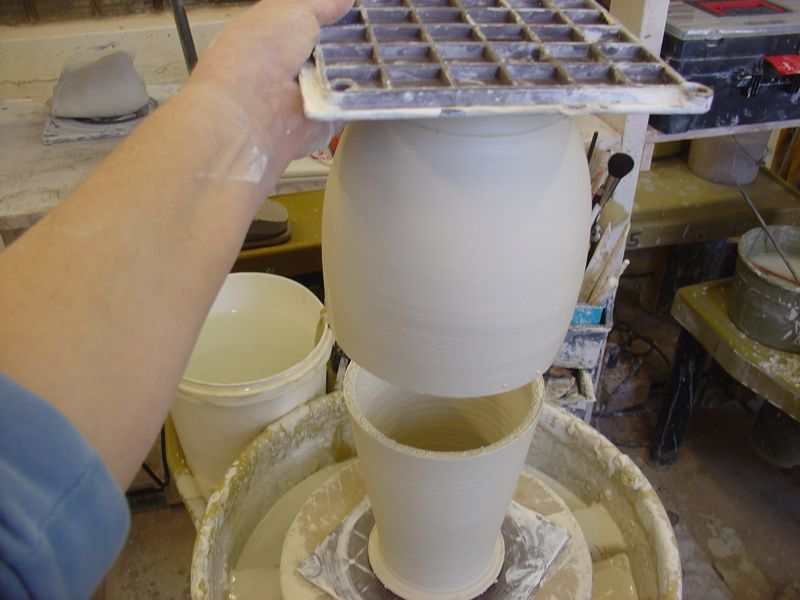
Then, once it’s sitting on there, really lined up, my advice is to blend the edges as much as you can before attempting to remove the top bat.
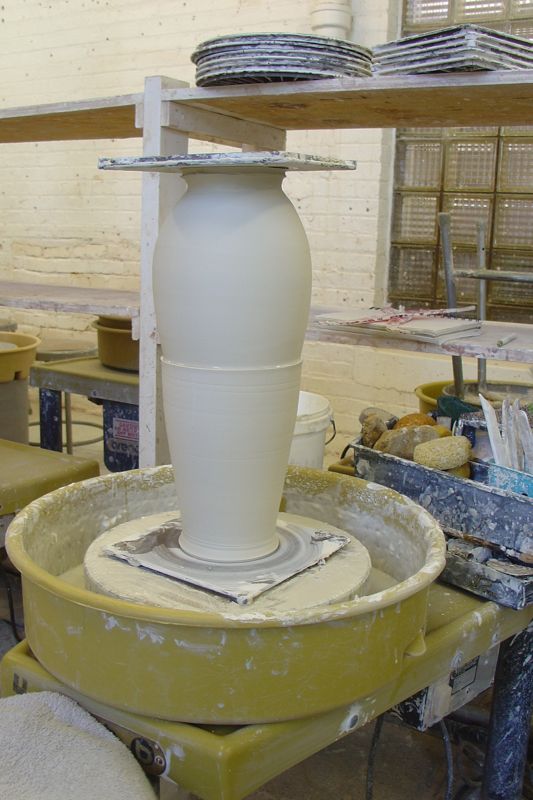
I used a needle tool while the wheel was slowly spinning to cut the top piece from the bat- after I got way underneath, I switched to the wire tool and voila!
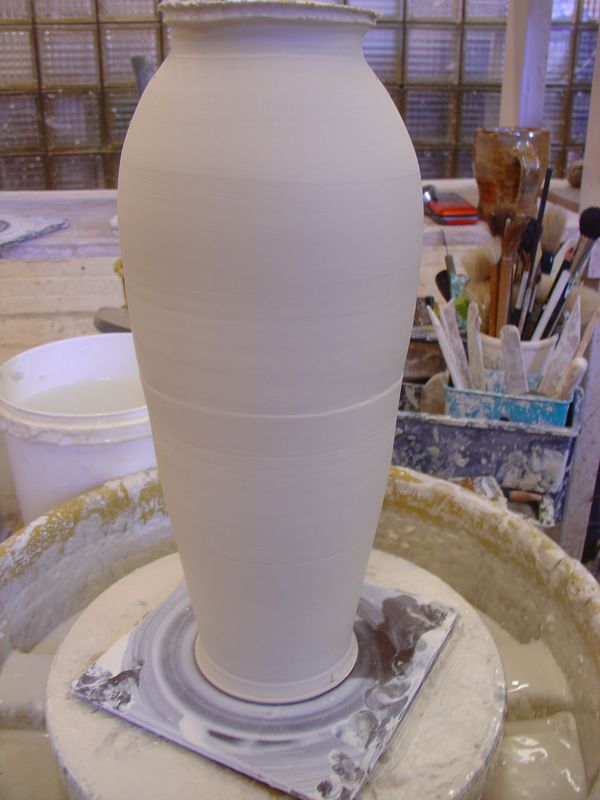
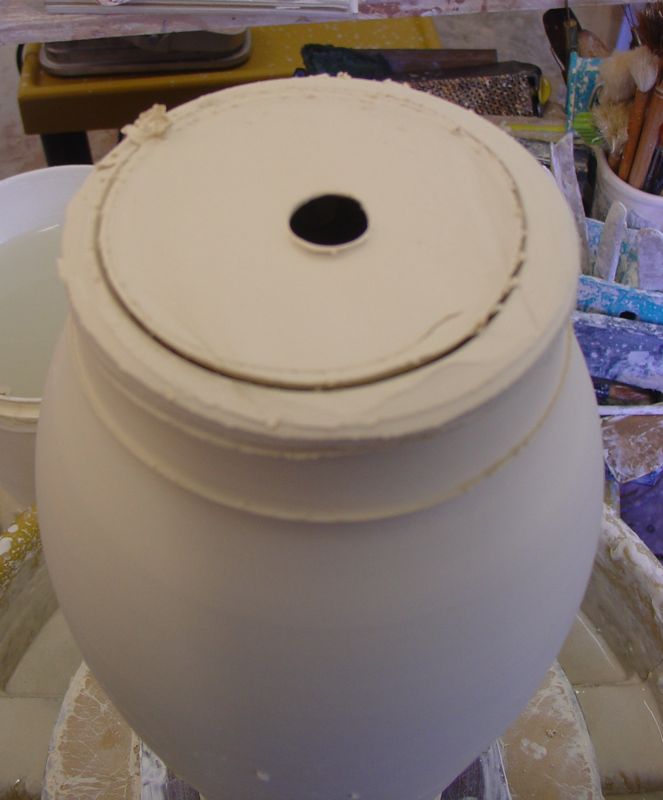
Then I cut away some of the excess clay so that eventually I can throw a better lip at the top.
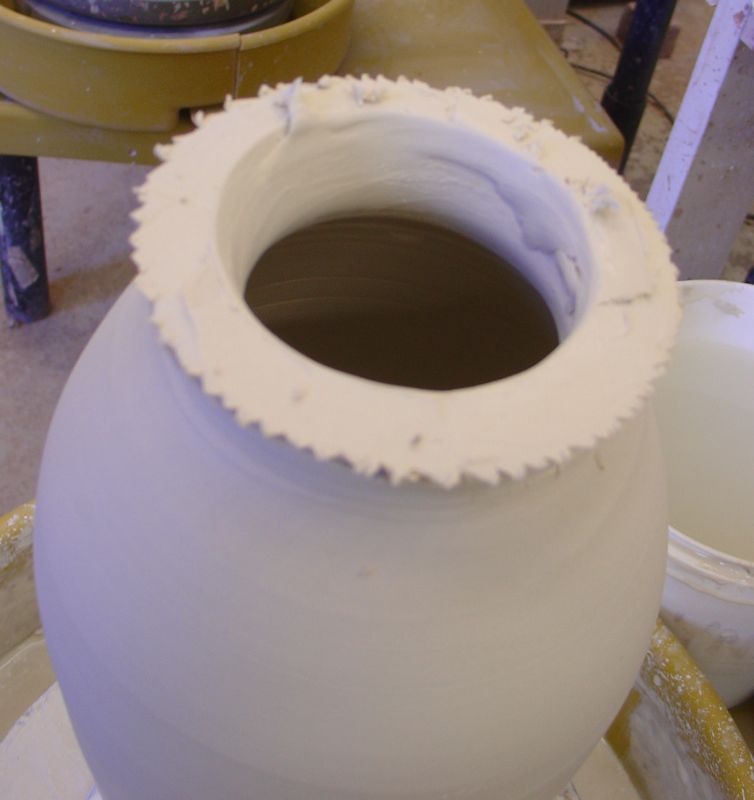
The next step is to seal that join from the inside as well and then begin to pull up the pot a bit more and also to make the shape you want in the end through doing pulls, using a metal rib. I wanted the form to be wider, have a bit more of a belly so I did several pulls where I was pushing out from the inside and also went over it a lot with a metal rib.
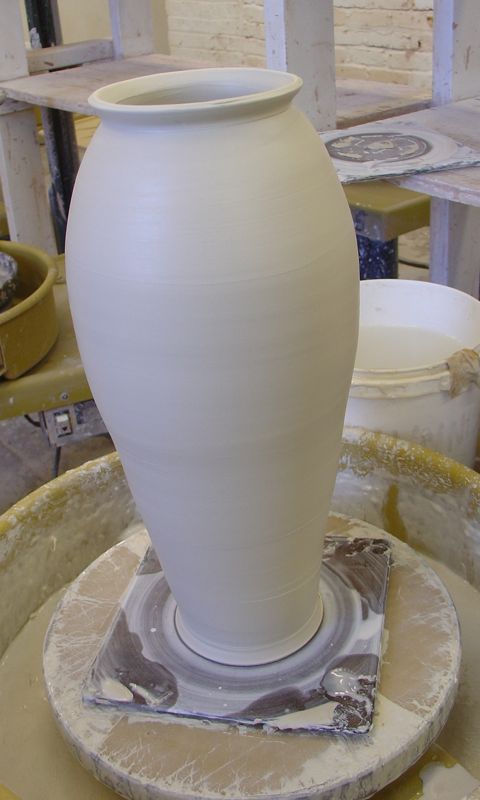
then, if the clay is not too tired, you can form the lip- also pulling it, choking it in, etc.
*A note on wedging and centering: I attempted to make several of these today- the first 5 pieces of clay I used were, I will confess, not wedged, as the clay was pretty hard. I did wheel wedge them but they never felt absolutely centered. Close- but then would suddenly manifest some odd wobble or elliptical base.
Then I reclaimed some clay and wedged each piece 50 times- mostly to make sure I got all the clay integrated- porcelain is so fussy. Those pieces with an internal spiral practically centered themselves. They felt well and truly centered and my results were so much better!
