Slip ‘N’ Surfaces, Week 2
It was a very quiet class this week with just 3 of us but we had a pretty fun time with stencilling.
I did my popular “Birch Platter” demonstration.
I have posted this before but in case you haven’t seen it and don’t want to endlessly scroll backwards through this blog, I will post a quickie verion and also a photo of the ugliest “birch platter” I have ever seen.
The birch platter has the virtue of of having three layers of color with only two layers of slip.
I make a drop platter of stoneware (with iron) and immediately cover it with white slip so that the surfaces have plenty of time to bond. When that slip is not sticky to the touch, I tear newspaper into narrowish strips. You want to tear the strips, not cut them- they stick down better.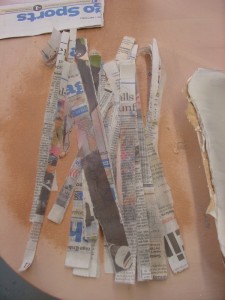 These I spritz down with water and also the surface of the tray so that the newspaper adheres.
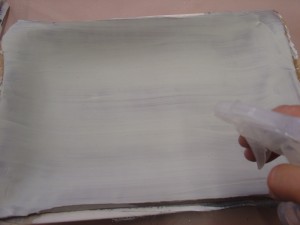
Next, paint another darker color over it- blue for example. Remember to paint in the same direction that the strips run or you will peel up the strips with your brush.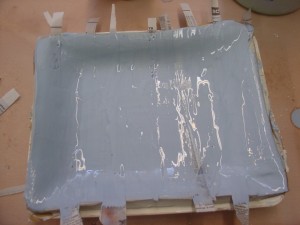
After the (blue) slip is no longer runny, you can pull up the strips.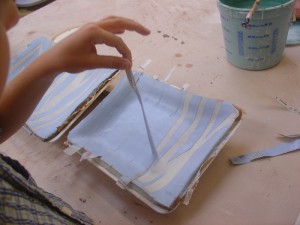
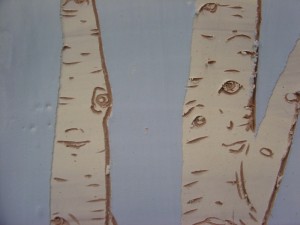
Now you have a cool striped plate. You could stop there 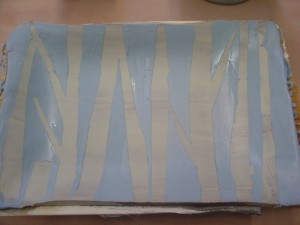 but I like to go in and make birch markings.
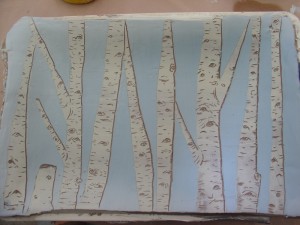
Here is a photo of real trees just to remind everyone. 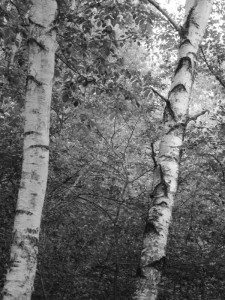
I had a lot of fun this time because I decided the “devil’s hoofprints” (as one student told me) look like eyes and I put lots of faces in my trees for people to find.
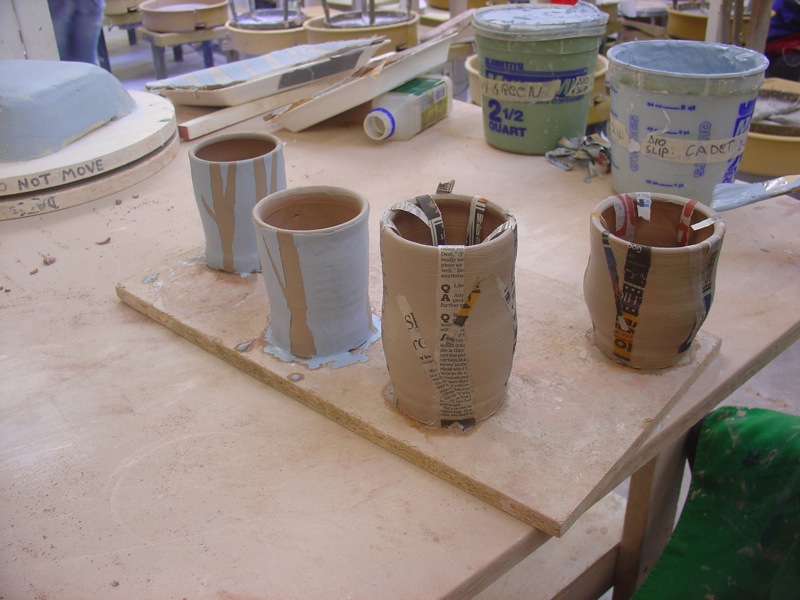
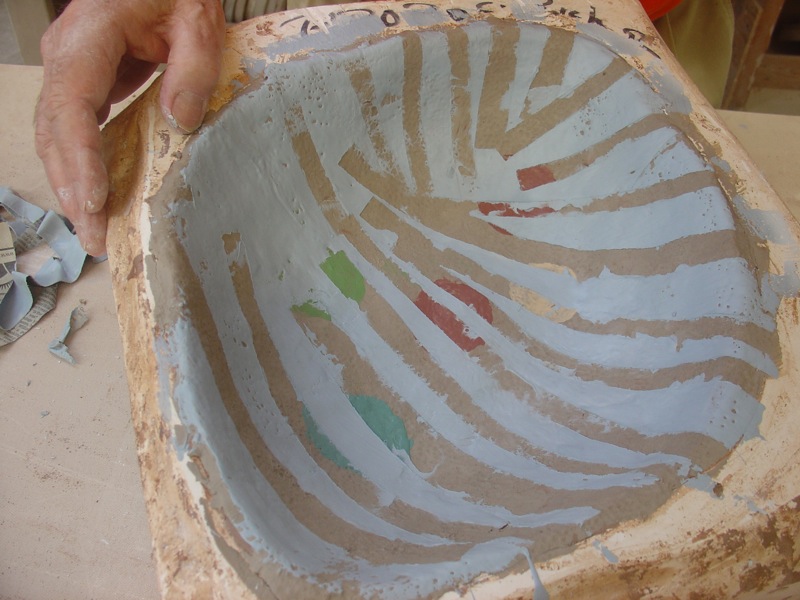
My students seemed to really like this stencil idea and each went with it in their own direction and did a great job:
Jennifer went vertical- on mugs: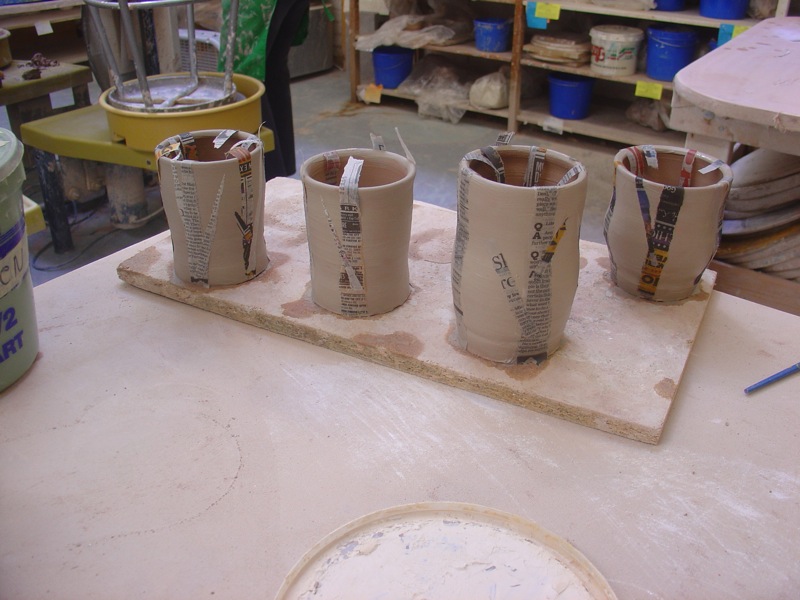
Richard did a bowl- and stenciled over slipped circles: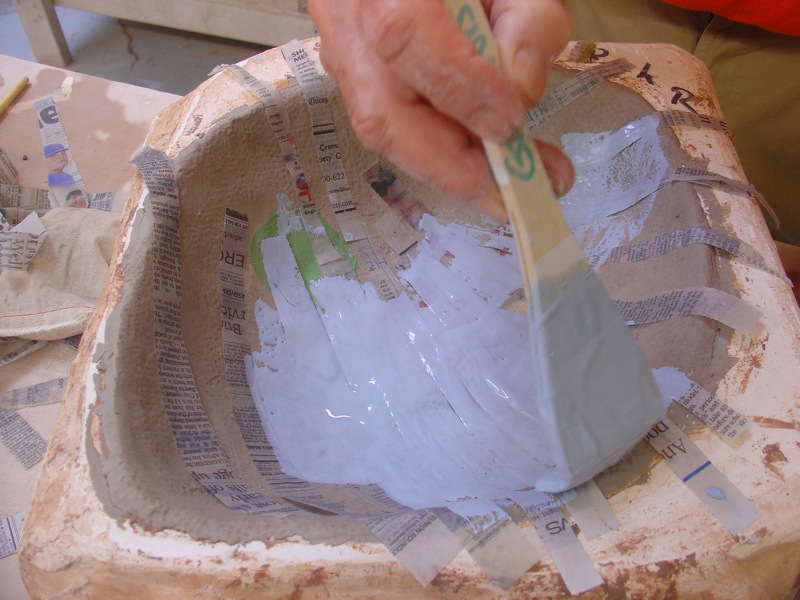
Kelly went non-representational with this pattern: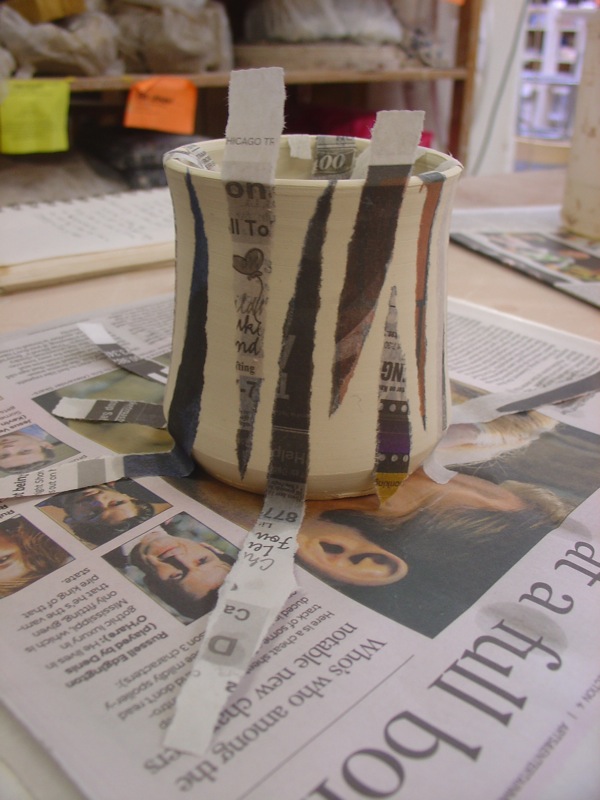
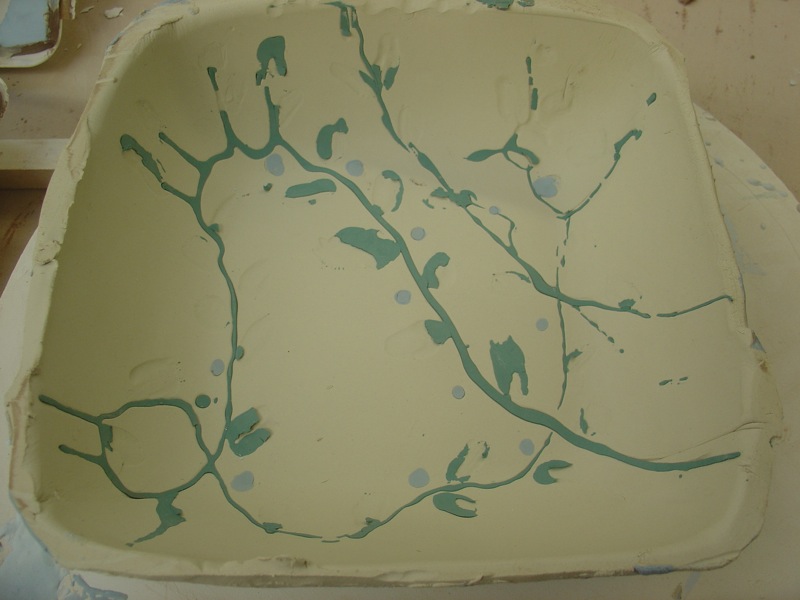
I also tried another thing- something I haven’t done before.
Because I suck at slip-trailing, I thought if I did it onto a plaster mold I might have more control- so I drizzled and painted on a vine. 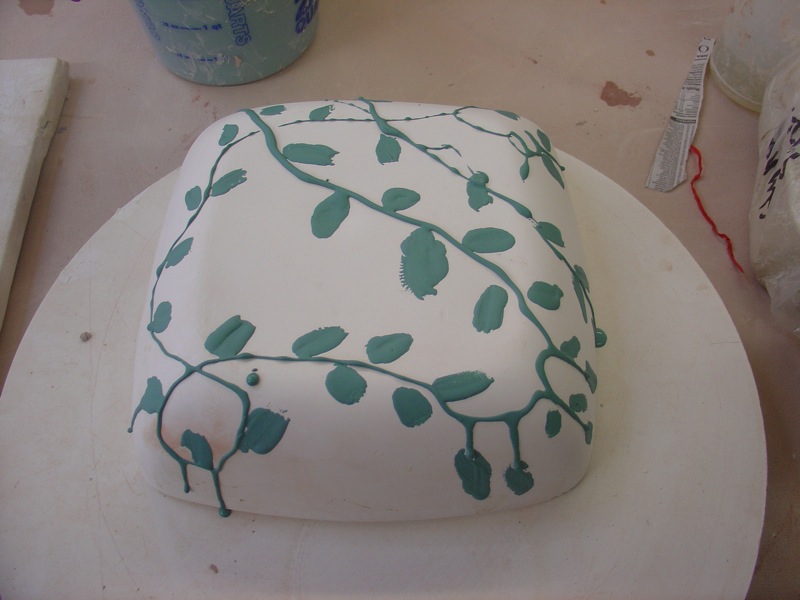 and then laid a slab over it and pressed it down with a brayer.
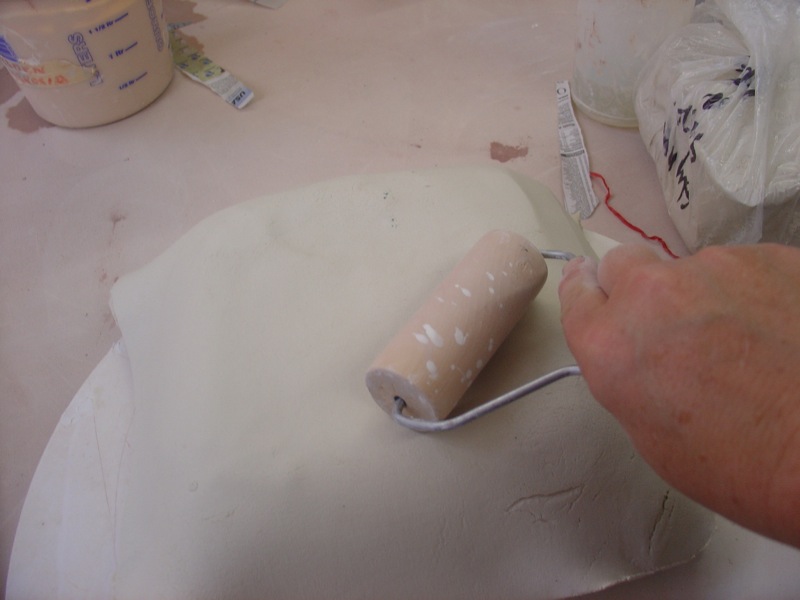 when I pulled it off, the vine was inlaid into the clay but the leaves decided to stay on the plaster mold.
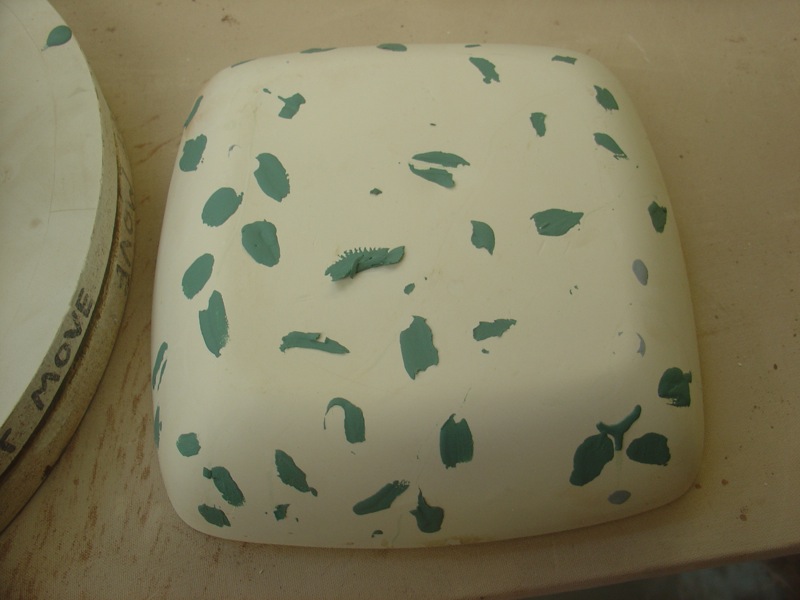
I would not call it a success but I think that anything that was a bit raised- that had any thickness to it, successfully inlaid. Possibly next time, I would spritz it before laying the slab on to facilitate bonding.
Lastly, I promised you a photo of the ugliest birch platter ever. A friend has this- I think it looks like a tree that maybe could be related to a birch caught smallpox or maybe just the victim of a tree surgery gone horribly awry.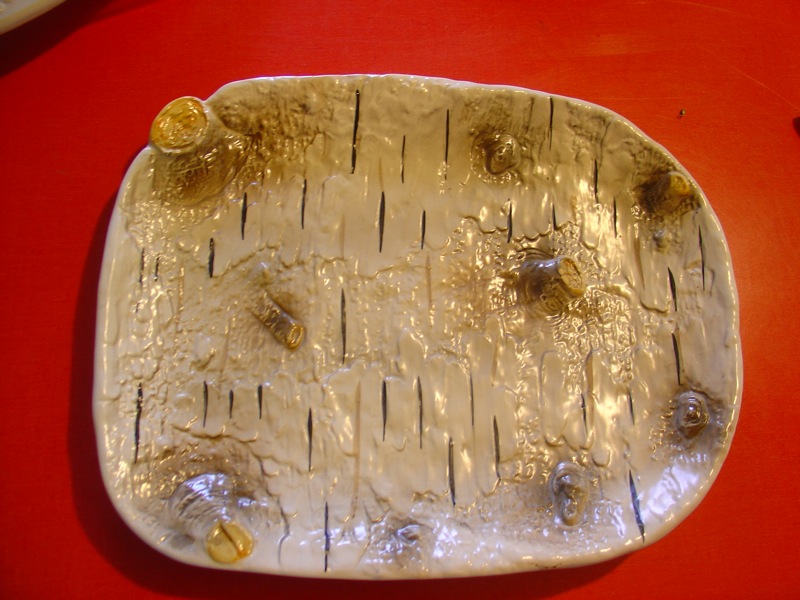
So I hope to see you all next week!

Thank you soooooo much! I missed you all too! This is great! I can see how these processes work. Cool.
It’s not that ugly. Birch with medicated face mask?
Do you clear glaze over the slipped pattern after you pull the paper pieces off?
I bisk the piece first, then I put clear glaze on or a celadon which is looks like a tinted clear- you can still see through it.
First we bisk the pieces and then yes, clear glaze over the whole thing. Or some other glaze.
I like the birch platter!! Very nice