TRIMMING
This week we first learned about trimming since we started with bowls last week.
It’s always a toss-up; bowls are easier to throw but you really should trim the bottoms. Cylinders are harder to throw but you can make them so that you don’t have to trim them.
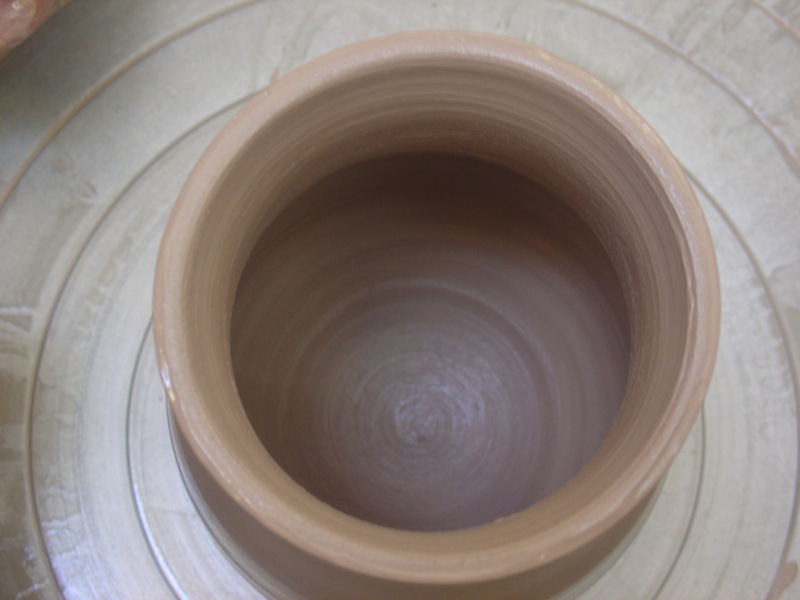
The first step in trimming is often forgotten. You should take a really good look at the inside of your pot- I’m going to say bowl here because that’s what we’re trimming. 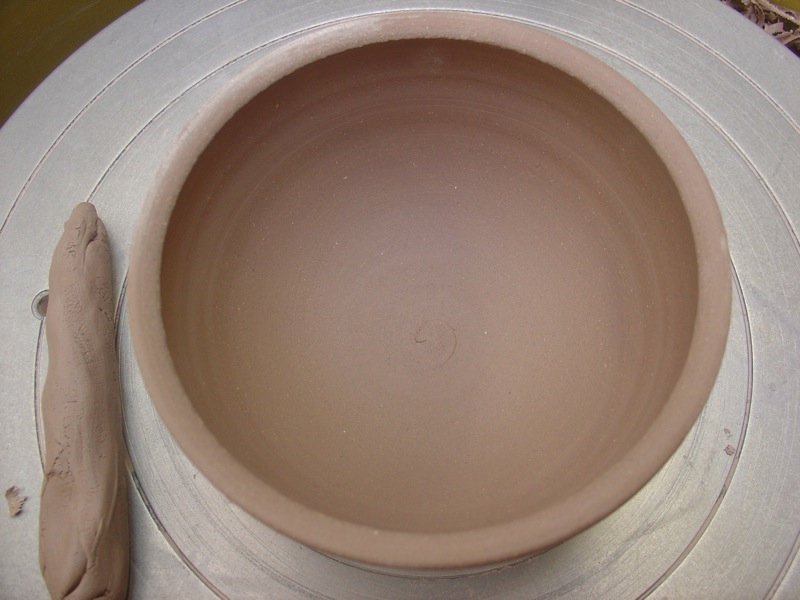 Take a look at the shape of it, try to feel the thickness of the walls and bottom
  and then turn it over. The reason you are memorizing the shape as best you can is that you will be trying to make that same shape on the outside so that your bowl eventually has even walls and the foot should be like a little ring of clay sitting on the bottom of your bowl.
Next, center your upside down pot on the wheel head. Many potters can “tap” their bowl into the center- this is a huge mystery to me. I have never mastered this amazing skill.
Instead, I hold a pencil steady and where it makes a line, I slightly push until it’s even all the way around.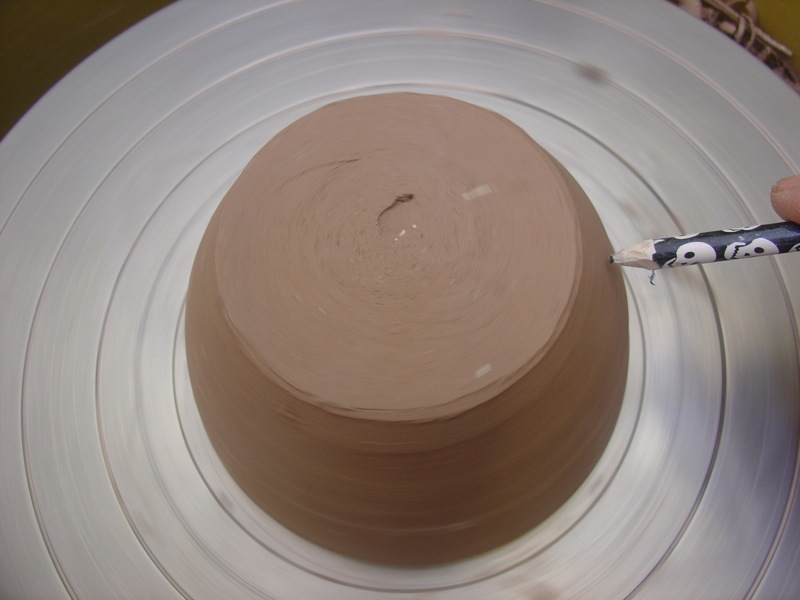 Then I press clay down around the bowl taking great care not to deform the rim- press against the wheel head, not the rim.
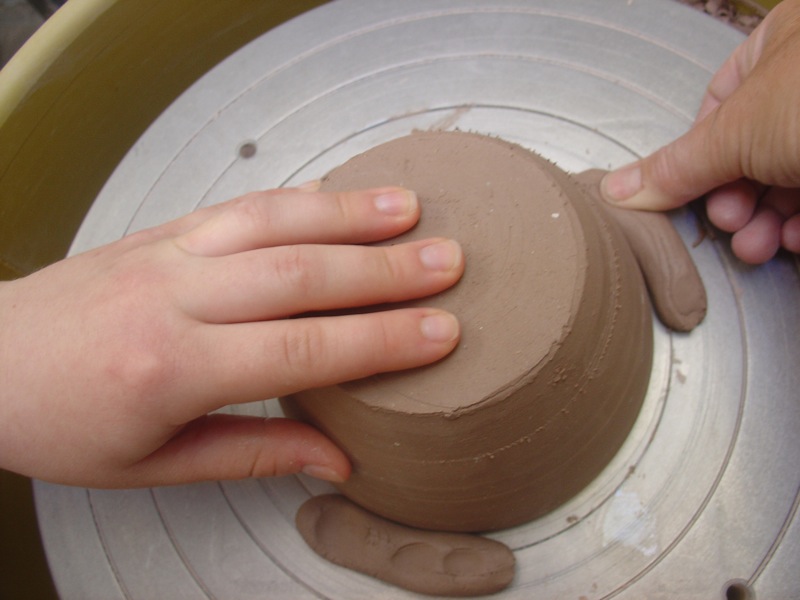
Now tap on the bottom gently, Eventually you will be able to “read” the resonance as to how thick the bottom is.
Now look at the curve of your bowl. You want to continue that curve. you don’t want your foot to be so wide that the curve doesn’t have a chance to get started. You also don’t want your foot so narrow that you have a super-tippy bowl. There is a lot of wiggle room here- it ranges from mixing bowls that have nice wide sturdy feet, like sensible shoes all the way to little rice bowls which have delicate feet like party pumps that you can dance in.
Draw the circle that will be your foot on the bottom 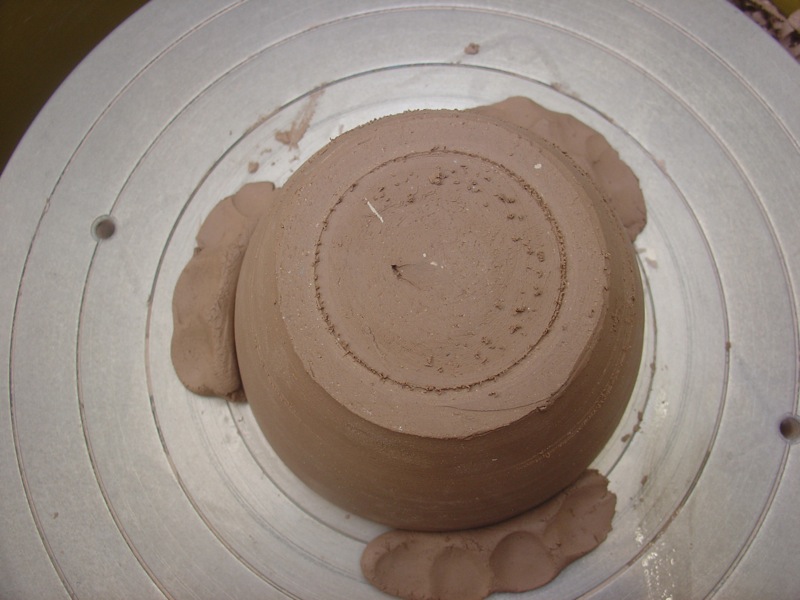 and then
choose a loop tool you are comfortable with and begin to carve away the rest – do not touch inside the lines that delineate the future foot! Remember you are trying to mimic the curve that is going on inside your bowl. this picture is a little confusing because I am holding two tools but only using the big loop tool at that moment. Sometimes I alternate between the two so often that I am holding them both while I trim. I am not using them both at once!
Once you have the shape you can use a wider loop tool or even a metal rib to smooth it and also use your fingers or back of your nail to smooth any rough edges on the foot- you don’t want to scratch your mother’s coffee table!
Cathryn did a great foot right away!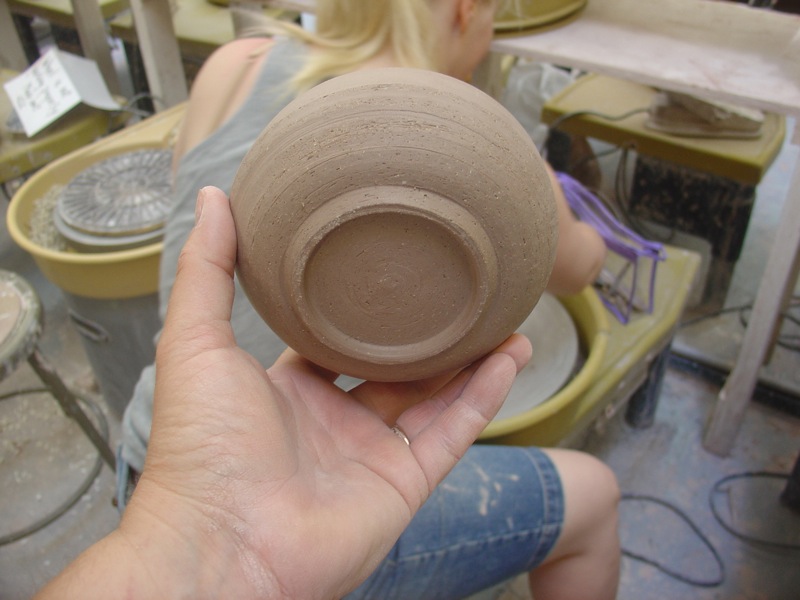
Adrienne did too- and it’s one of those delicate feet.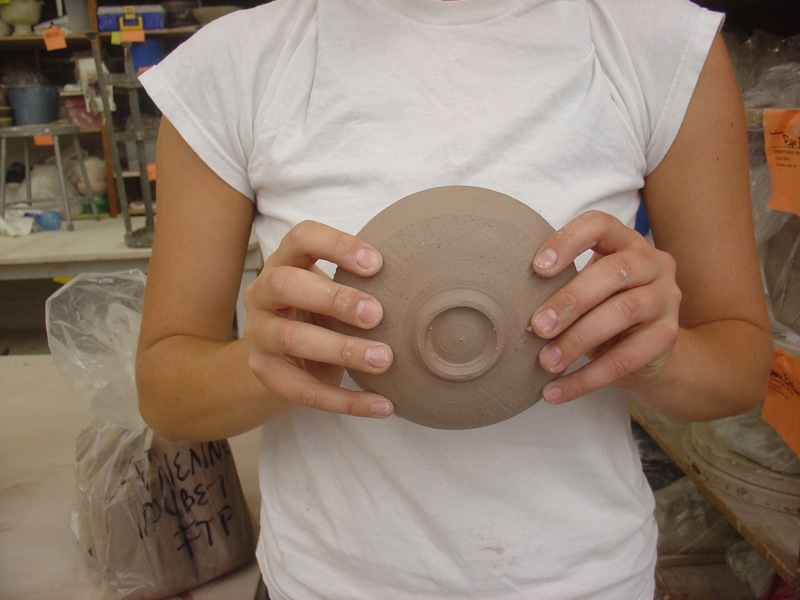
The two most common mistakes are not trimming enough and
trimming too much as one of the students found out to her chagrin:
Steve needed a foot thrown on so I demonstrated that- I did a post about that some time back….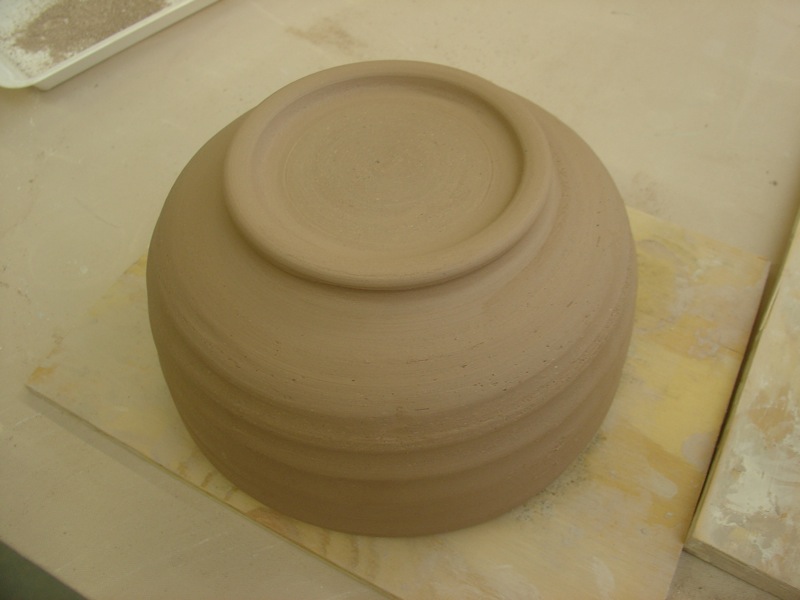
CYLINDERS
Then we tackled cylinders. I started by making a pitcher with a curved floor (as opposed to a flat floor).
You start this like a bowl but then bring the walls straight up.
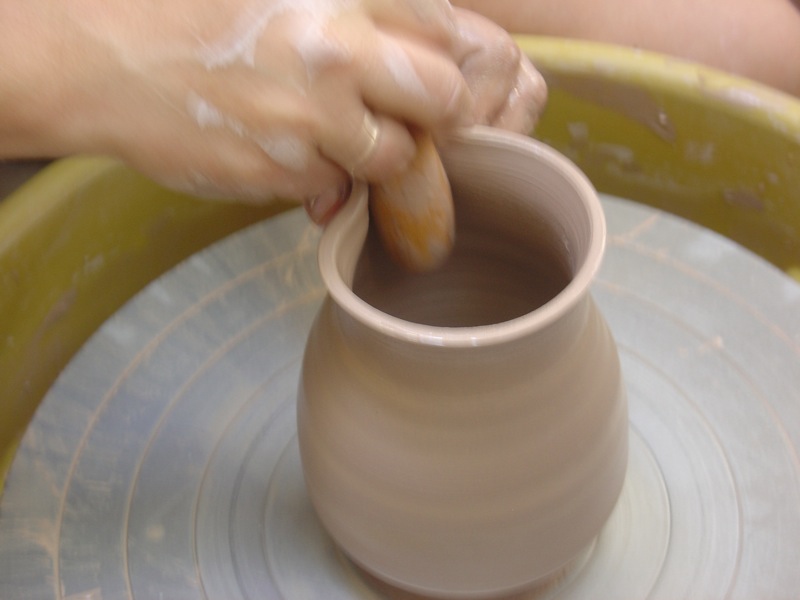
After you collar it in, use a tool handle to make a simple spout.
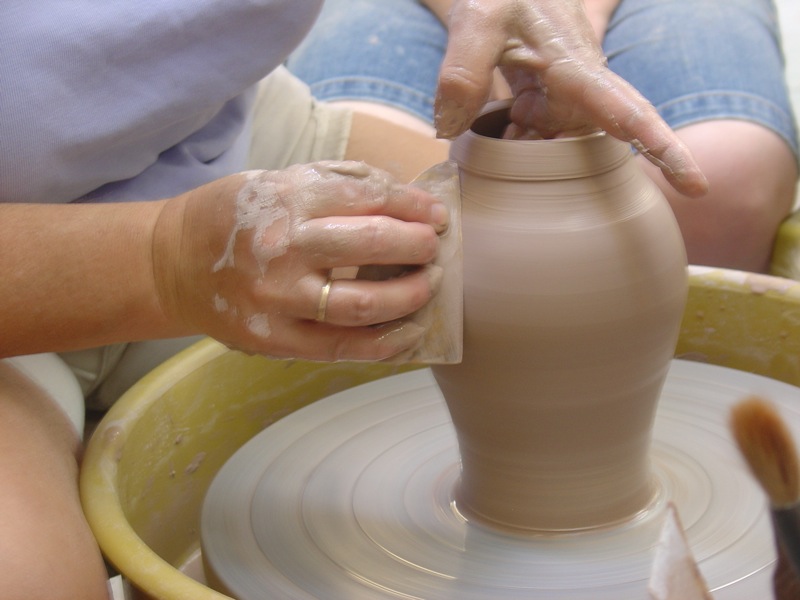
Cylinders, because of centrifugal force, inevitably want to get wider. it is helpful to collar in at the top after every pull 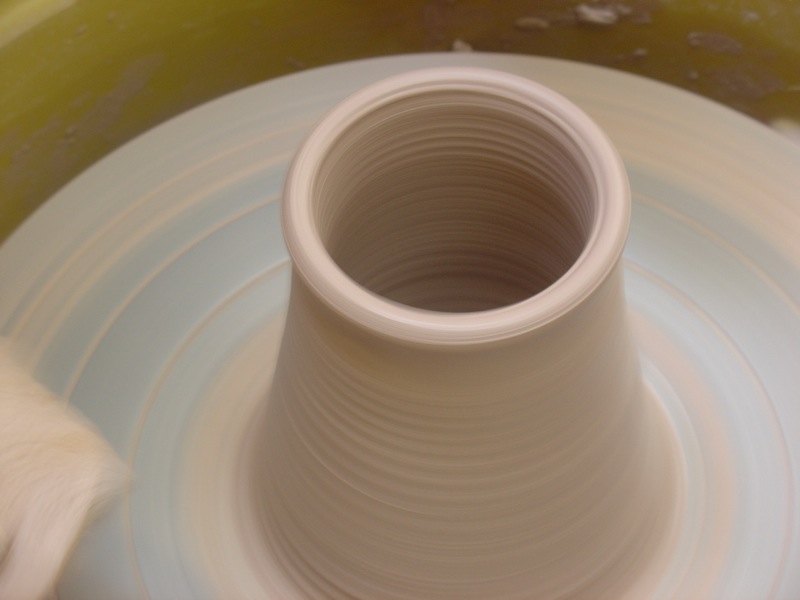 as well as compressing the lip to keep it strong.
Next I did a vase with a flat bottom inside- The trick to vases is to get them as tall as you can and then instead of just choking it in at the top, you must coax it inwards, keeping the wall arched for good support- just like a cathedral!
the finished vase shape Later, I will trim the bottom a little but I will trim it while it is right-side-up on the wheel so that I don’t have to use a chuck.
Lastly, the simplest and most realistic cylinder for beginners to make is a mug. A mug takes about 1lb to 1.25lbs of clay and is a great way to practice vertical pulls and later, attaching handles!
Special thanks to Melissa for taking the photos and also being pretty darned funny!
