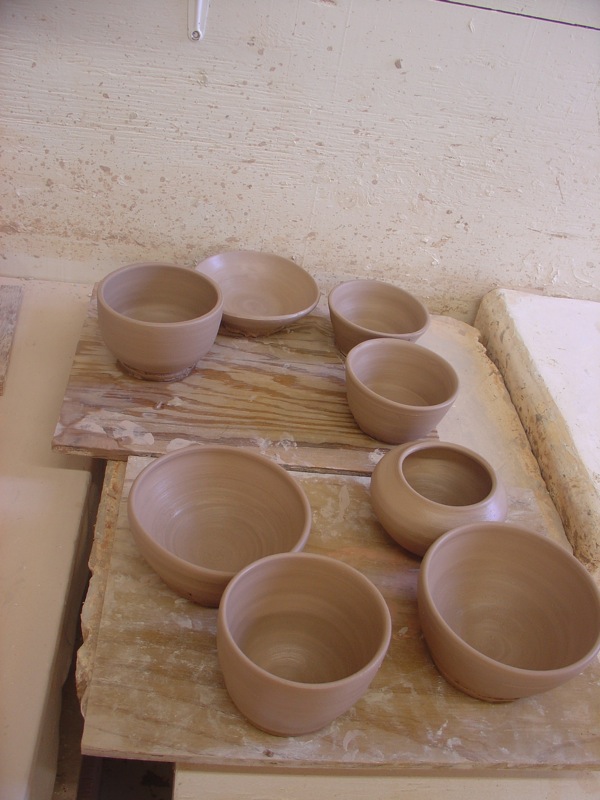
Once again I have the pleasure of teaching First Time Potter and it is always exciting to see people introduced to the joys and frustrations of throwing.
First of all let me say, my class ROCKS! Take a look at these pots from the first class! I am so proud! Aren’t they awesome?
Then, because I’ve posted before for FTP, I thought I’d do something slightly different – as I try to tell my students everything they need to know to make pottery, I realize there is simply too much information to absorb in the time allotted. And not only do they have to learn about the properties of clay, and the steps involved in throwing but also have to learn the systems at the studio. When to put what where! Each stage has a different location and system.
Since it is easy to become overwhelmed, I thought I would write up a list of
The Top Ten Things to Remember When Throwing
(for beginning students)
something like the Cliff Notes™ you would read when cramming for a test
If the test was making a pot that didn’t careen wildly around, laugh at you and collapse.
Really, I should have had the class vote on these but we don’t have the time! Maybe later they can tell me what was the most helpful.
So as a teaching tool and reminder, here is my ultra-subjective
Top Ten Things to Remember When Throwing
- 1. When centering, brace your arms- preferably your elbow against your hip; make your left forearm an “immovable force” (kind of like I’d hoped to parent my teen but failed.)
- 2 .Don’t forget that whenever the clay feels “sticky” to use a little more water! You can end up ripping half your clay off the hump and wondering what you did wrong.
- 3. Remove all the lumpy clay that is at the bottom against the wheel head. You won’t be able to center if your hand is bumping over that. BUT keep the bare wheel-head clean or you will sand off your skin. And. Bleed.
- 4 . After you open the clay, slow down! You will be unable to control the clay when it’s going too fast. (again the teen analogy springs to mind)
- 5. When you open, you set up your future pot- wide base or narrow base, flat floor inside for a cylinder or curved bottom for a bowl. DECIDE NOW.
- 6. Always always always triangulate! Brace your arms, connect your hands! If they are just floating out there you can knock your pot off center.
- 7. When you do a pull, make sure your fingers are directly across from each other. The entire pot should pass through that little space between your fingertips. It’s a zen thing. And try to throw from your wrists, not your shoulders (I know, this should be a separate tip- just count it as a bonus and be grateful, okay?)
- 8. Go on and off the clay in slooow motion. If you remove your hands abruptly, it will throw the pot off. You are Isadora Duncan but without the scarf- because you know what happens with scarves and wheels.
- 9. You can use a rib to compress the sides and remove some moisture. This could extend your throwing time. (If you use a metal rib, it could extend your time in the ER getting stitches. Remember, the clay wants to take your tools from you and hurt you with them.)
- 10. When wiring off the pot, stretch the wire very tightly and push down against the wheel head. The wire’s inclination is to rise up as it encounters resistance; (TEEN!) if it does this, it can cut a hole in the bottom of your pot. Then you have a flower pot. Every Time.
Okay ! So I hope these are helpful and I look forward to my next class!

I LOVE this. Especially the teen analogies. Gotta go now and throw my teens against the wall. Or will they take my tools and use them against me? Or should I try the Gentle-Hands-Off approach today?
Hey Girlie,
I love your sense of humor! These basics are priceless. 🙂
Hi Glynnis! I didn’t get your initial email (I’m in your FTP class) but Kathryn forwarded it along. Thanks for the tips! You’re great (and made me laugh out loud at least 4 times while reading this).
Thanks Melissa! I’m really happy about the laughing- definitely a goal for this post.
Thanks this is very helpful. I did practice but I really wish I would have read #3 above a few more times. Ouch!
This is great Glynnis! I know it’s what you’ve been saying in class but sometimes it’s helpful to read it as well. See you next week!
I’m back in the studio after seven years, I love the tips! Thank you!
Well, I’m back in the studio after . . .40 years, and am having so much fun it ought to be illegal. Glynnis you’re thoughtfulness in posting helpful hints and sharing so much with us all is a true gift. Keep that wheel head spinning.
April, thanks so much for your kind words. Wishing you lots of luck and lots of fun!!
This is fab! I’ve printed it off and stuck it on the wall above my wheel. Thank you. Precise, accurate and witty – which describes your list, and also (coincidentally) how I’d like my throwing to be.
Hi, I’ve had you as an instructor at NCC. Its great to see your tips in writing and reinforce what I learned from you. And of course I love your attitude and humor.
Sally, thank you so much! Me too!
Kay thank you so much! It’s so nice to hear from you.
Thank you for your 10 most wanted encased in a sense of humor. Your information is invaluable and inspirational. Keep me posted with any new information.
Who would not adore such a teacher!
you are very kind! thank you!