Drop plates and the “Eric Jensen Method” of throwing slabs.
For week 1 of Handbuilding, I demonstrated :
Throwing a slab,
Making a drop plate
The Eric Jenson method of putting slip on a slab
Double pinch pot method (please see class 1 of my First Time potter blog)
Making a slab into a cylinder
Putting feet on a slump- molded form
BIG thanks to Leah for taking these pictures!
Throwing a slab is not as easy as it looks but just takes a little practice.
Wedge your clay in a spiral wedge
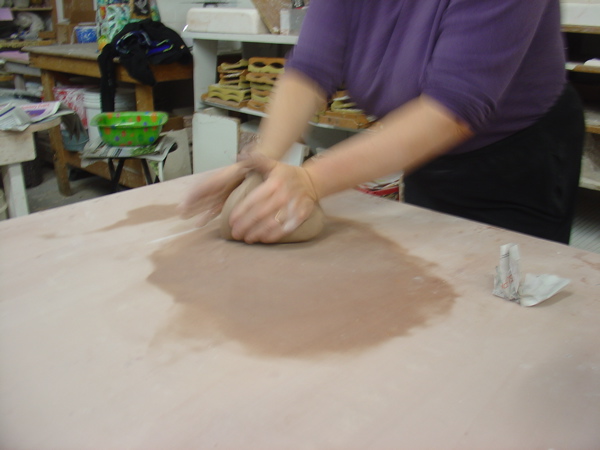
and then flatten it to about an inch and a half.
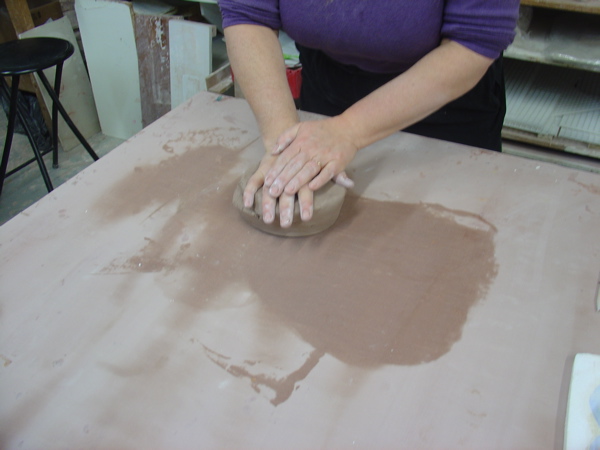
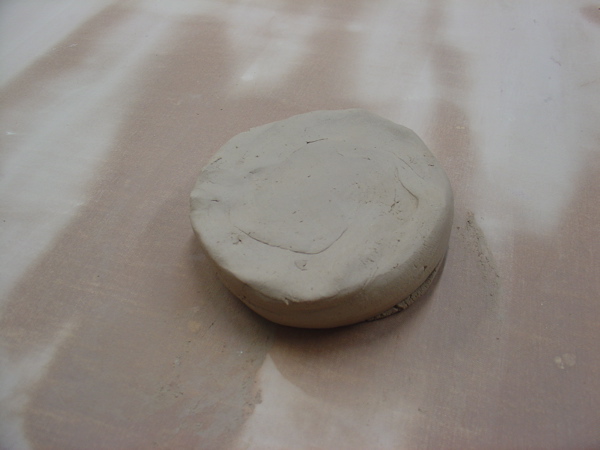
Then throw it down on the table but as you throw it, try to drag the back edge so it catches on the canvas and stretches as it tried to slide across the surface.
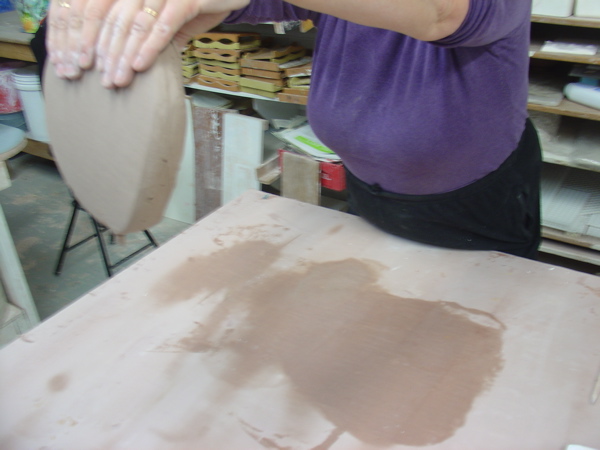
Pick up the piece from a different side so the piece is rotated and throw it again. Take care not to hit the leading edge of the slab down first or it will just wrinkle up.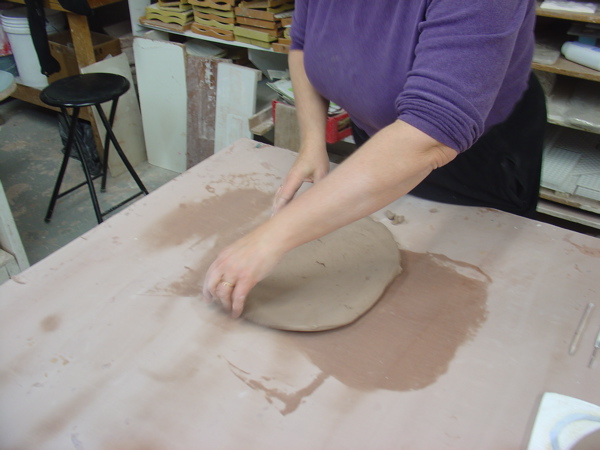
continue doing this until your slab is the desired thickness. I don’t recommend making the clay too thin or it will be too weak to build with.
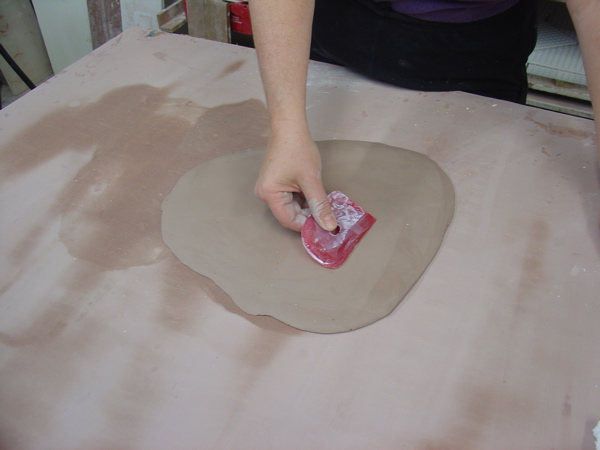
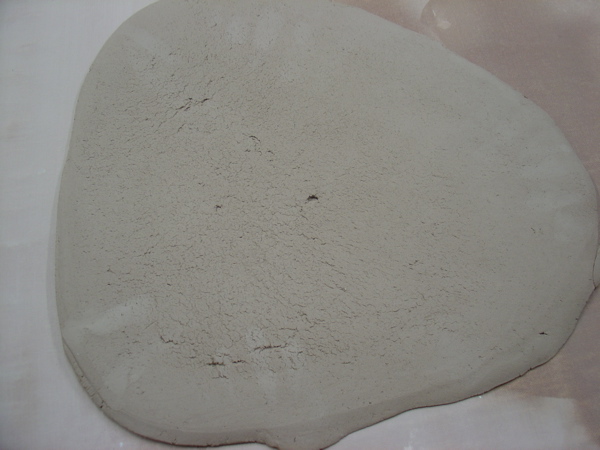 Then smooth the surface and eliminate the cracks and canvas texture by gently “wiping” the surface with a rib.
Eric Jensen did a demonstration of his technique years ago at the old Lill Street when he still had a studio there.
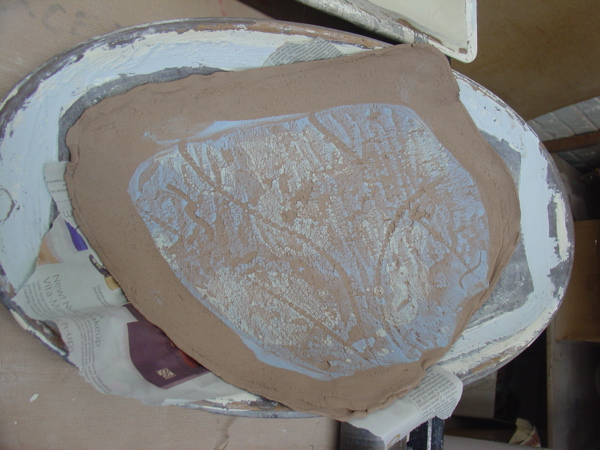
Prepare the clay as above but stop when it is at the inch and a half stage.
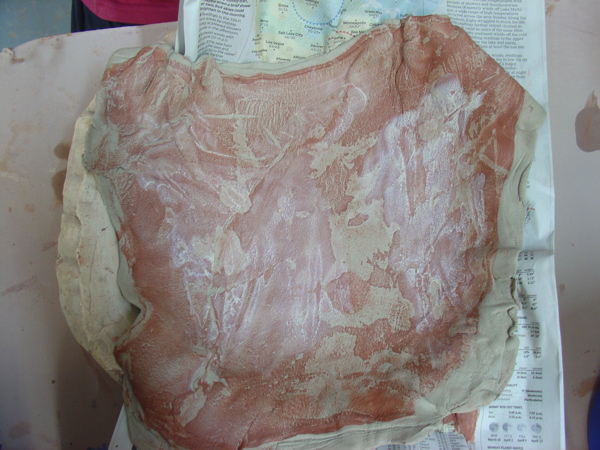
At this point apply slip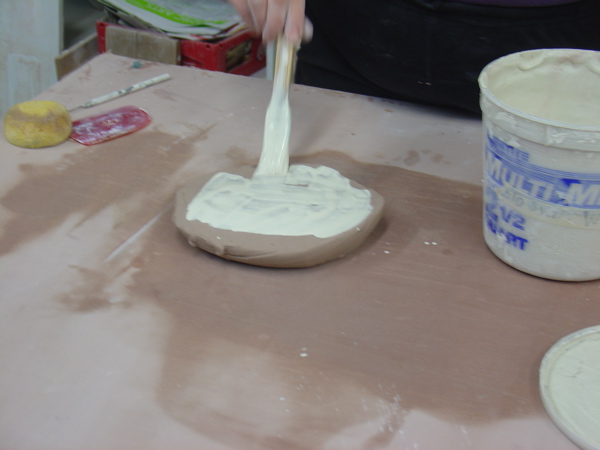
and then gently apply a single thickness of newspaper to it to absorb the moisture of the slip. We are trying to “dry out” the slip so that it is less plastic than the clay body underneath it.
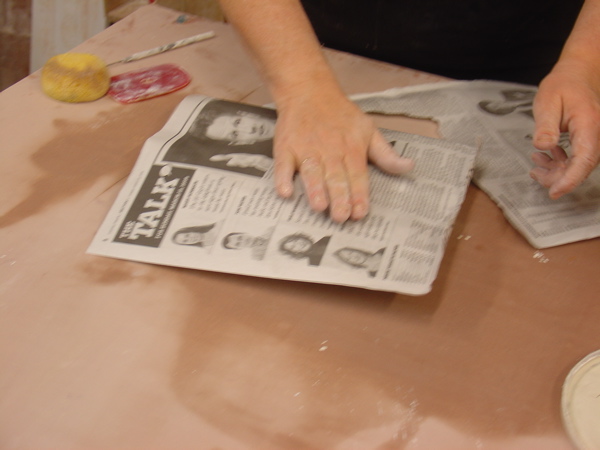
When you see the moisture has soaked the newspaper sheet, careful peel it off and apply a new one. Some slip may come away stuck to the paper.
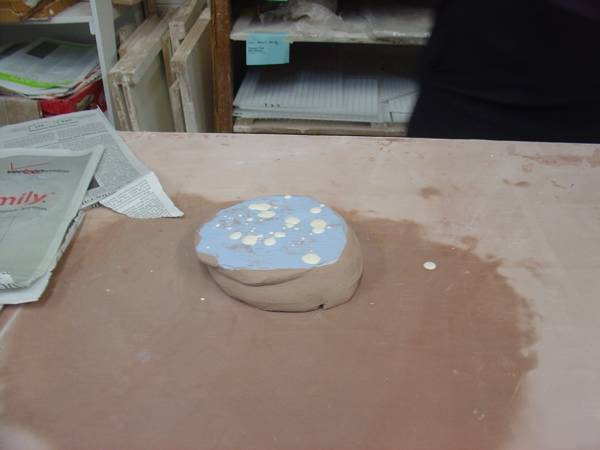
Keep applying paper until your slip is no longer shiny and you can touch it without it adhering to your finger.
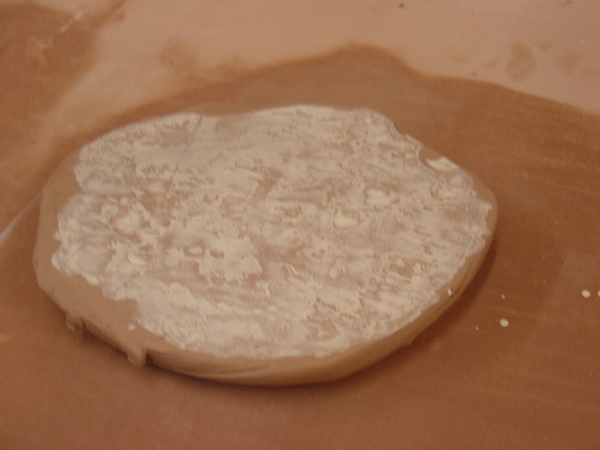
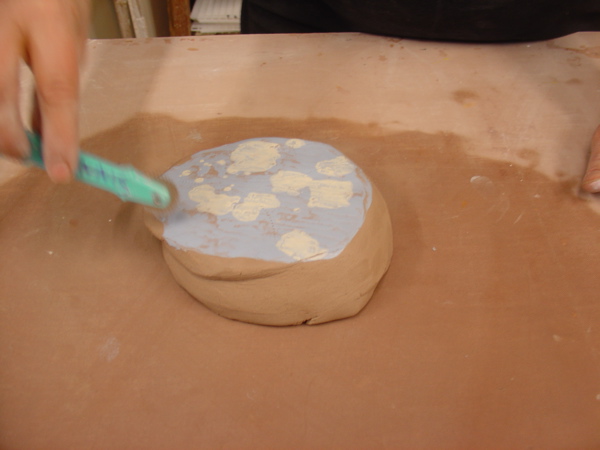
You may then add a second color slip or make lines in the slip.
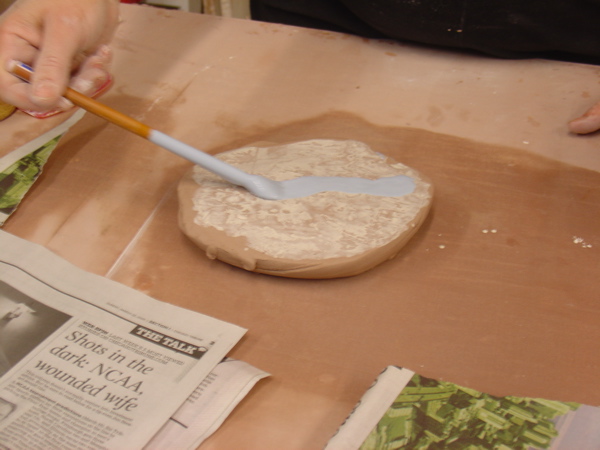
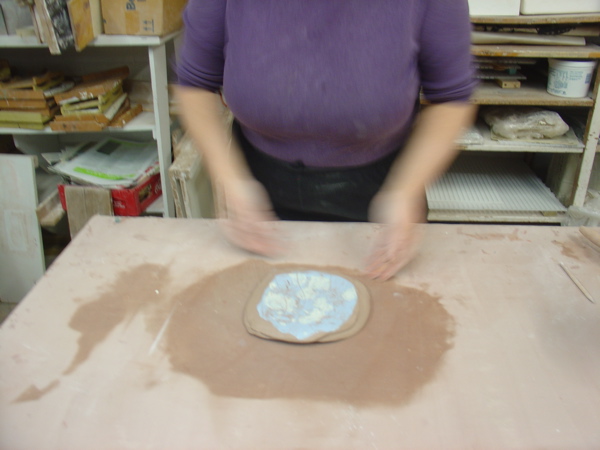
Then throw it out as you would a regular slab
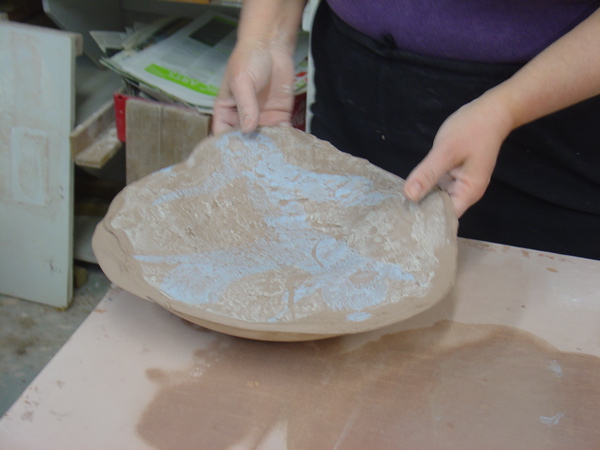
EXCEPT
you can not flip it over. you must keep the slip side up.
here is the final result:
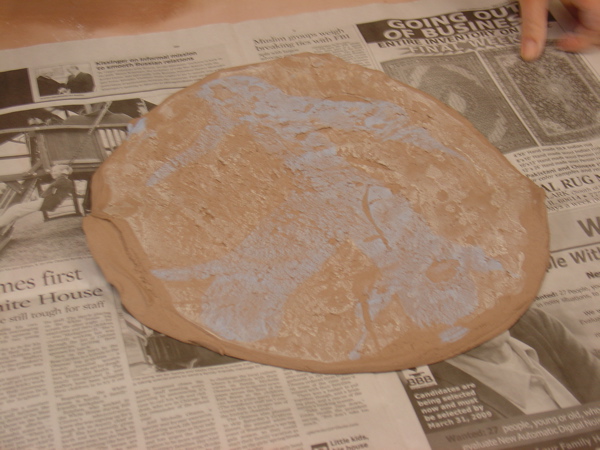
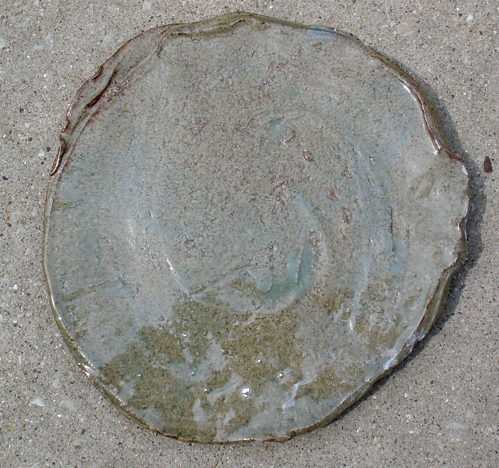
here is another series: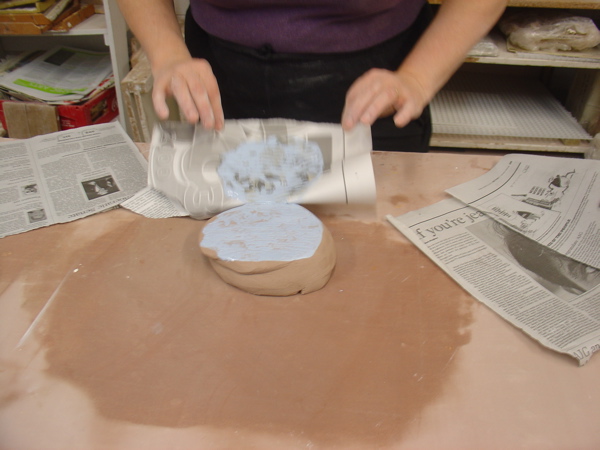
 close up
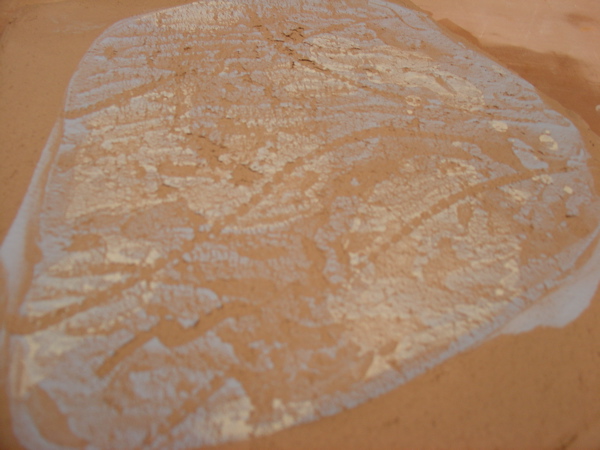 note how the slip has cracked. This is because when we dried it, it became less plastic. When we stretched the slab it cracked rather than stretching.
Once it is stretched out, you get a wonderful distressed surface that you can leave plain or add further decoration to.
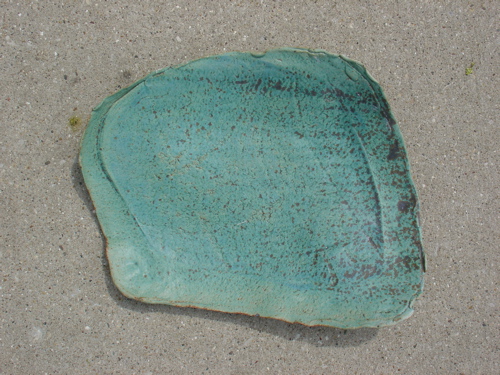
These are all drop plates.
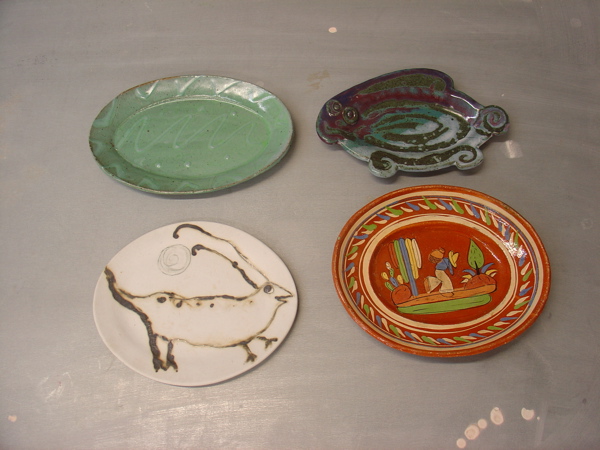
Basically you put a slab of clay over or into a drop mold–It is easiest to transfer the slab by carrying it on a piece of newspaper.
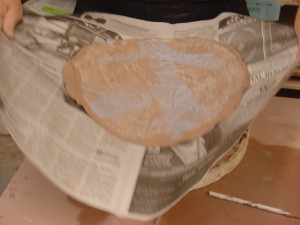
If your mold is nonporous, the clay will stick to it if you don’t put newspaper or plastic over the mold
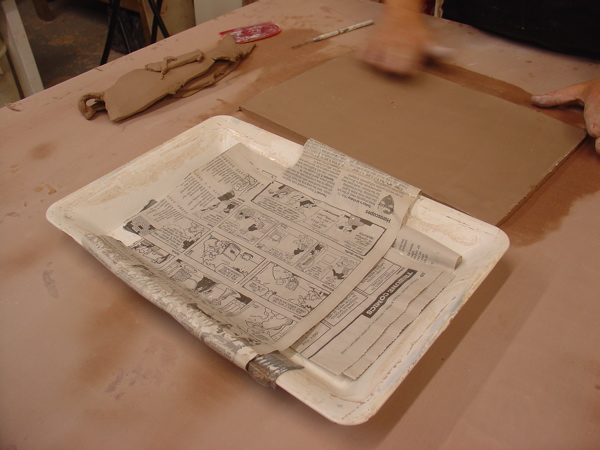
— and then drop the mold so the clay sinks down into it without you having to press it in. If you must press it in, use the softest, largest part of your hand- the heel of your hand.
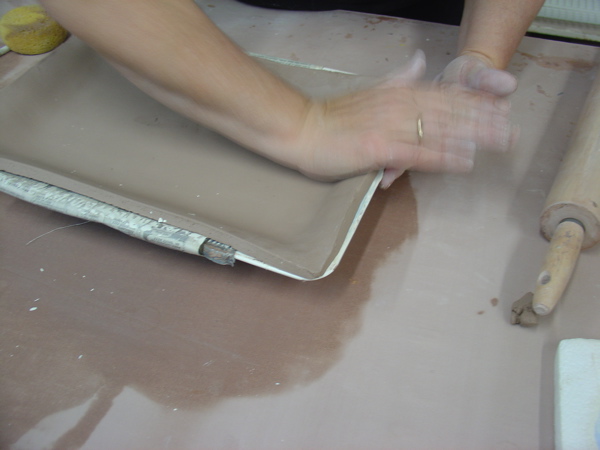
So many things can be used as drop plate molds. Trays from the junk store, Styrofoam with a hold cut in it- after I put the clay on, I cut out the leaf shape,
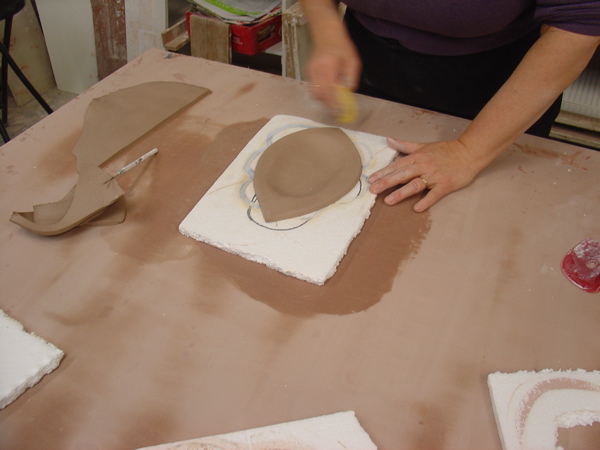
or even make your own mold with coils of clay on a board as I did for this piece.
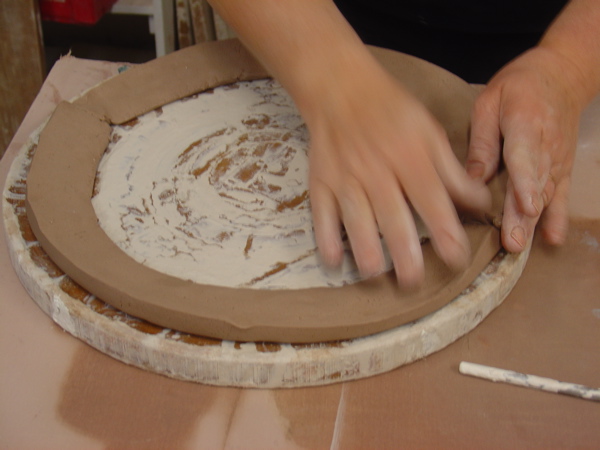
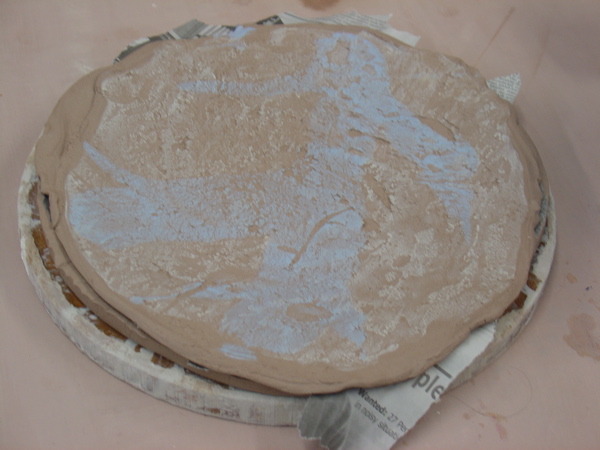
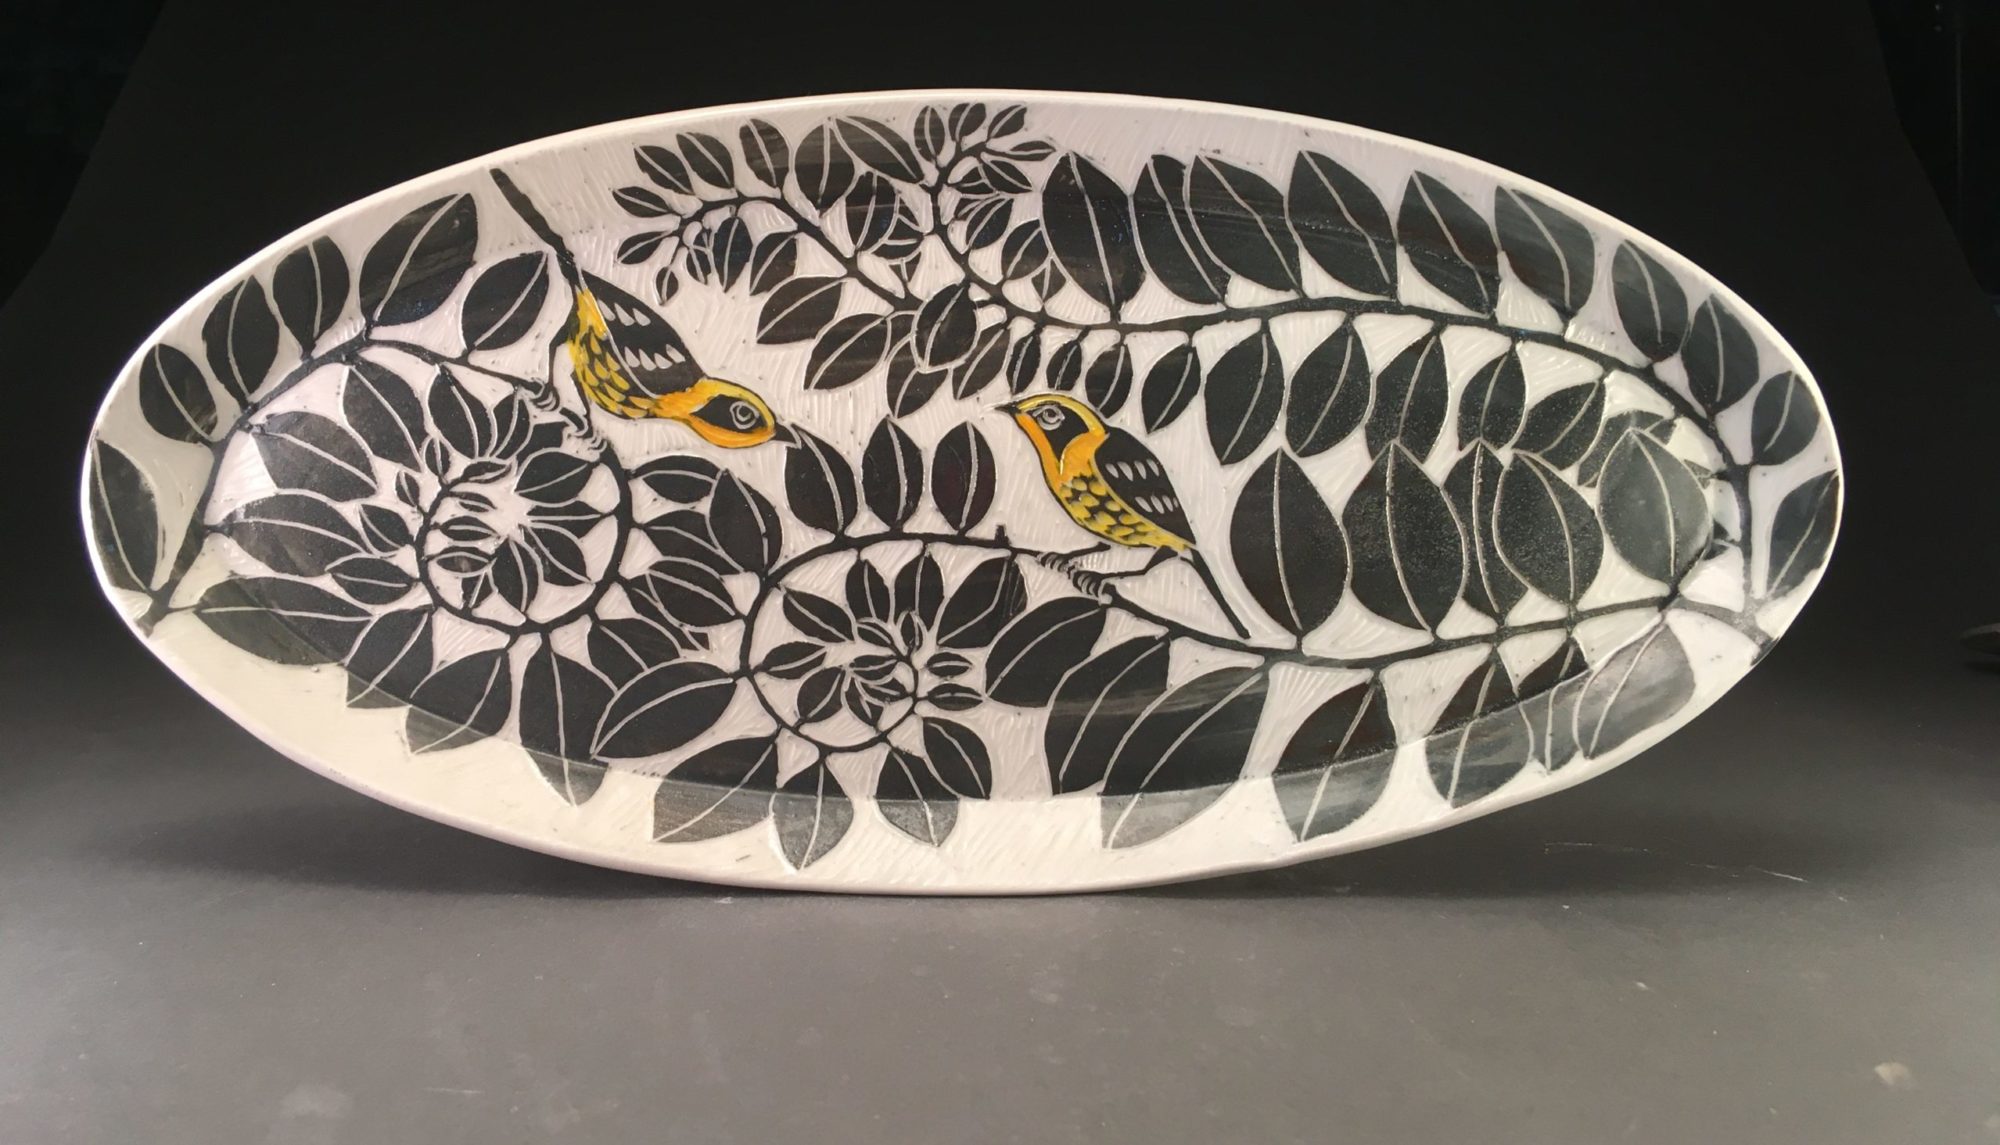
This is one of my student’s pieces – I think it looks great!
