Extruder, coils, Inlaid slip
For Week 3 I demonstrated:
How to use the Extruder – I made coils for a
Coil pot- face jug
Inlaying slip- surface decoration of last week’s boxes
Thanks to Roya our photographer this week!
The extruder is a good tool to make long, even coils or even hollow tubes.
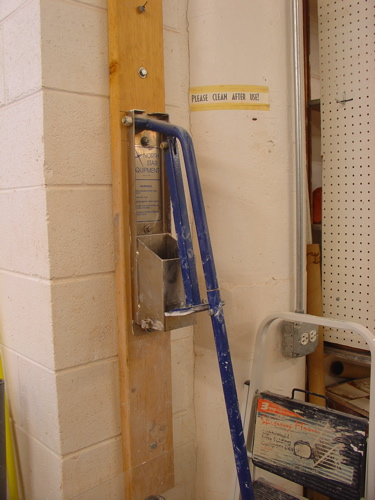
These can be handy for any project where you need even sized or a large quantity of coils, handles or production of tiles among other things as with all things clay, the possibilities are endless.
I only caution you that because the clay is being processed by a machine, if you do not transform it, it will lose that “touched” quality and also its connection to us humans because of surface quality and scale. It is different than throwing even though that uses a machine and also different from pulling a handle or rolling a coil where the chief “tool” is our hands.
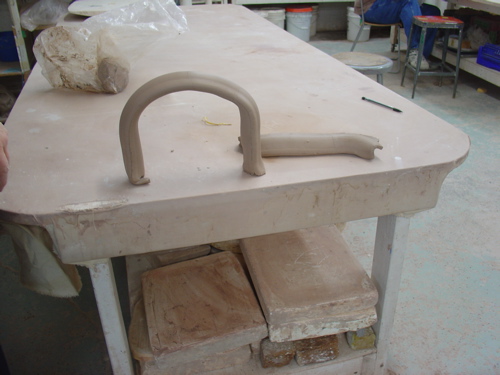
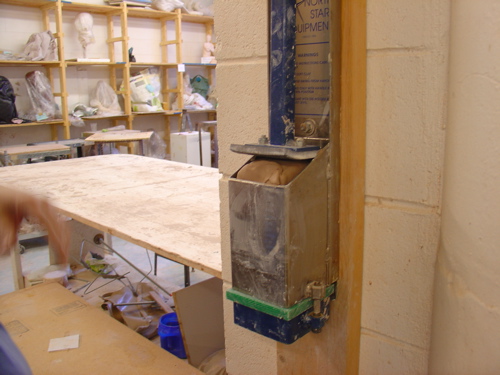
Set up the extruder by choosing a template (there is a box with many shapes and sizes to choose from)
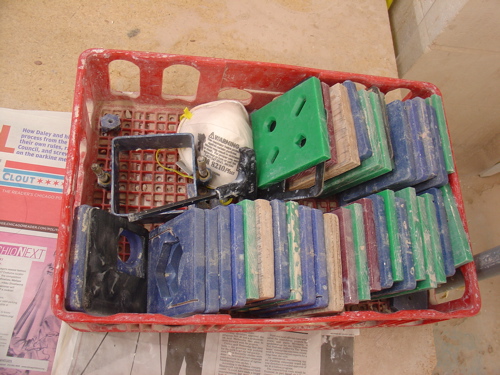
and, if there are 4 holes,
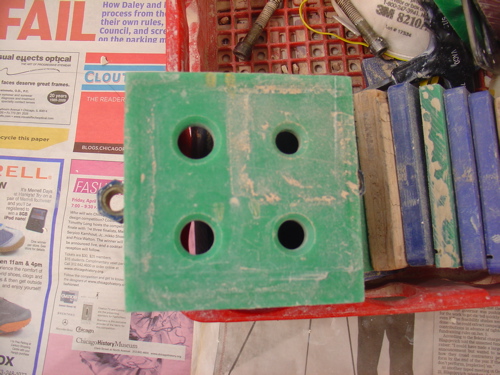 putting a screen over 3 of the openings.
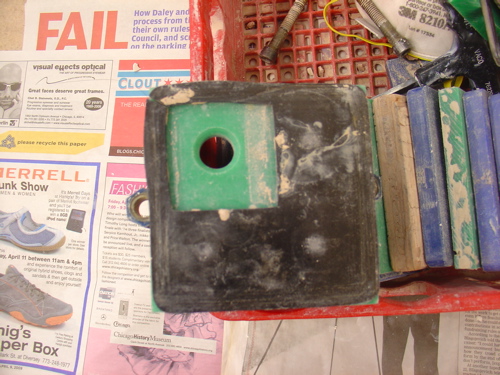
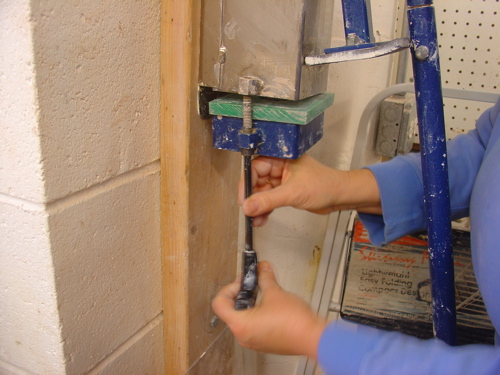
Then bolt the template and screen firmly to the bottom of the extruder. Use to the tool to tighten it or clay will leak out.
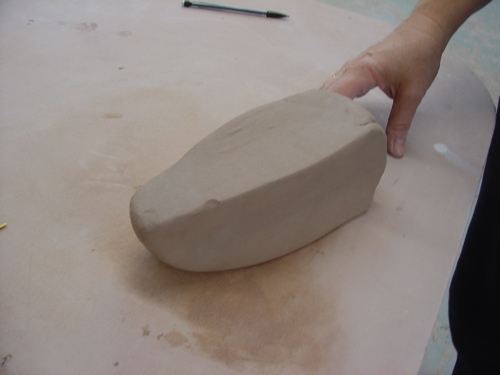
Wedge up your clay and make it into a sqare shape by tapping it against the table.
 Place it in the barrel of the extruder and position the plunger over it and bear down with a steady pressure.
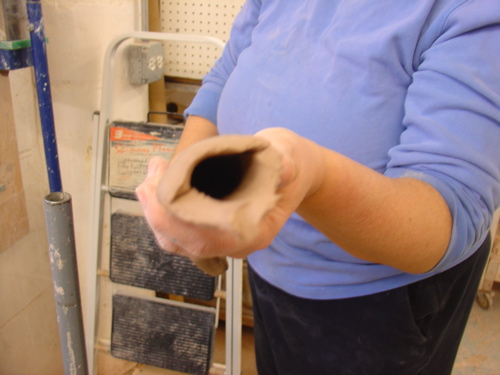
 to make a hollow extrusion, you use two parts- a “float” that sits in the middle of your template or jig opening.
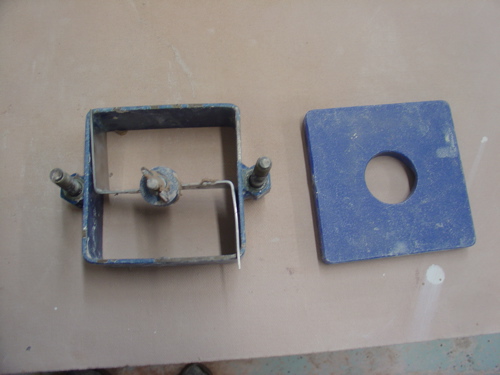
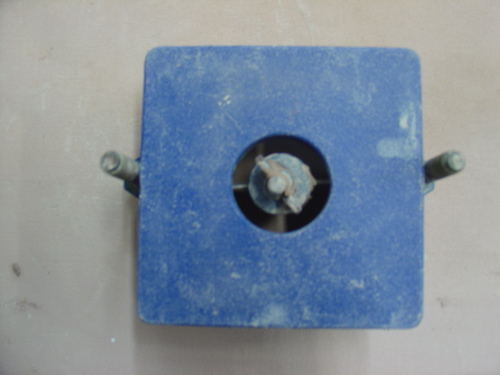 then attach as before and proceed
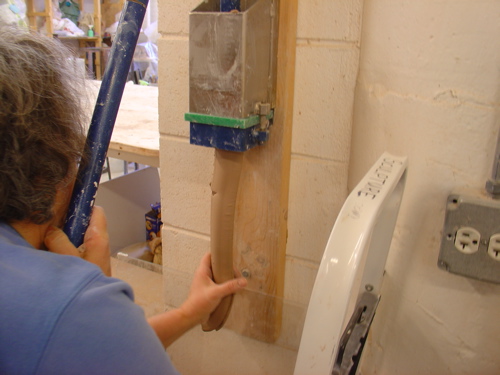 The clay is under such pressure that it rejoins on the other side of the float. Here is the end view of the extrusion
I made a quantity of plain coil
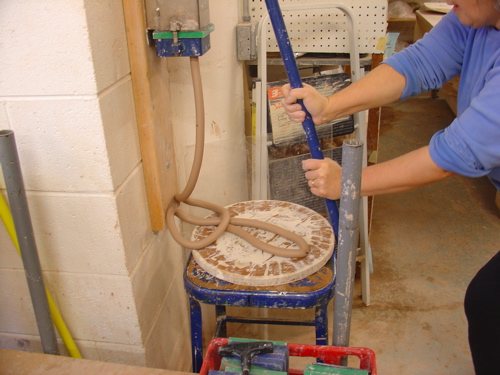
and we went to make a coil pot.
COIL POT
Start with a base the shape you want your pot to be (in this case round) it helps to work on a turntable (I didn’t- so it is not pictured here)
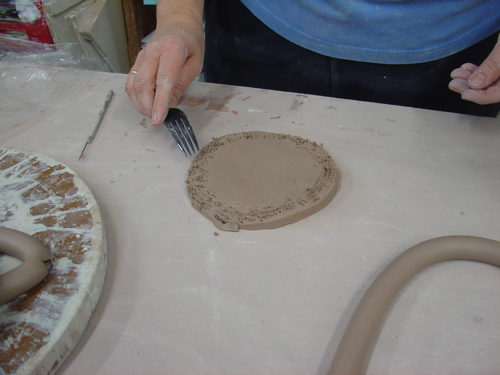 Start your coil at one end, do not attempt to pre-make rings to stack up. They are harder to fit
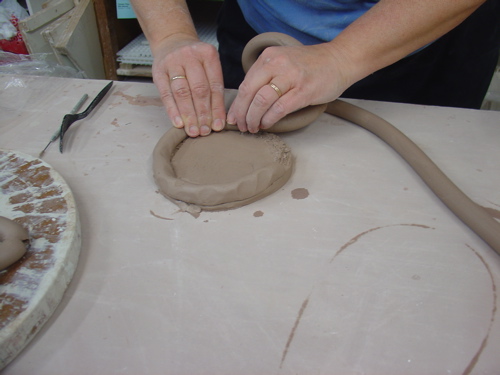
It helps the coils adhere to eachother if you score and wet your coils as you go along.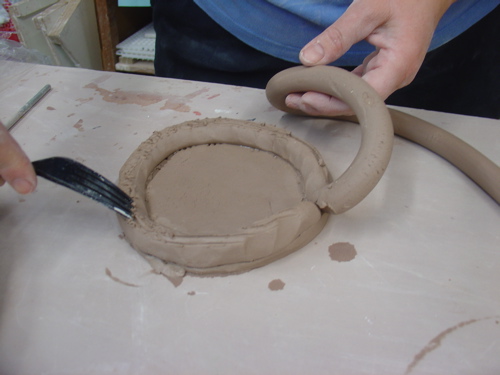
You can smooth just the interior
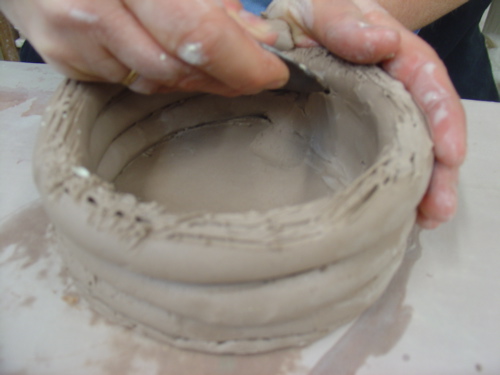 or just the exterior to bond the coils. of course doing both in and out makes it the strongest.
I’m using a small wooden rib for the smoothing.
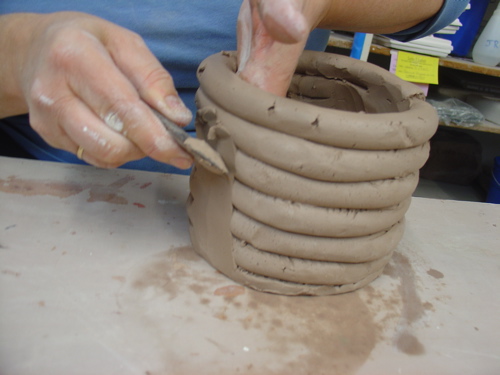
I added more coils going inward to narrow the opening
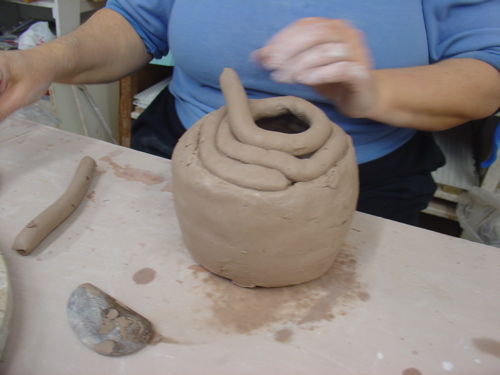
The Jomon people were the first potters. They were fishermen living in what is now Japan.
Here are two links with photos of the pots.
http://www.metmuseum.org/toah/hd/jomo/hd_jomo.htm
and http://en.wikipedia.org/wiki/Jōmon
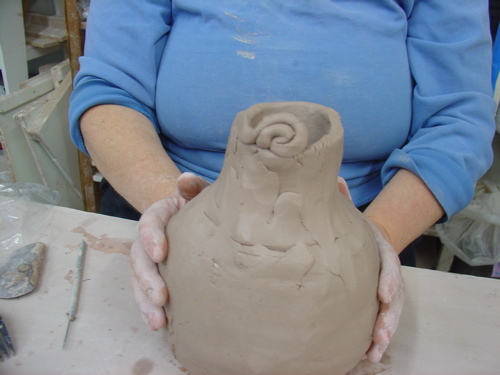 I decided to make a traditional face jug
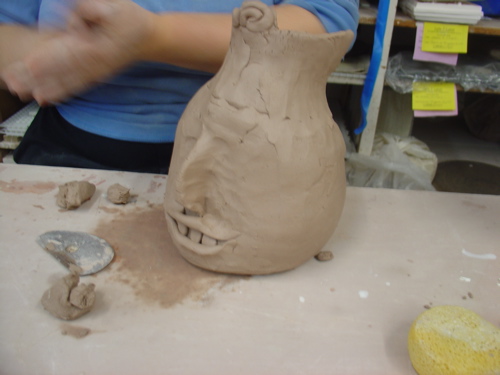
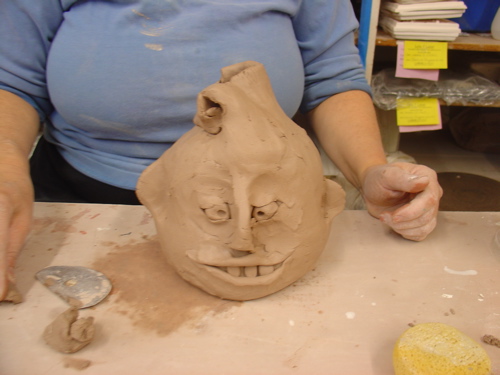
Here is the finished goofy guy- I gave him a kewpie doll hair do but he needs a handle.
INLAID SLIP
Our surface decoration demo this week was inlaid slip. I used the boxes I made last week. They were quite hard but NOT bone dry. They were still leather hard.
I incised a pattern in the surface with a stick tool.
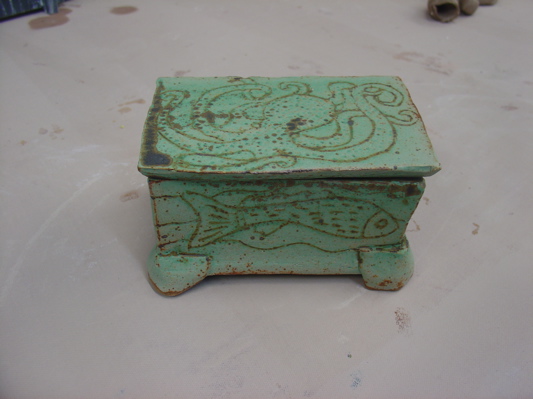
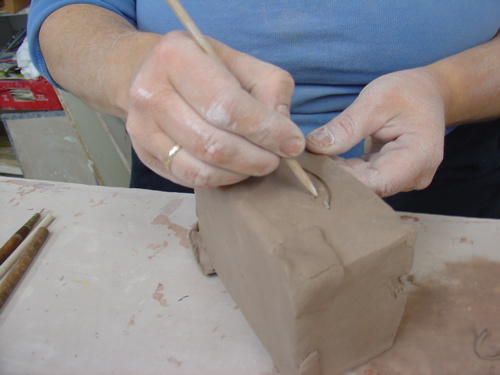 Then I painted slip into the lines (in this case iron red as I plan to use Josh Green glaze)
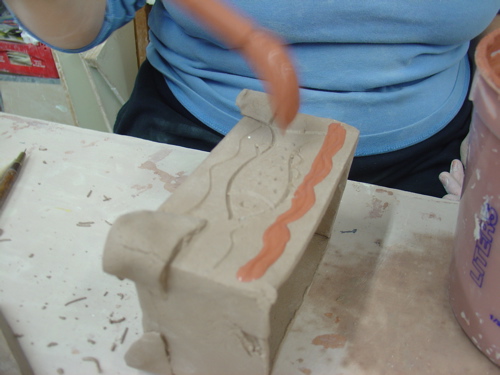 I let it dry until it was not shiny nor sticky. Then I took a metal rib and scraped off the slip on the surface, leaving only the slip that was down in the engraved lines.
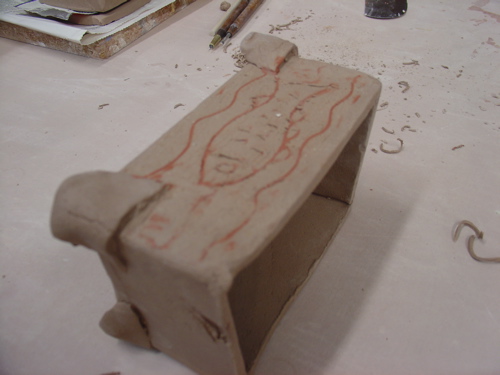
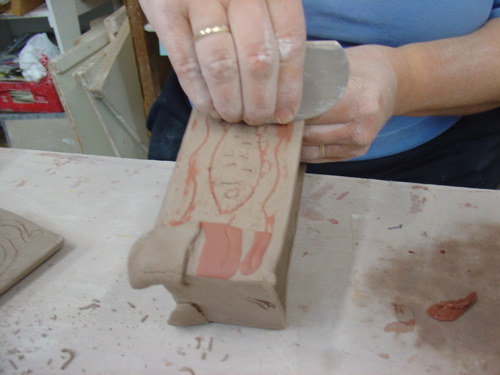 Here is what it looks like finished. I will try to put in a picture of the finished product.
Here it is glazed!
We also talked about GLAZING
Things to remember when glazing:
Read all the signs
Watch for runny glazes, the samples are coded yellow or red for dangerous runs
Wipe off the bottoms of your pots!
Remember glazes have more potentially toxic ingredients especially when they are dry so do wet clean up with a sponge, wash your hands, no sanding or rubbing dry glazes!
