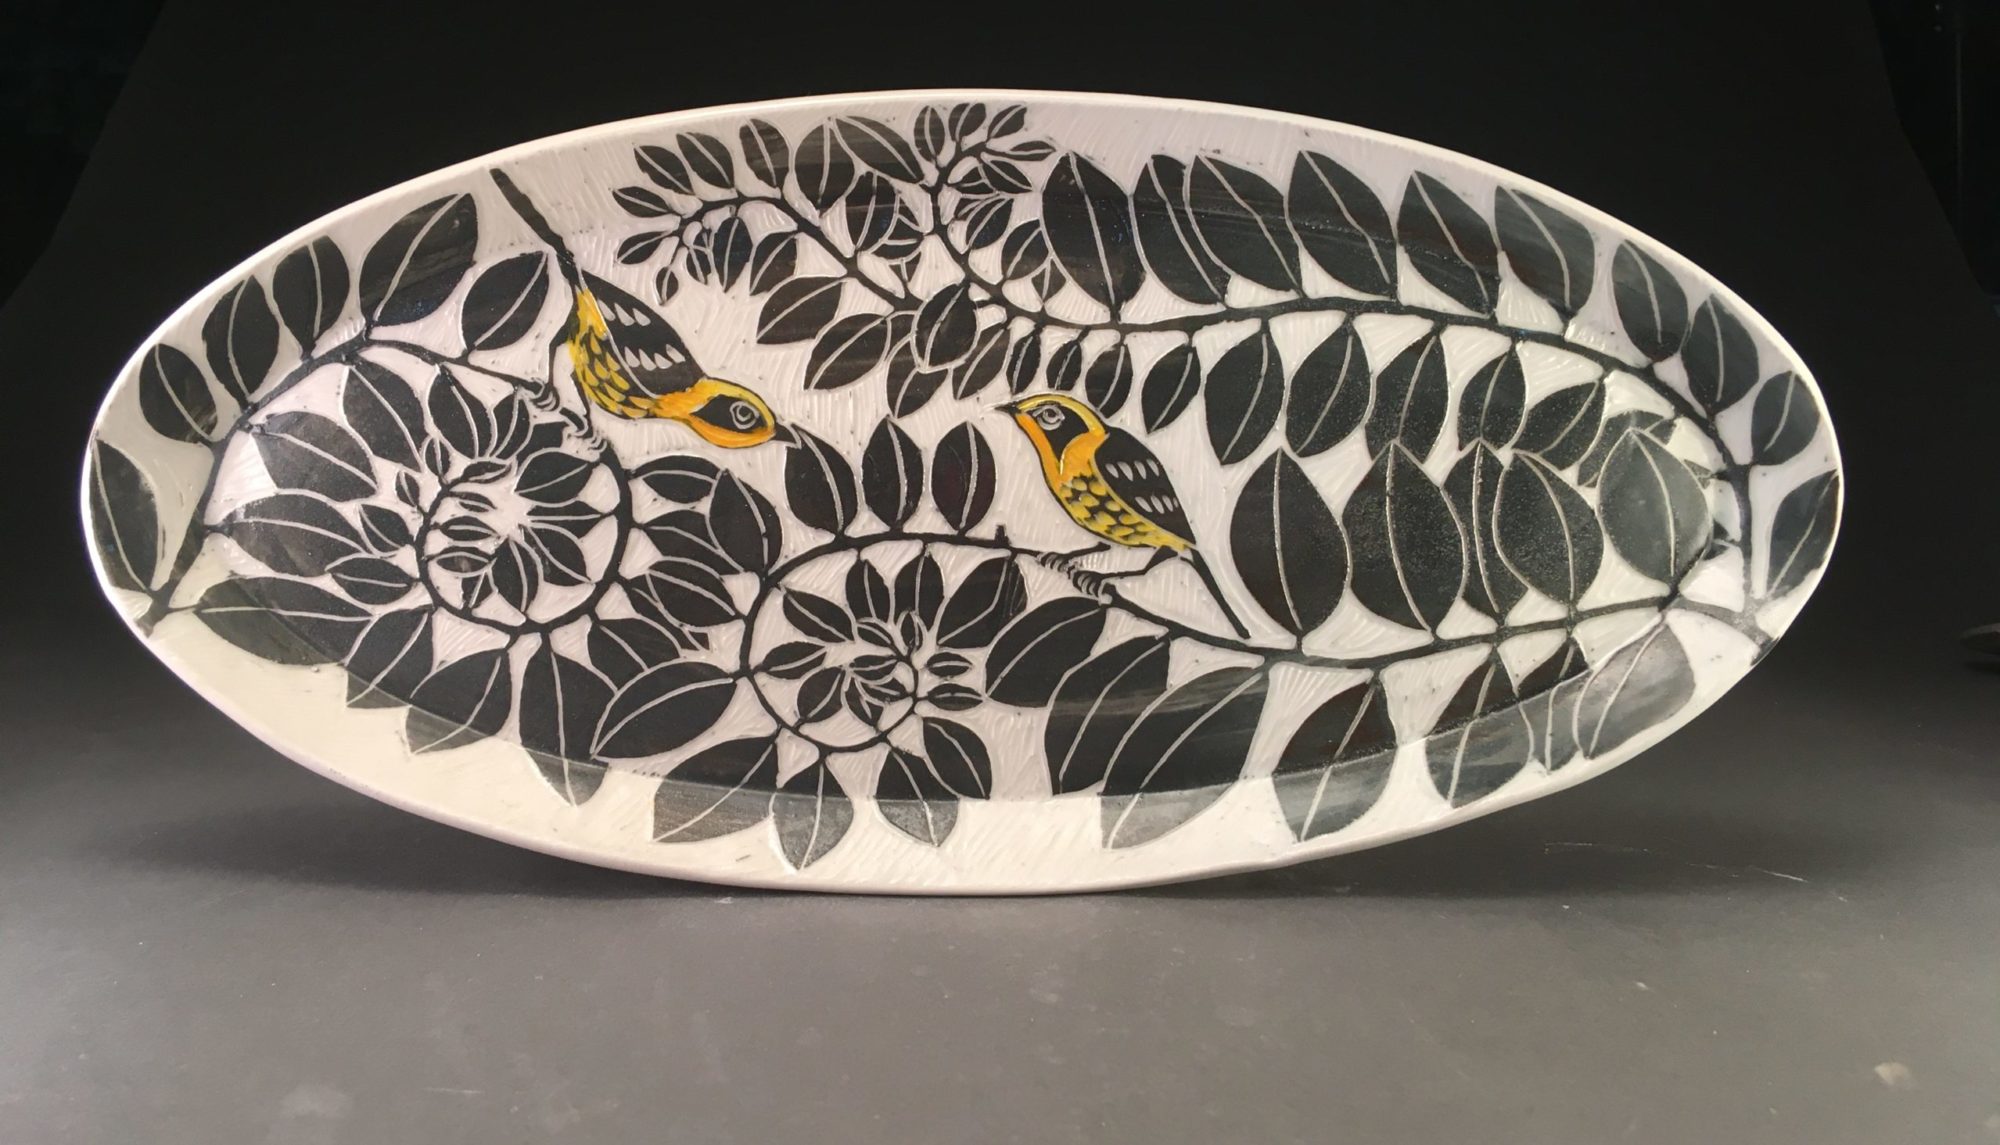
Week 4 of Slip ‘n’ Surfaces
This week we:
Talked about slip application
Didn’t remember to talk about surface preparation (I will now)
Stencils -newspaper resist
Slip transfer – painting onto newspaper
Eric Jensen method reprised with netting
Foot-of-the-week: thrown on foot & pedestal foot
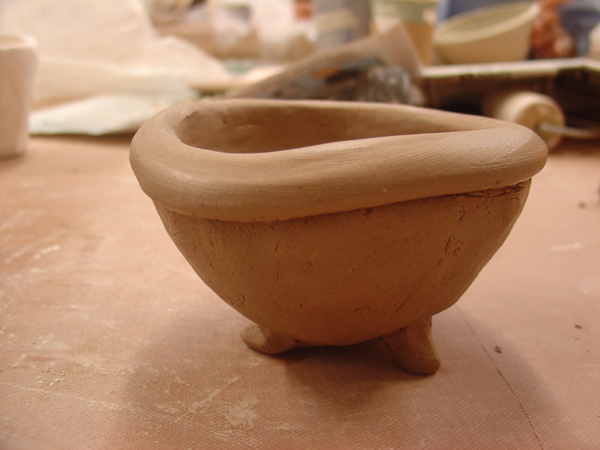
Lip-of-the-week: added coil
Glaze-of-the-week: Shaner White (with a nod to Coleman’s Apple green)
Despite this being the last class 🙁 I feel like I gave out a lot of information this week and there seemed to be something for everyone.
I started by talking about slip application as I had come upon something while I was doing my own work that I know about but it’s not often addressed.
I had made a platter and when I applied the slip, the slip was fairly thick. I show the (unfired) platter here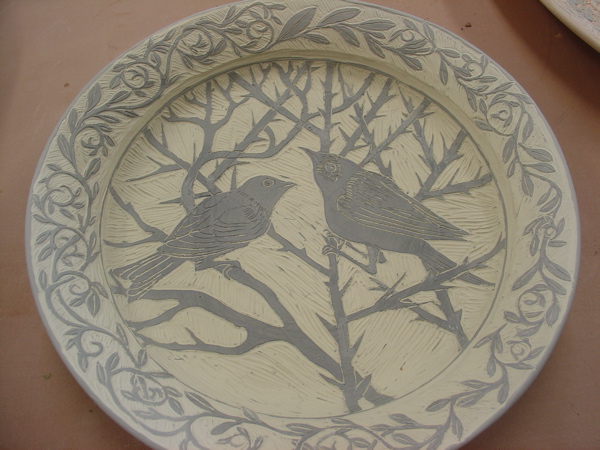
in contrast to the (bisked) rabbit casserole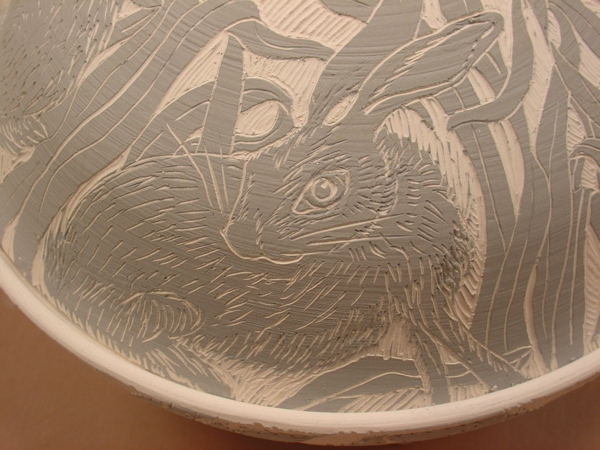
which had a thinner slip application due to the slip being of a thinner, slightly more watery consistency. It’s easier to do finer work with a thinner layer of slip. If you have to draw your lines and do your carving through a 16th of an inch of slip, it is easier to be more clumsy and also to break off little chunks – pointy tips of leaves, etc. You also tend to get more texture when you are carving through a thicker application of slip. It’s hard to see here as I don’t have a good, in-focus photo of the bird platter.
I then meant to talk just a little about preparing surfaces for slip- I like to eliminate throwing rings with a metal rib when I am throwing and to smooth away the canvas marks with a soft rubber rib when I am handbuilidng. If you are going to put in a drawing or pattern, you don’t need an uneven surface interfering with your image.
Conversely, sometimes a nice layer of slip can hide flaws in a surface.
I did again my popular “Birches” demo where I lay down strips of newspaper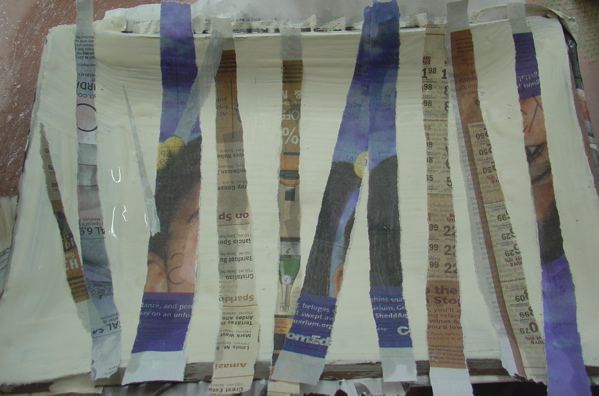 and paint over them with blue. Karin immediately did a wonderful fern stencil.
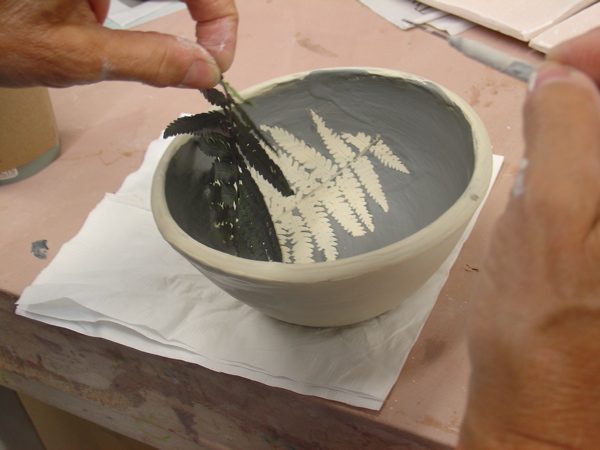
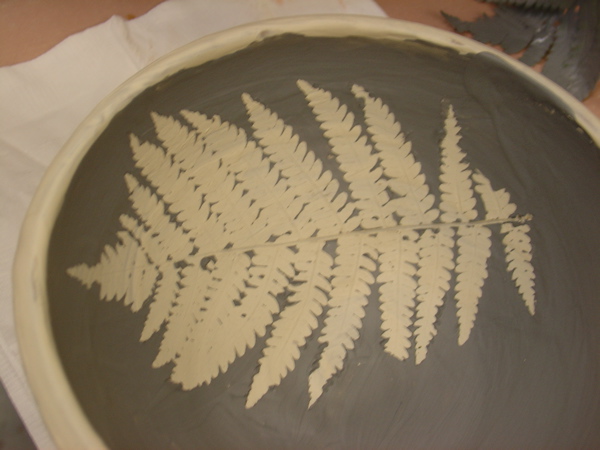
Doesn’t that look cool?
I took another porcelain tray that was almost too dry to demonstrate newspaper slip transfer. I painted on the paper and then scratched through the dots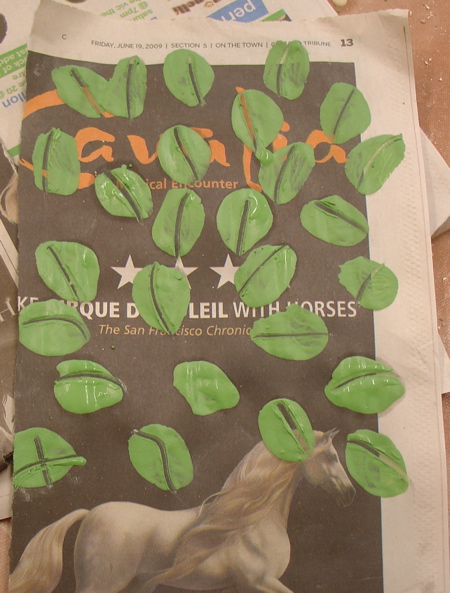
and pressed it onto the surface of the tray. I had little success until I got the tray a bit wetter and the soaked the back of the newspaper 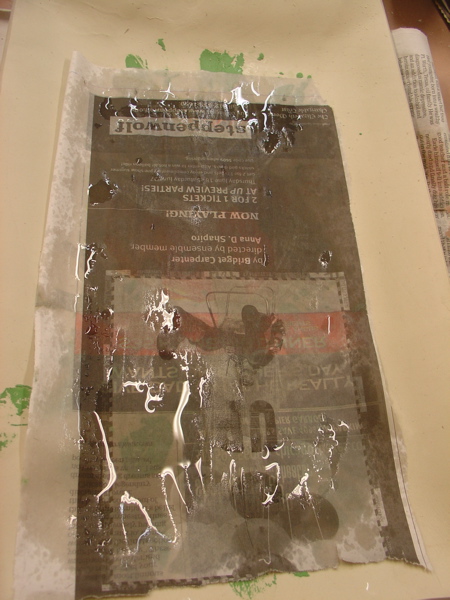 to encourage the slip to migrate onto the clay surface. Then I did it again with black slip.
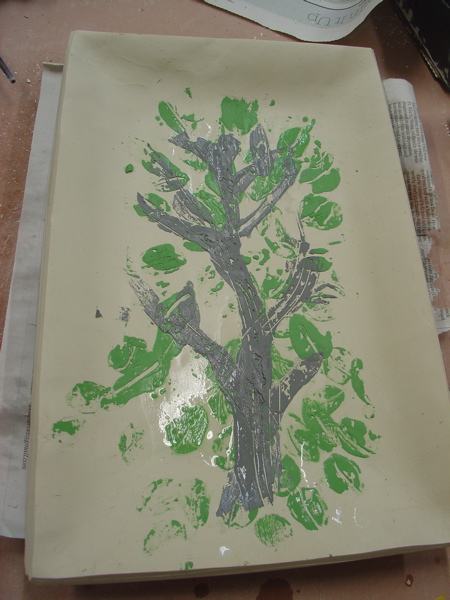 Actually I did a little more to it so it looks better.
Foot-of-the-week: thrown on foot & pedestal foot
I then reprised the Eric Jensen method but with netting (avocado bag and onion bag) 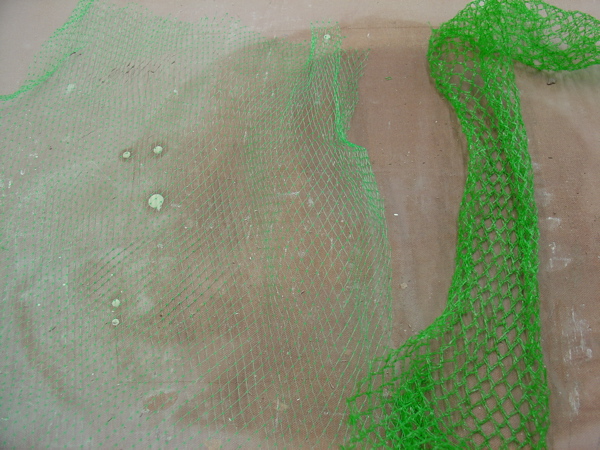 pressed into the slip before the slab is thrown out. Really, I was just trying to make a bowl to throw a foot onto.(also already seen in this blog) I think it was quite successful.
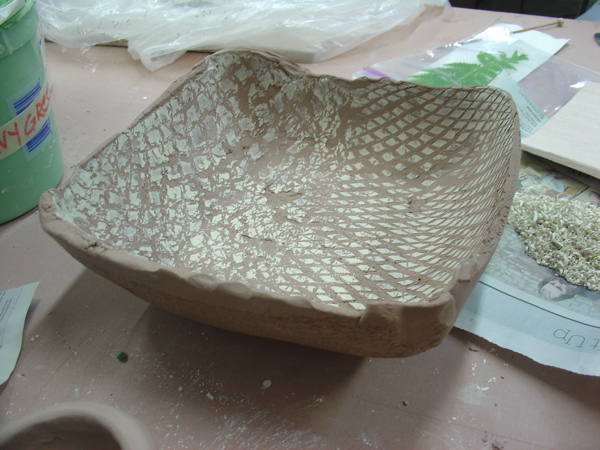
and then on! to a tiny pedestal foot – I just made a little pinch pot and the foot was a very small ball of clay pressed to make a hemisphere and attached to the pot.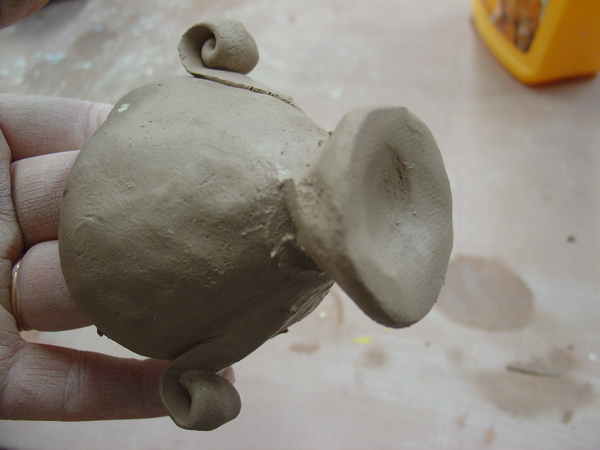
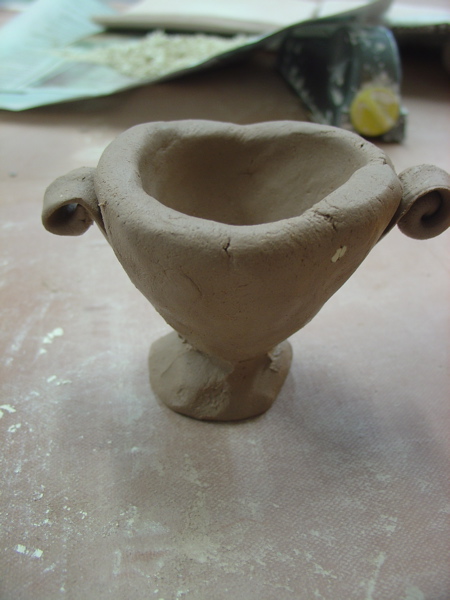
Lip-of-the-week: added coil
For this I made another little pinch pot, rolled a coil and then ran a damp sponge the length of it to smooth it and also to give it more of a “thrown” look.
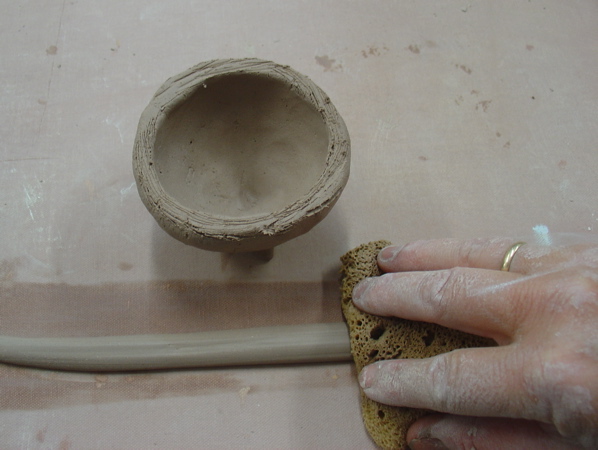 Scored both the edge of the pot and the underside of the coil and pressed it on for a nice finished look.
Glaze-of-the-week: Shaner White
will actually show quite a bit of detail from slip beneath it but dilute the color- making it almost pastel. I found this out one time when I had a completely senior moment and glazed no less than 9 pots in Shaner White instead of Shaner Clear.
Here is the result: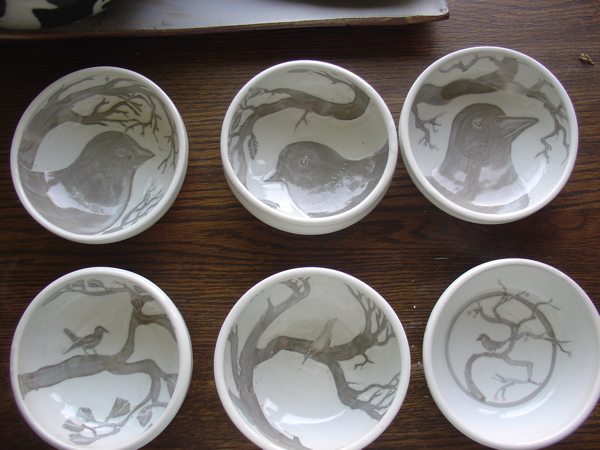 mind you, I did still wet my pots down to absorb less glaze as I always do for Shaner’s Clear. Sure, my technique is automatic- I just need to get the right bucket!
Not the end of the world.
We also found this piece on the glaze cart and it shows slip under Shaner White nicely.
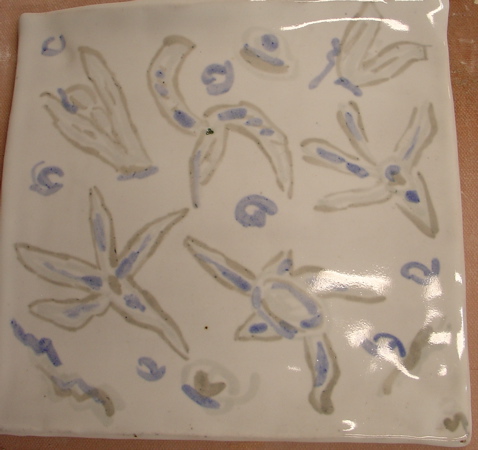 This looks like blue and red iron.
But my favorite thing to do is rub it off the raised surfaces and here is the lovely (if I do say so myself) result on B-Clay of Shaner white dipped and rubbed off over Mazerine Blue Slip. 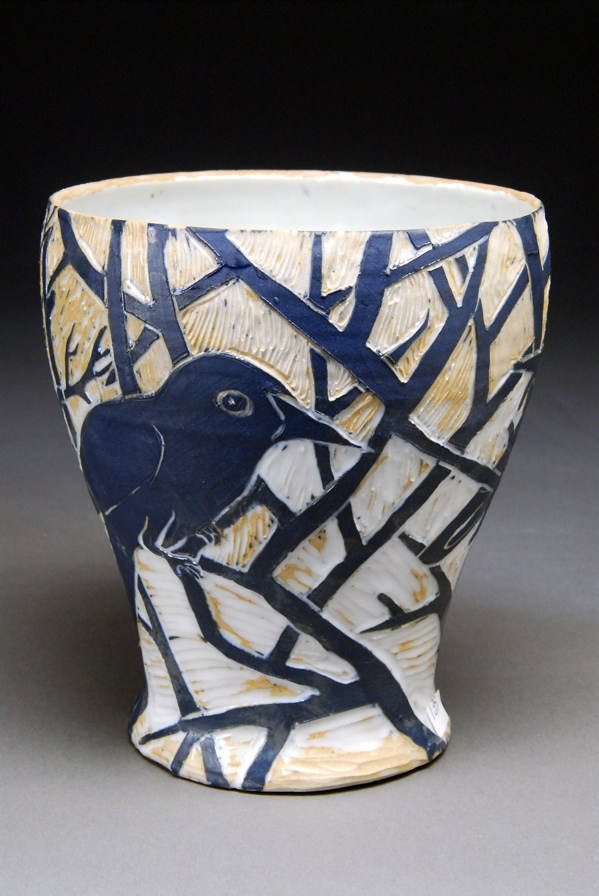
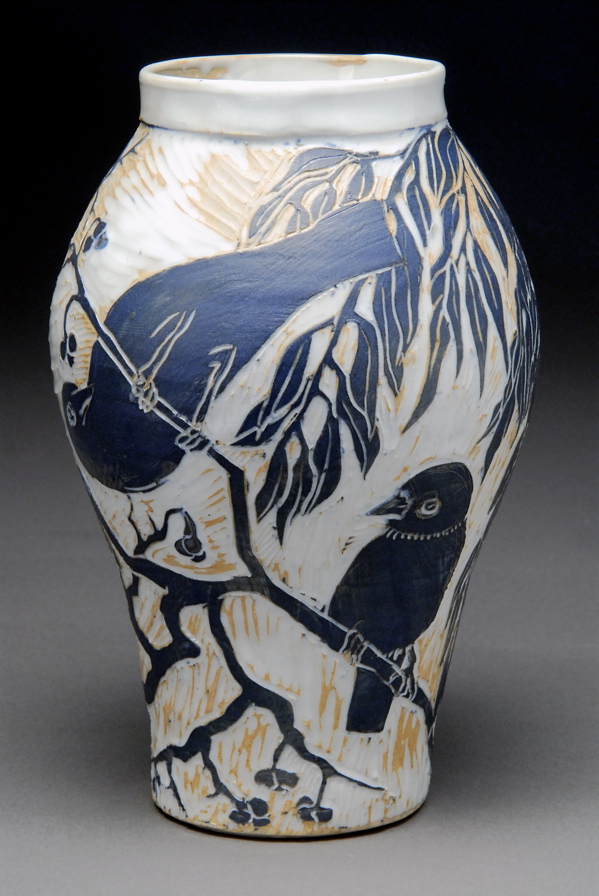 You can see that it’s uneven. Also, the photo makes the clay just a bit more orange than it really is. (Nice photos by Guy Nicol)
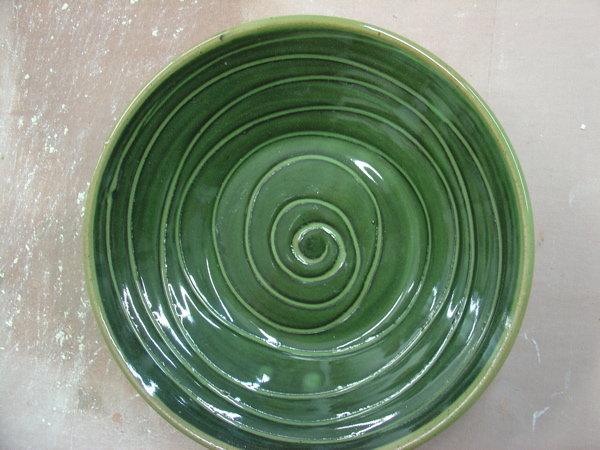
Here is another piece found on the glaze cart- Coleman green over carved black slip. as you can see it is transparent. But also very
very
green.
Student work,
Here is Terry’s foray into wipe away etching. Note how she had a colored slip over the clay and the wax protected it. 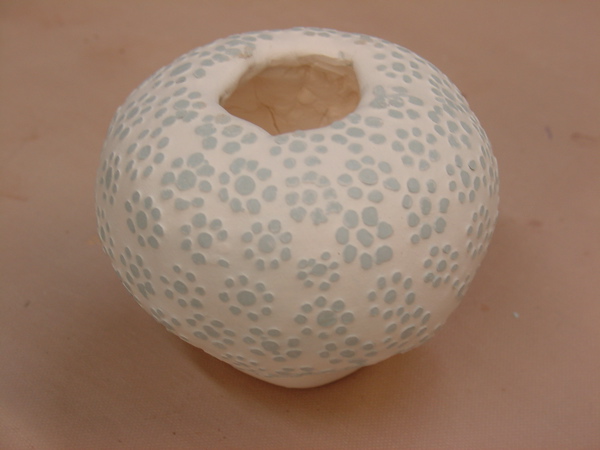
Here is Nina’s carved oxide piece all finished:
I think it turned out nice!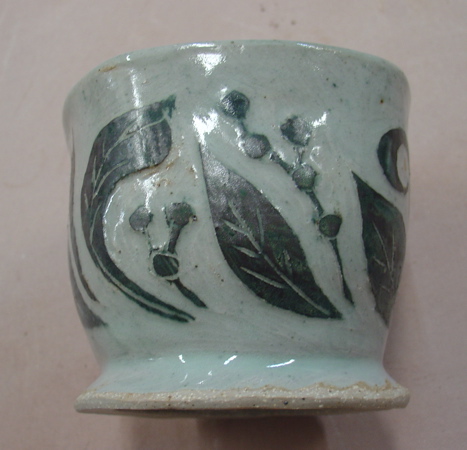 Under clear. If you check that last post you can see this pot bisked.
And last but not least, Nina’s fascinating inlaid slip. the twist is, she inlays it into black slip which was applied early on and burnished. That’s why there are two shades- some is scraped where she was cleaning up the inlay. She used a syringe to inlay the white slip. Good idea, eh? and neat pattern!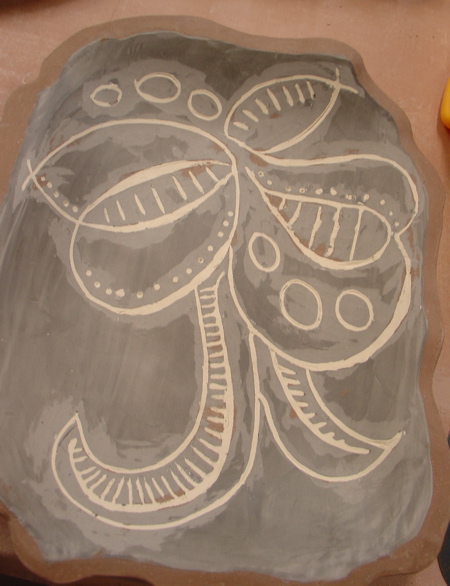
So thank you everyone for wonderful contributions and participation. It was really a great class that I looked forward to every week. What a pity it was only 4 weeks!
