Yay! I finally grouted that shower! all 120 square feet of it and as usual, I learned a lot.
First of all, grout color is HUGE.
It really makes a difference in how your mosaic reads.
So. I got one whole panel grouted in the lovely matching yellowish grout (Custard, I think it was called) and decided it was breaking up the blue swirls too much!
Note the difference between the navy blue swirls – the one on the left has yellow grout and the one on the right has dark gray.
At which point I briefly panicked but then decided it was not too late to do something about it.
So we got some dark grout and we have two colors of grout. As you can see above.
If you don’t want to complicate your grouting, pick a neutral value color of grout; one that doesn’t show the spaces and break up the lines too much.
By the way, in case you are curious about the design process, here is my original drawing: The mosaic changed as I went along to accommodate the space, or to use less background (I added more swirls) etc.
Okay- so here is the step by step procedure for grouting and what you will need. Here’s a list:
- First of all you need sanded grout- and more for a broken tile mosaic than they say on the bag. The closest is if you compare the square footage for 2 inch tiles but broken tile mosaic takes alot more grout than gridded tile.
- 2 or 3- 5 or 10 gallon buckets that you may end up throwing away at the end (if you can’t clean them enough) They sell buckets like this at places like Menard’s and Home Depot.
- It’s helpful to have either a drill with a stirring attachment or a giant potato masher (no photo- sorry!) to stir it or something to mix the grout with besides your hands (which you can also use)
- tarp(s)
- blue tape
- stepladder (?)
- disposable rubber/latex gloves
- water
- lots of sponges- kitchen sized with do but I actually like a slightly bigger sponge.(you will end up having to throw away a lot of sponges by the end- get them at the dollar store)
- “rags in a box” which are really just heavy duty paper towels. Rags work too and are more sustainable.
- putty knife, dental tool or screw driver for cleaning hardened grout
- scrub brush to clean the buckets and tools
- whisk broom and dustpan
- garbage bags
- remember! wear really cruddy clothes- especially shoes; grout just kills your shoes.
Now, you’ve tarped the floor and taped it down. 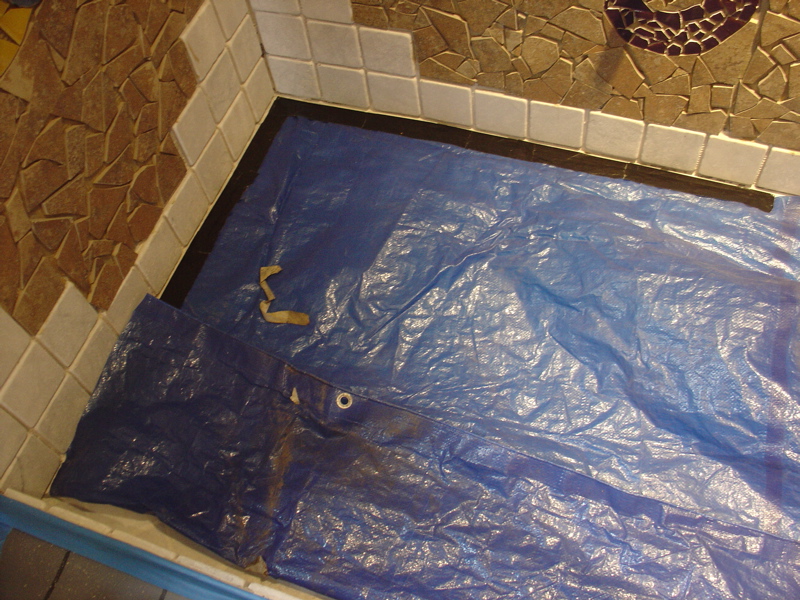
You’ve taped all the borders- ceiling, 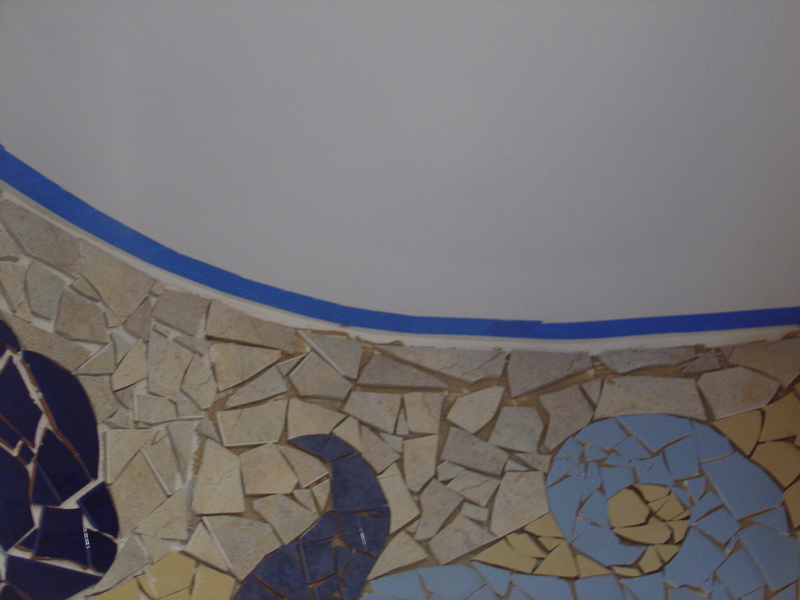 edges,
 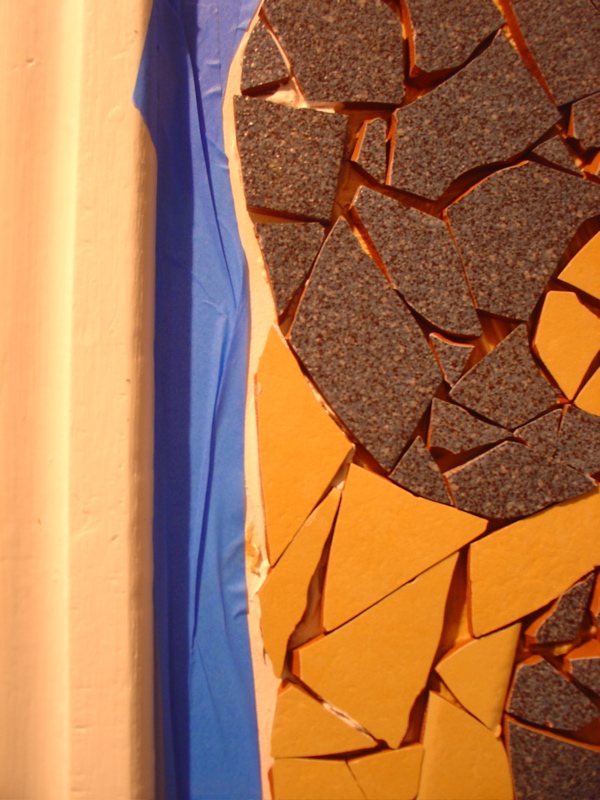 etc.
etc.
Wait, here’s the After picture for that: 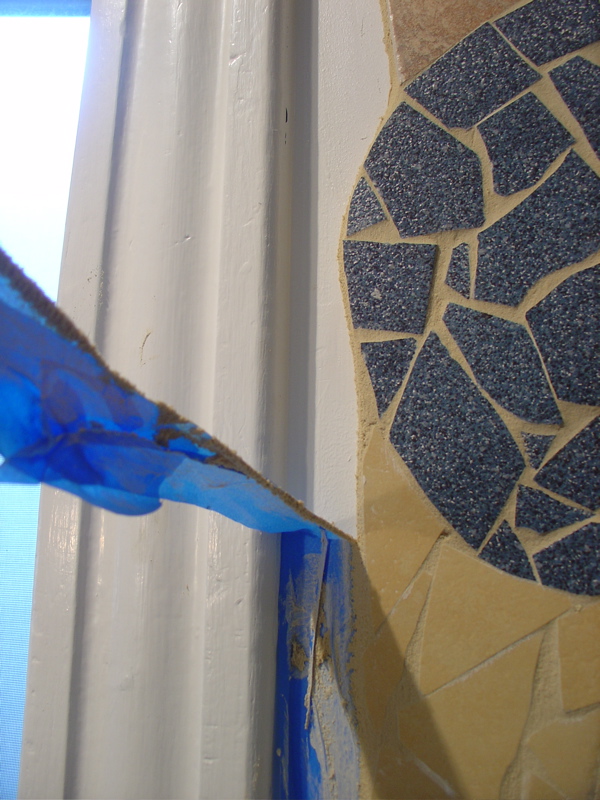 I’m getting ahead of myself but remember to remove the tape while the grout is not completely rock hard!
Mix up your grout by putting a SMALL amount of water in the bottom of the bucket. Then you add the grout. A cloud of fine grout dust will come up – don’t breathe it. Let it settle and then you can begin to stir. Keep adding grout until it looks something like this: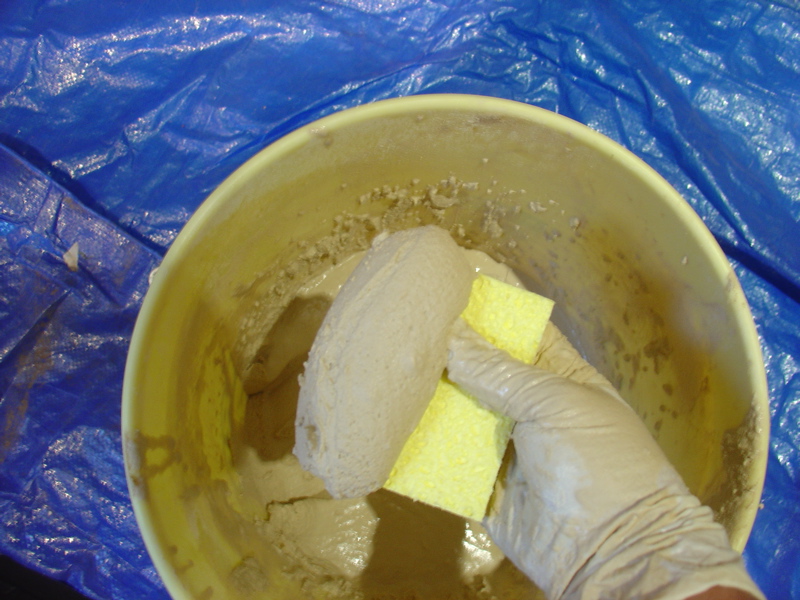
then scoop some up on a sponge and start smearing it onto your mosaic. Come at the spaces from several directions to ensure you work the grout in well.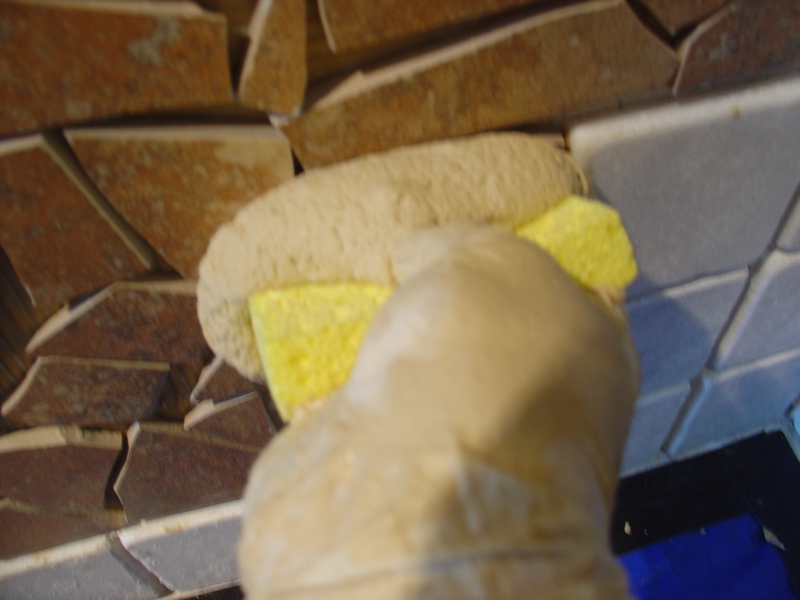
After you’ve moved on to another area, check back and when the grout is “dusty” dry-ish looking- but certainly not all the way dry!!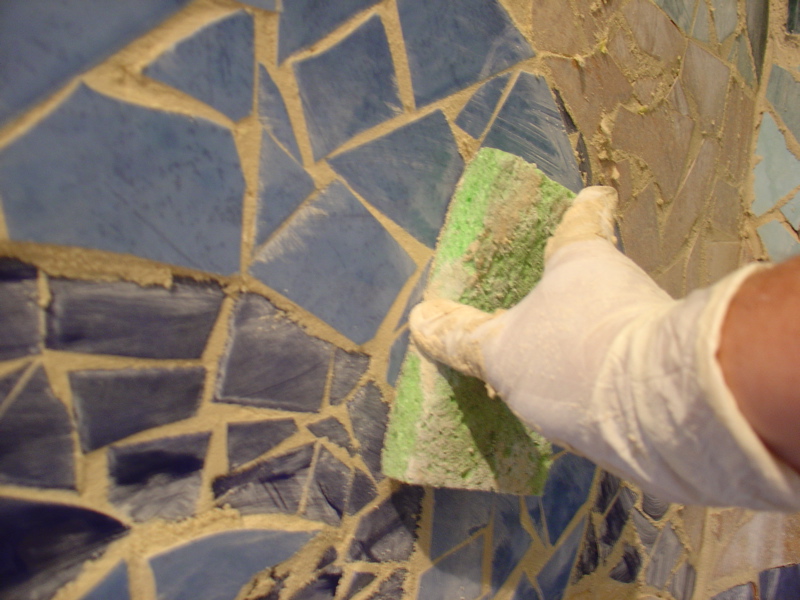
Like 15 minutes later- go back with a DRY sponge and start wiping it off. Do not dig into the spaces just concentrate on cleaning off the tile surface.
Later you can wipe it until it’s shiny with the “rags”. They work wonderfully for that.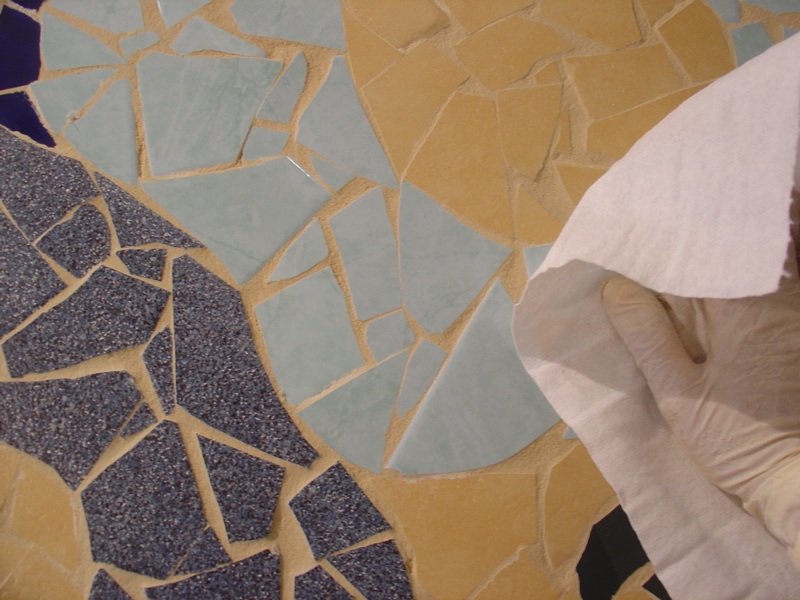
Oh yeah, did I say to wear gloves?
WEAR GLOVES – not only do all the tile edges want to slice your fingertips (yes, my blood is literally in every mosaic I do) but the grout wants to suck out every drop of moisture your hands have or will have in the next 24 hours.
Lastly, as you go back over it, I found this great “pastry” bag for grout that is awesome! 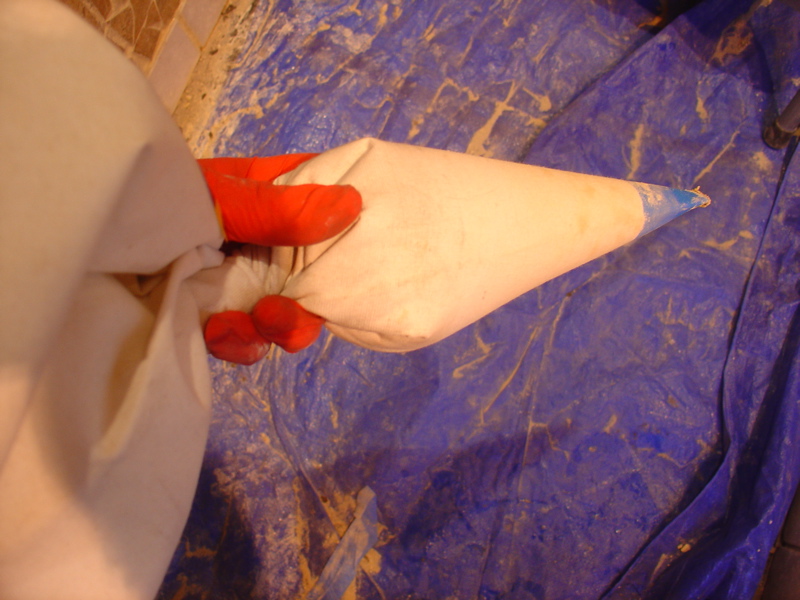 You can use that to squeeze grout into spaces you missed or between gridded tiles that you don’t want to spend lots of time cleaning. Like these:
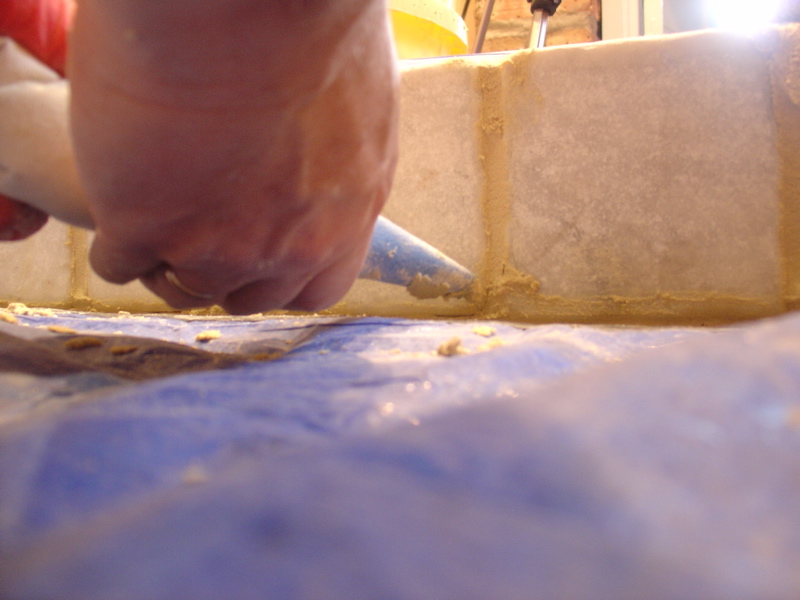
Okay, so here’s the finished product!!!
Tada!!!
Glynnis, Is this one in your home? The photo from the hallway is amazing…:-) I LOVE IT!!!!! WOW, WOW & WOW!! a masterpiece. Gteat explanation and photos to go with it!
MOE 🙂