Murphy Mosaic Finished

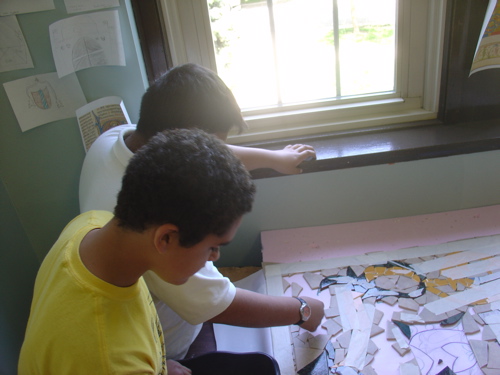
I am so pleased with the final result of the TimeLine Mosaic that I worked on again this year with the Sixth Graders at Murphy school.students-applying-mastic
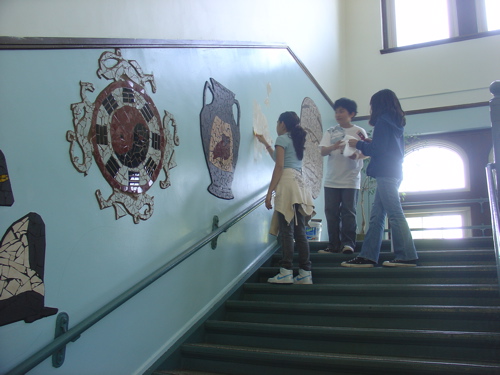


students-laying-out-the-pieces2-students-removing-adhesive


We had started it last year and this year we added 3 more symbols of various Ancient Cultures.

It was really wonderful to attend the Fine Arts Festival at Murphy school and to officially inaugurate the Mosaic Time Line
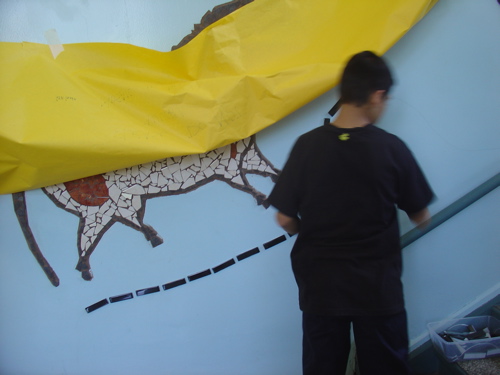
student-adding-the-tiles-to-make-the-timeline


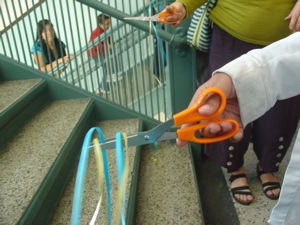
We cut the ribbon
cutting-the-ribbon


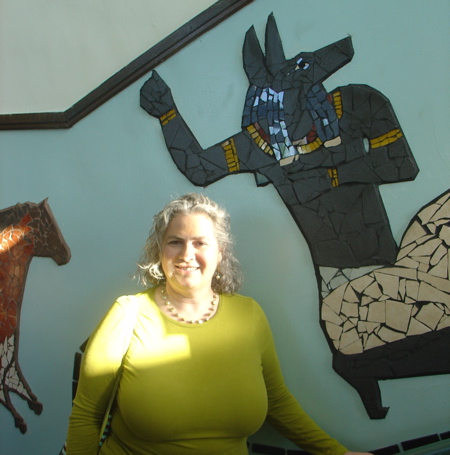
the-teaching-artist-caught-in-time


and then everyone viewed the symbols of ancient cultures. 
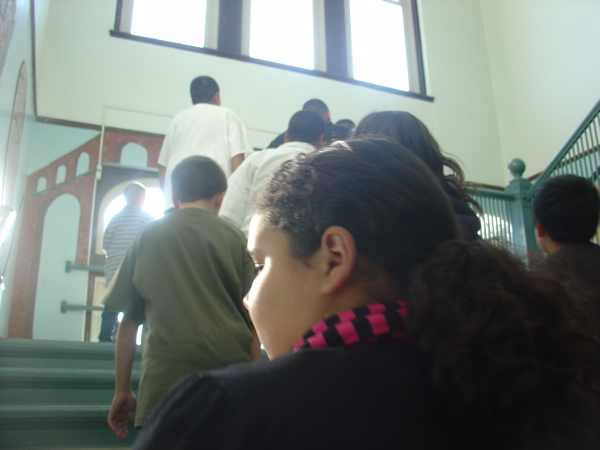
touring-the-timeline

The timeline starts with  A Cave painting of a horse from Lascaux, France. 14,000 BCEview-of-most-of-the-timeline
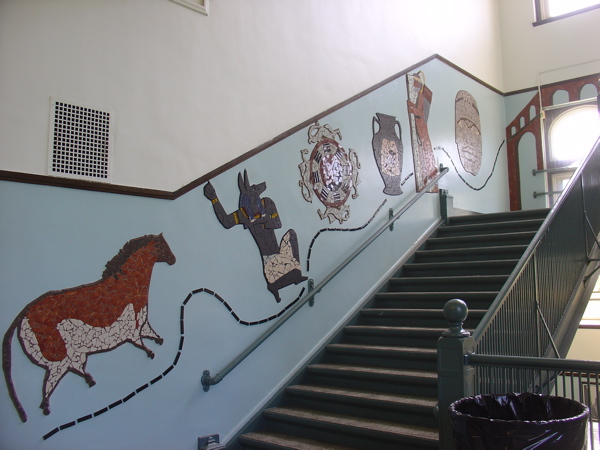


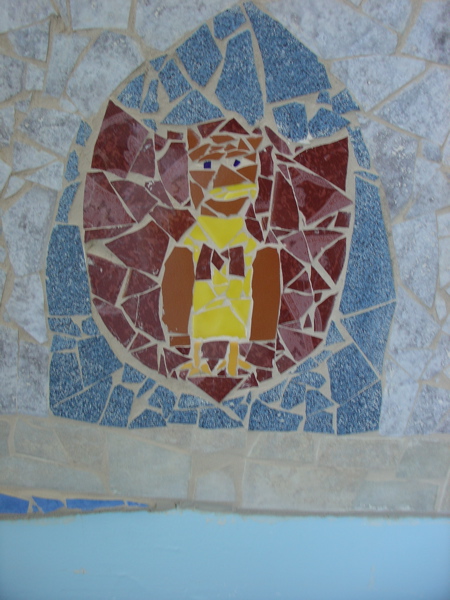
Next (my favorite) Anubis, Egyptian God of the Dead. 3000 BCE .  I combined the Chinese Bagua, which was discovered in 2,800 BCE by FuXi on the back of a tortoise, with dragons which are a symbol of the emperor.  For Ancient Greece, I chose a Greek pot from 600 BCE depicting Athena’s owl, and Murphy’s mascot.


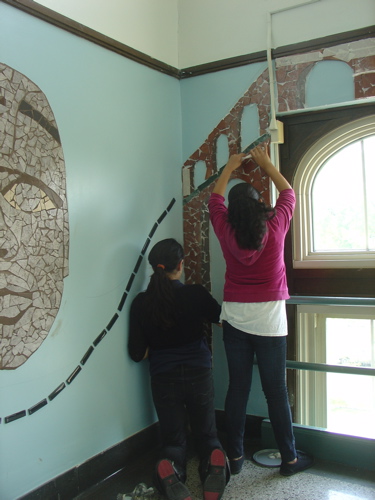
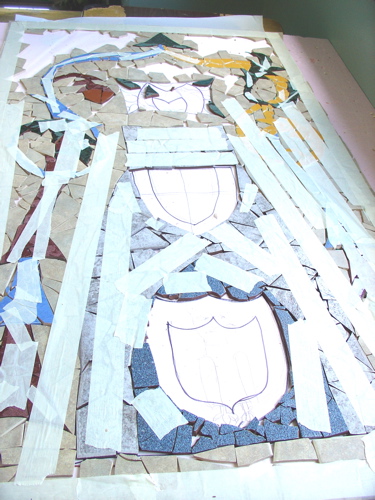
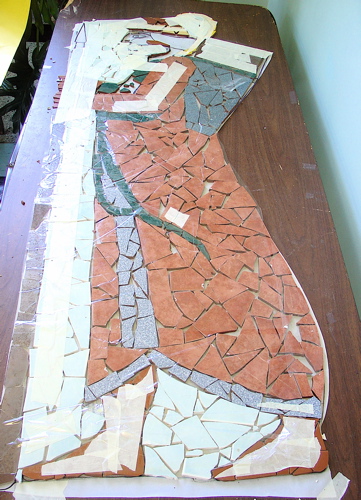
This year we added an  Archer from a frieze on the wall of  Darius the Great’s Palace, Persia, 510 BCE  archer-from-darius-the-greats-palace-ungrouted
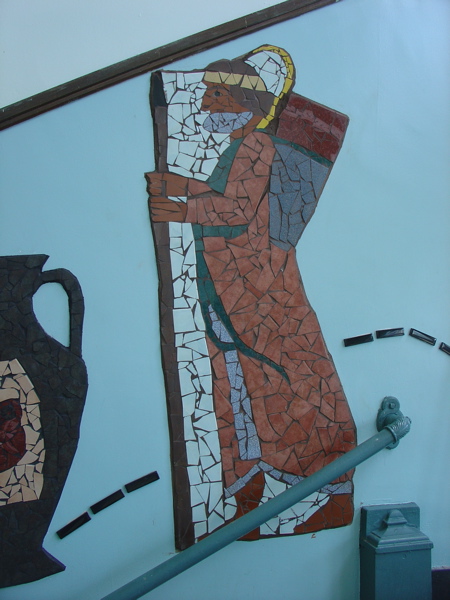


I wanted to make sure North America was represented by thisarcher-and-olmec-head
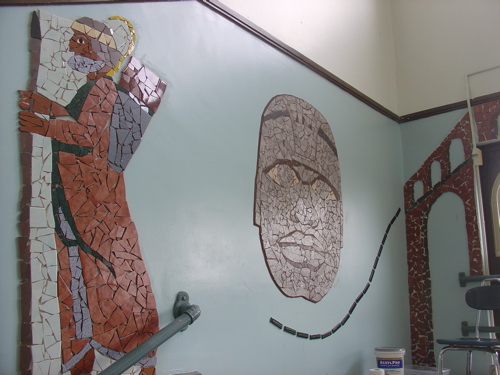


Giant stone head created by the Olmecs in the area near what is now Veracruz, Mexico . The Olmecs came into dominance from 1200 to 400 BC 

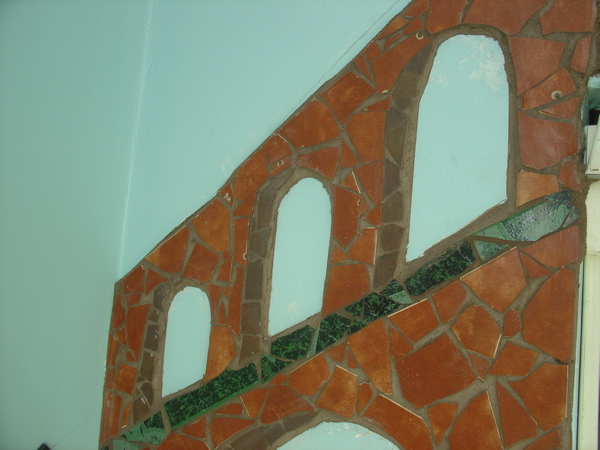
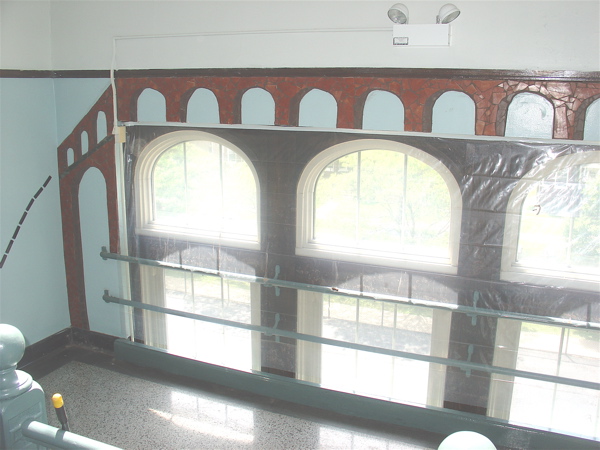
The arched windows lent themselves beautifully to a depiction of the Rome’s best engineering feat;  an Aqueduct from 100 BCE roman-aquaduct
 

finally it ends on the landing with an Illuminated Manuscript Europe  representing the Middle Ages in Europe.  Monks hand-copied books; decorating pages and words with plants, animals and scenes from the text.illuminated-manuscript-after-grouting
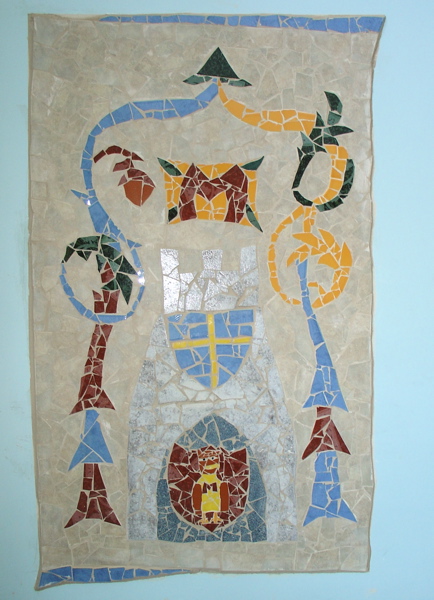


Here are some other photos- some taken before grouting so you can compare and some  details of the mosaics
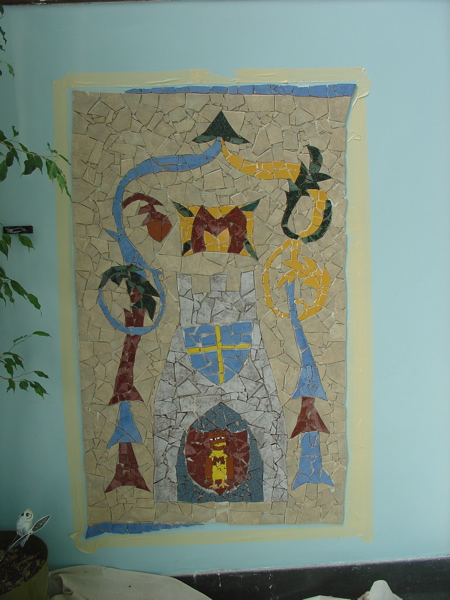
illuminated-manuscript-before-groutingilluminated-text-mosaic-in-progressdetail-of-manuscript-murphy-owllaid out: archerdetail-aquaduct

Birches

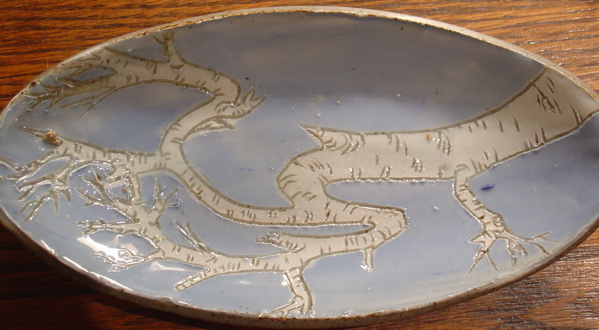
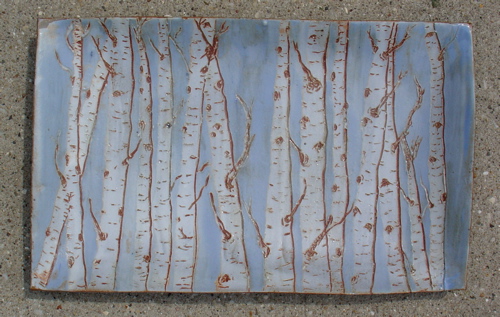
Birch work  -Slip resist with sgraffito’d details..

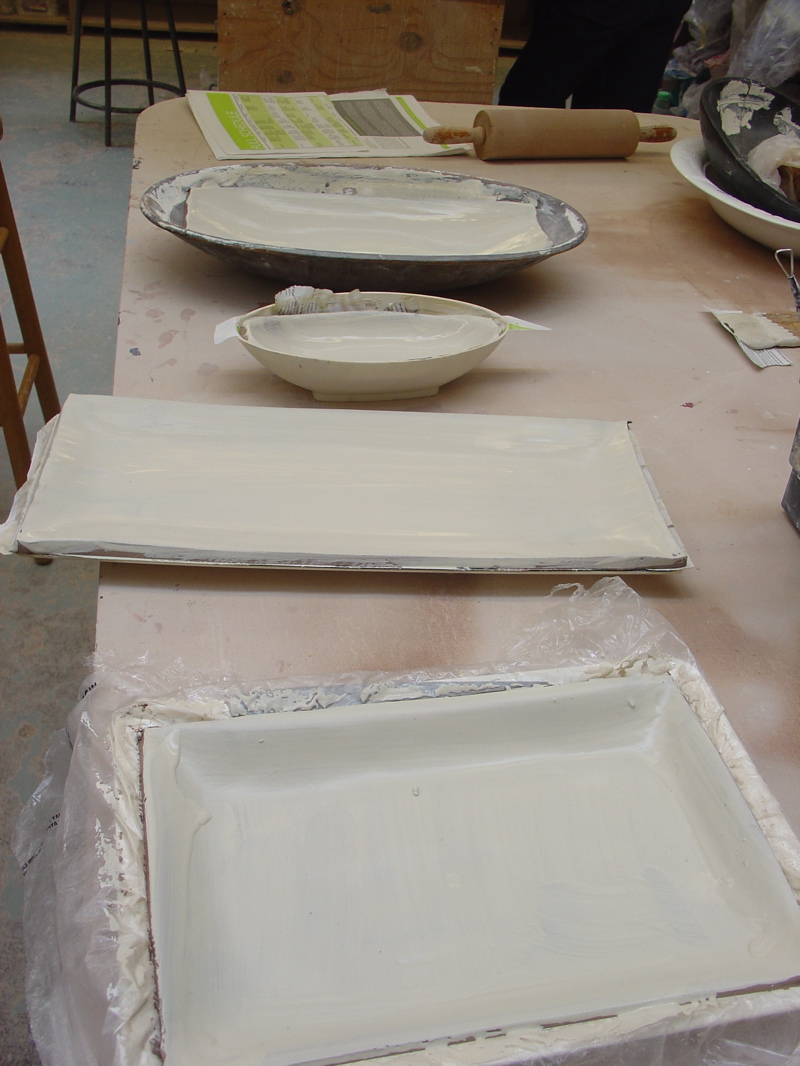
Because porcelain tends to slump when it is so horizontal, I use stoneware in a slump mold. (I’ve found various delightful molds at the junk store.)painted-stoneware-in-slump-molds

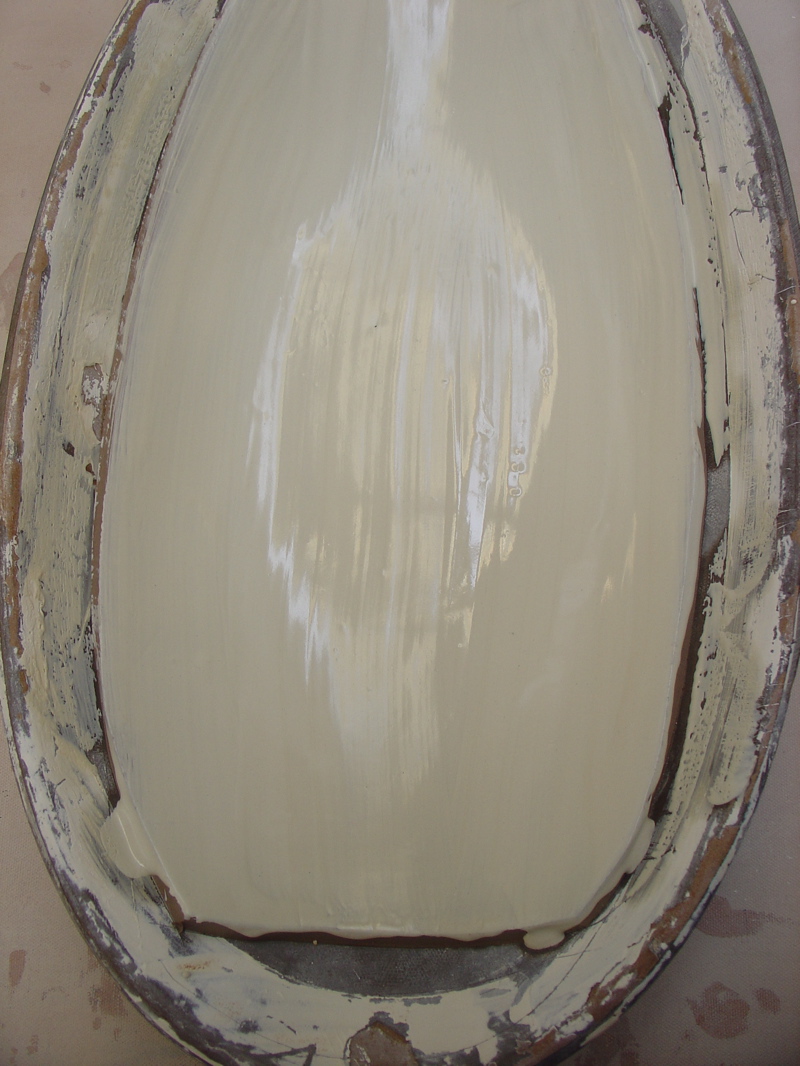
As soon as I put the slab in the mold, I cover the surface with white slip.

freshly-slipped-slump-mold

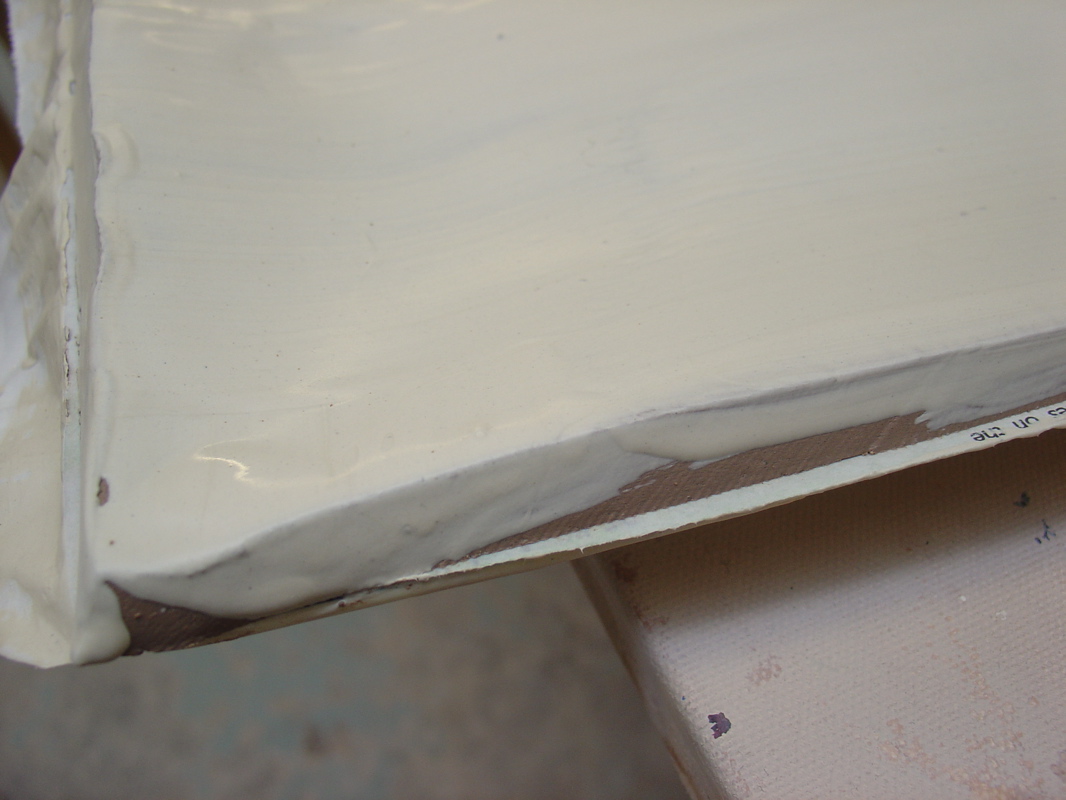
Because I am working with two different clays- stoneware in the mold and porcelain slip- there is a slightly different shrinkage and I want the two clays to bond as much as possible when they are the wettest.

corner-detail

After the piece gets near leather hard, I tear up a bunch of newspaper strips and wet them and the surface of the tray. Wetting them helps them to stick down to the piece. The “frondy” edges of the torn paper also tend to stick more than a cut edge.

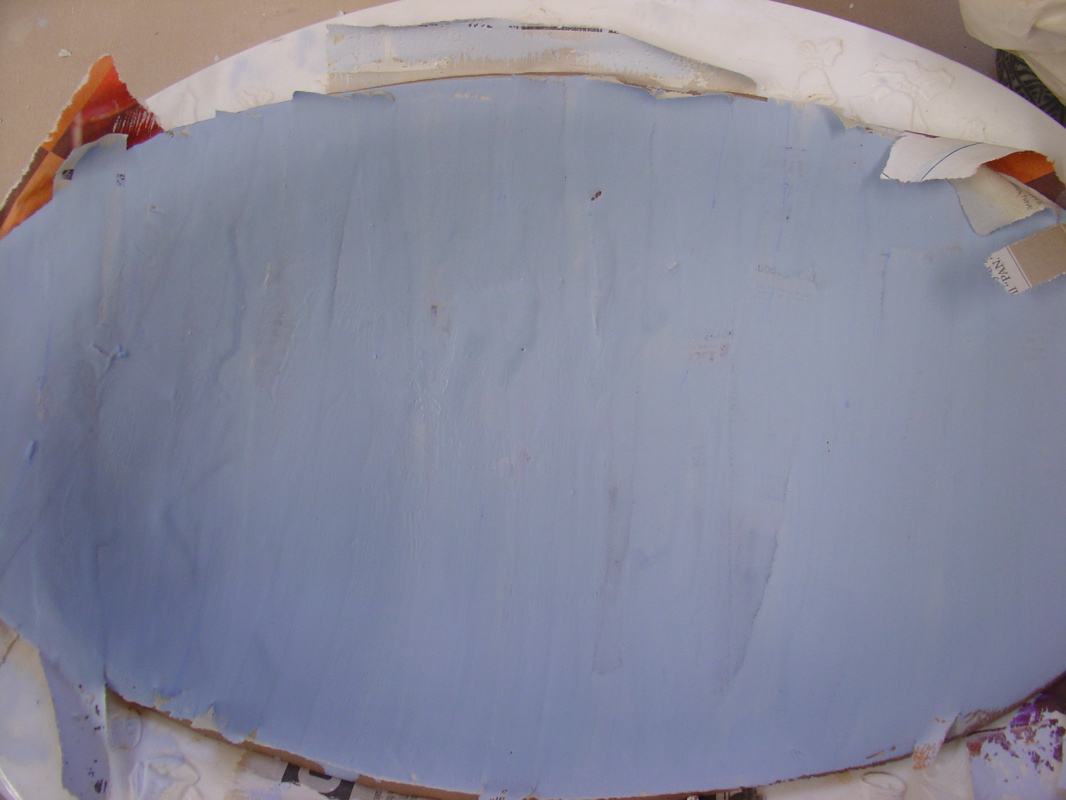
After they are down I apply a contrasting slip- in this case blue-

piece-with-newspaper-strips-under-applied-slip

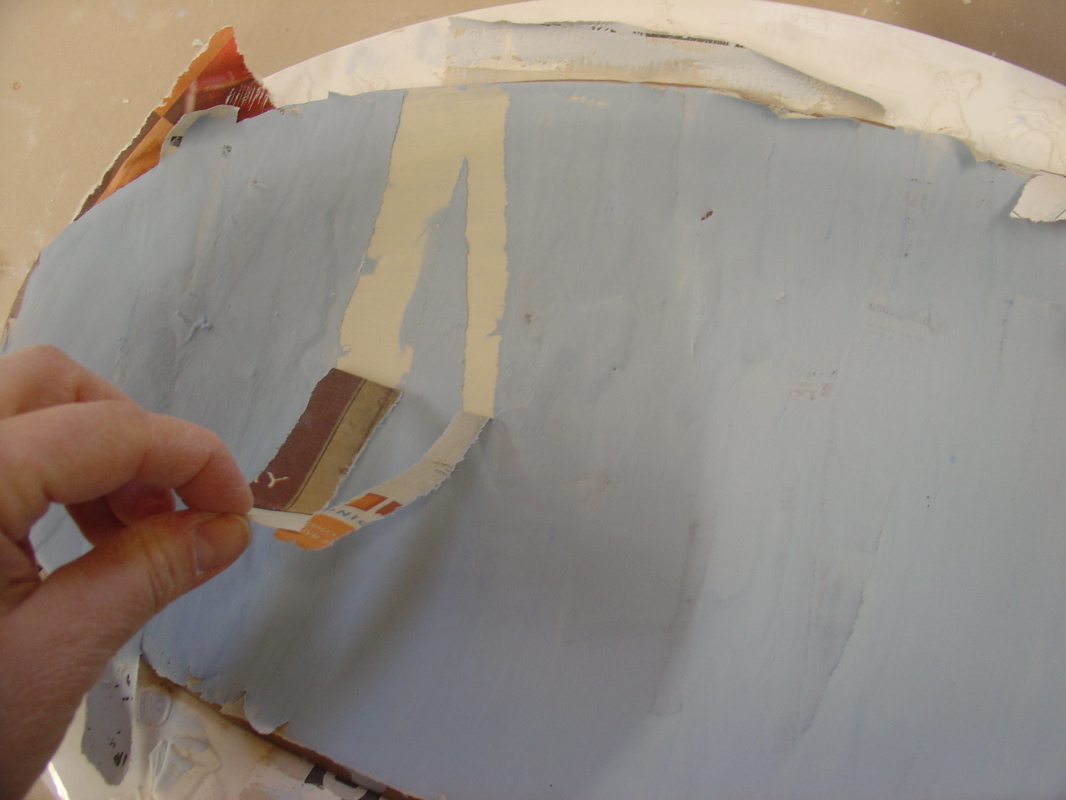
and after letting it set up until it is no longer shiny but long before it dries, I pull up the strips.

removing-the-strips-of-newspaper

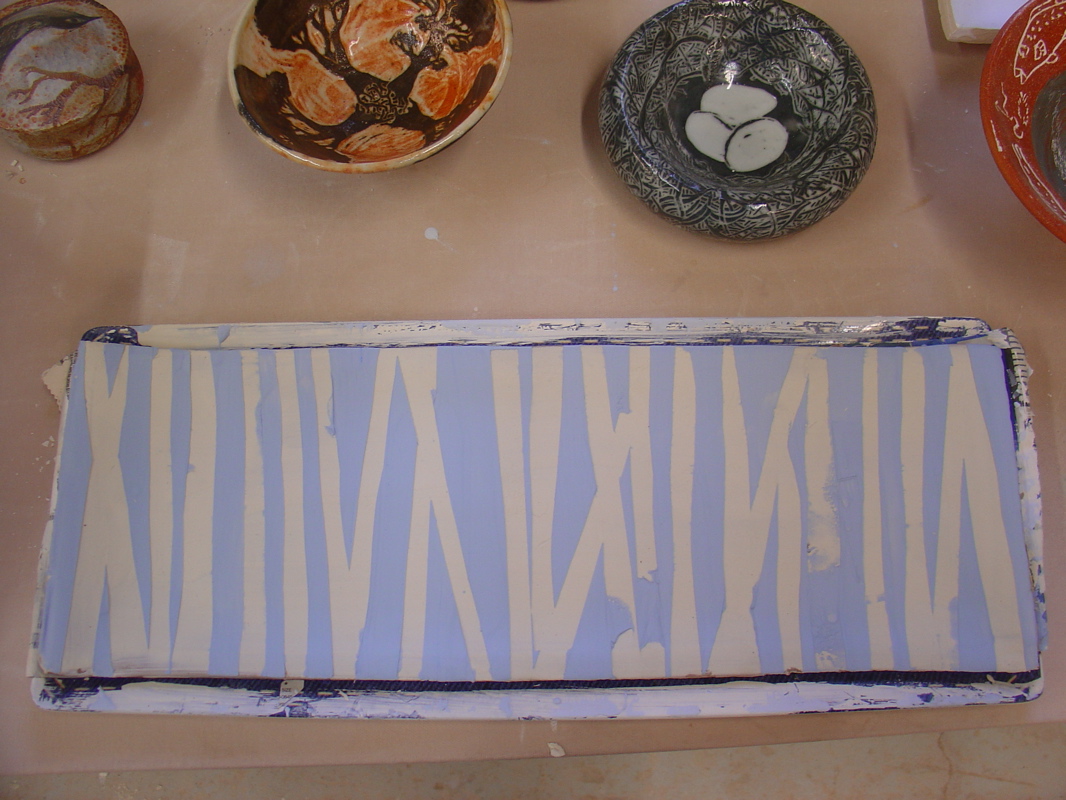
Here it is with all the strips pulled up. 

 after-strips-are-pulled

you can see places where the blue slip “snuck” under the paper- I will either draw over it or carefully scrape it off the white.

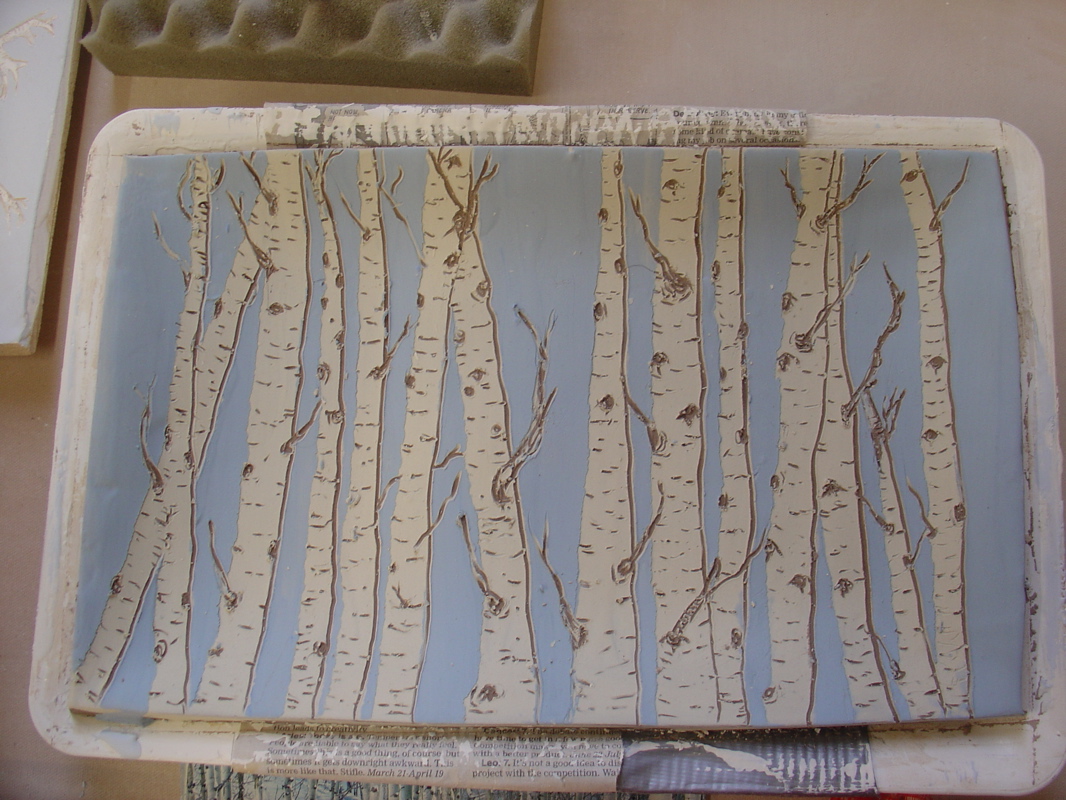
After that, I go back in with a drawing stick and define at least one edge of the tree  (thanks to Stephanie M. for that suggestion)and make all those little marks that are so distinctive to birches.

after-lines-are-added

This one (above)  is not even dry-certainly not fired or glazed. 

Glazing- I thought I would try a clear glaze on one

(here it is- some small  piece of the kiln stuck to it)

small-birch-tray-clear-glazeand on another, some soda ash water for a matte finish with possible orange flashing. 
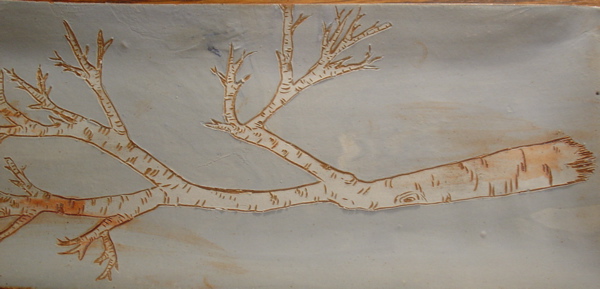
long-birch-tray-shino-waterI have tried quite a few finishes on these trays. 
I’m trying to find something that enhances it by turning the carved lines brown (as opposed to the gray of the clear glaze above) but without changing the white of the birches. I’ve not been completely successful.

Here’s what I’ve got so far:

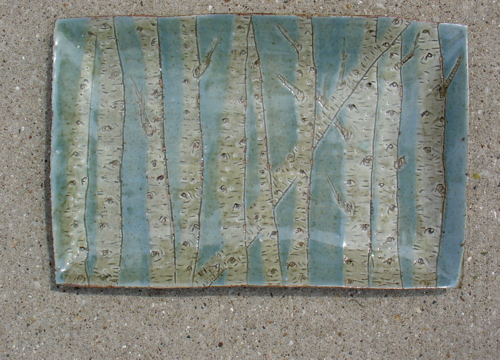
Under Celadon- glossy finish…y’know, I think I painted red iron oxide into the lines on this one and wiped it off.

birch-under-celadonUnder shino and wiped off lightly- matte finishbirch-under-shino-wiped-offunder Rutile Blue and (badly?) wiped off- matte finishbirch-under-rutile-blue-wiped-off
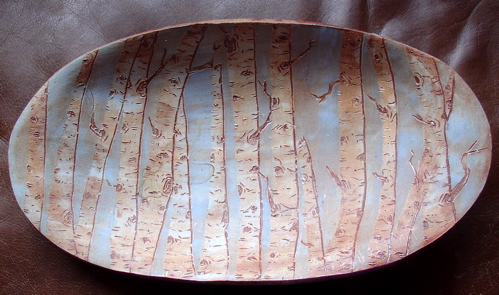
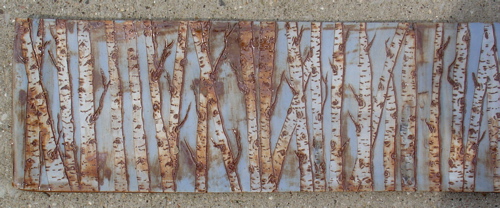
 

This next one below, took too long and I worried too much. This is shino wiped off and then clear painted on. If those two meet, they look awful together, bubbling, etc. NOTE* upper left corner, you can see where the slip did not bond to the stoneware- it can be a problem- and flaked off. Darn!

birch-shino-wiped-off-and-clear-painted-onbut of all the finishes (and this is just a little too matte) this is probably what I was shooting for.