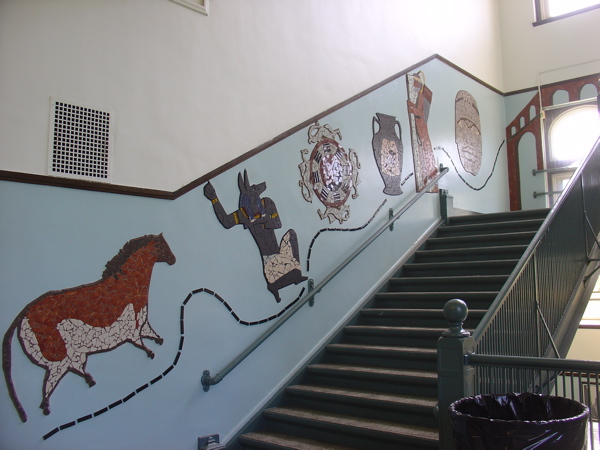
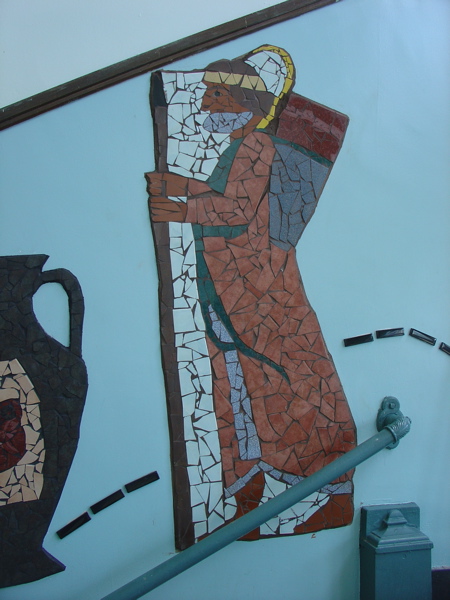
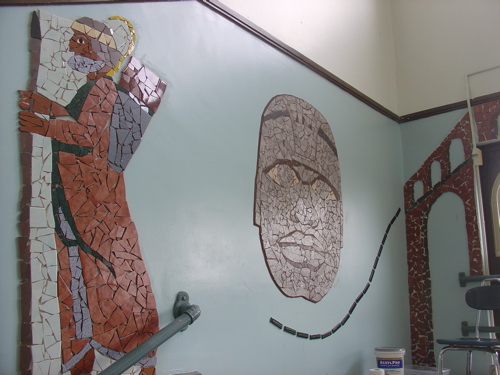
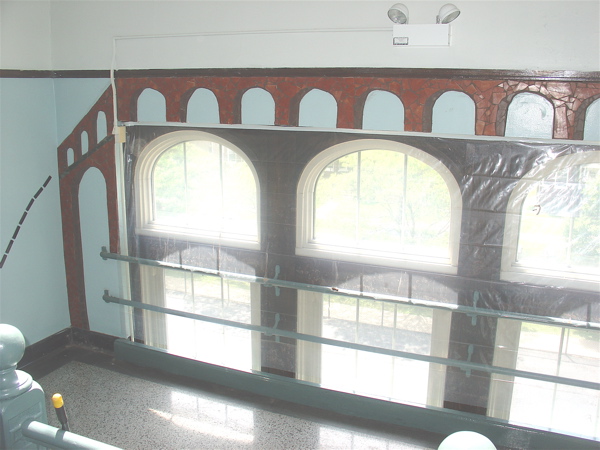
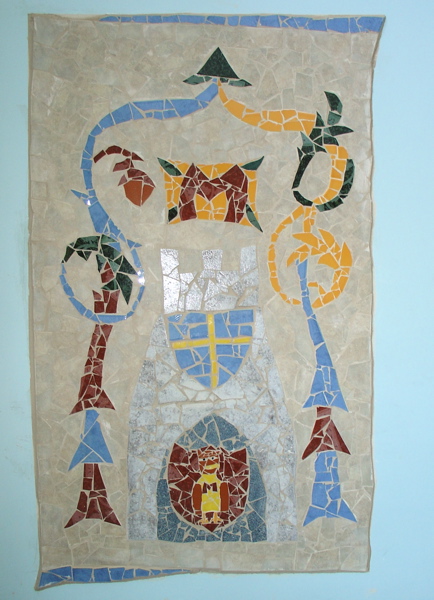
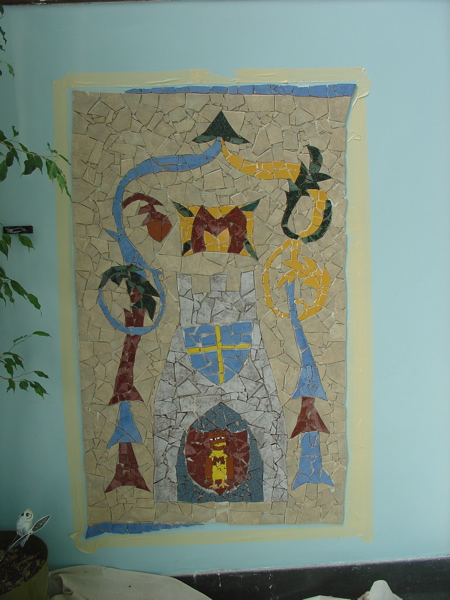
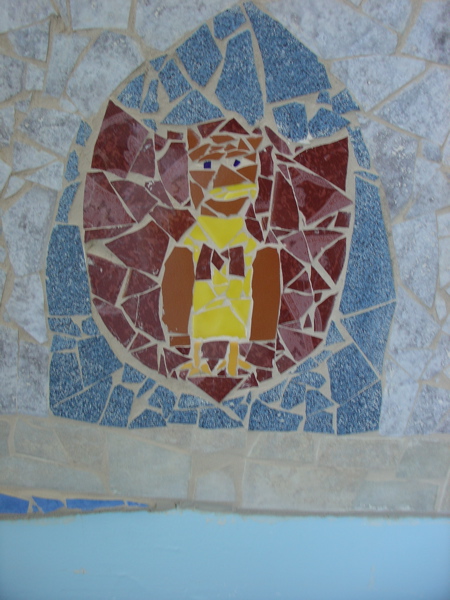
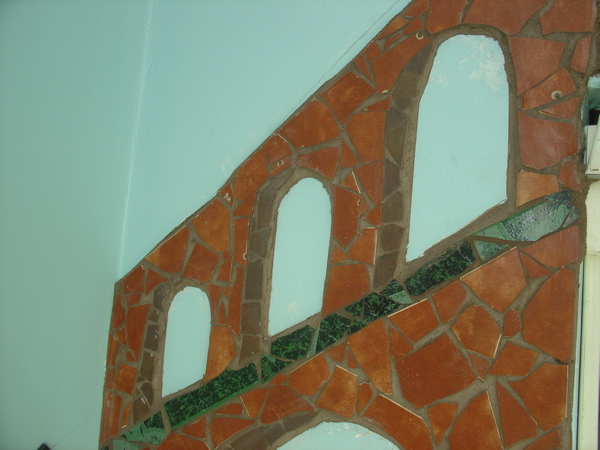
I got another panel up today but I thought I’d also talk a little about the process.
I had a friend ask me about laying it out and I realized there are several ways. This is what I recommend:
Get paper as big as you can- butcher or kraft paper is ideal but if you have newprint or something, you can tape pieces together to cover your space to be mosaic’d.
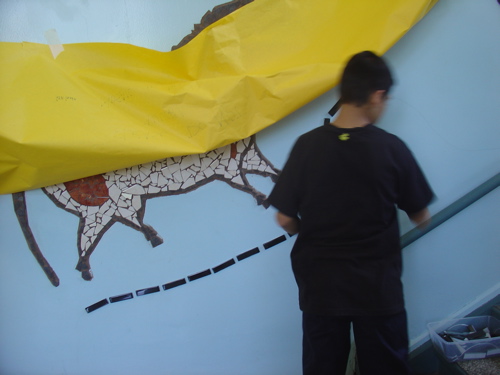
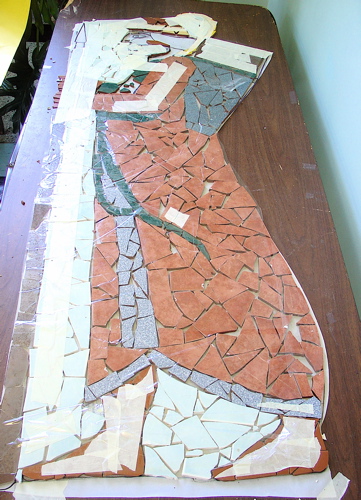
Next, draw your design right onto it while it’s on the wall (if you can.) Take down the paper in sections- that is, if you are working on a really big space as I am for the bath surround, and my table is 32” wide, I have been cutting my design into strips around that wide. Note how I am choosing natural borders along which to break up my design.
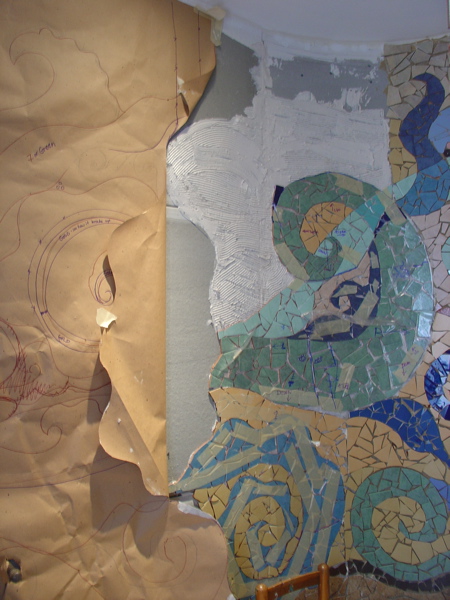
Then you can either designate a table and work on it in pieces that are the size of the table top
OR buy sheets of styrofoam insulation- the thick pink works best but it’s a bit costly or very thin plywood (so it doesn’t weigh a lot). The plywood tends to warp and arch.
One artist who advised me, lays the whole thing out in sections on multiple styrofoam sheets and stacks them on top of eachother until she is ready to put the whole thing up on the wall.
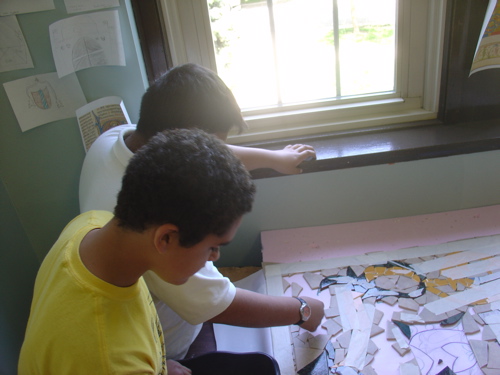
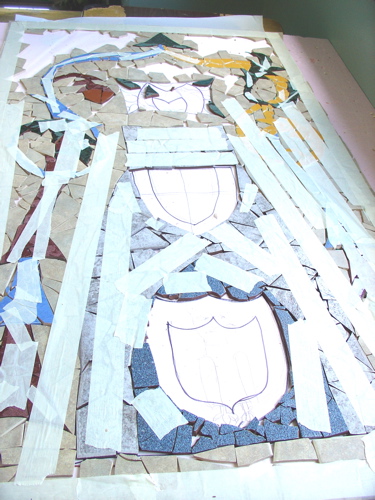
After the broken tile is laid out, I hold it all together with clear shelf paper that I get at Menard’s (though you can buy special tape or use regular tape but that gets pricey). Then, as each section is done, I cut the mosaic into 12-18 inch square sections; again following natural lines and borders using an exacto blade. That is one good reason to put cardboard under the paper- so you don’t cut up your table top. If you use the styrofoam, it is great for absorbing the cuts.

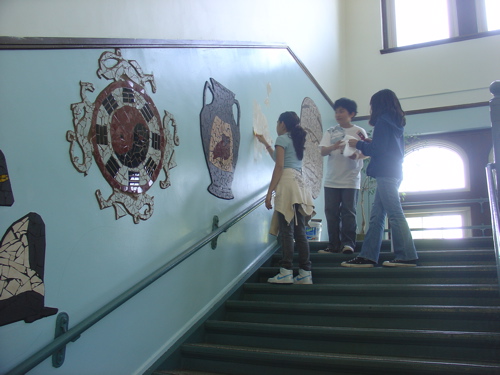
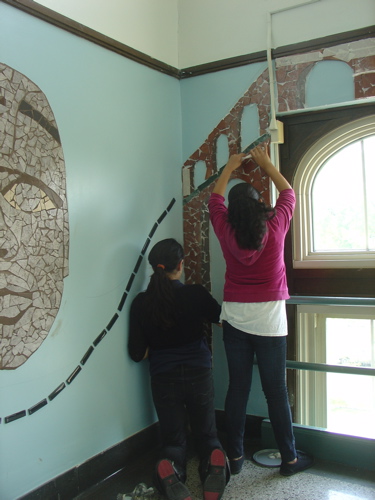
I apply mastic (that’s the adhesive- you buy in buckets) to the wall and lift the sections of mosaic and push them onto the sticky wall. This process is A LOT easier with two people, one holding up the section of mosaic and the other guiding it into place and pressing it into the mastic. But it can be done alone as I have been finding out. You can even use your feet as I do at the very bottom.
I suggest starting with smaller sections until you see the problems inherent.
Start at the bottom and leave yourself some wiggle room as the mosaic tends to expand and also to distort as it stretches and sags a small amount.
Because of this I also advise applying the mastic a bit past your edges when you can. It is easy enough to take a little putty knife and clean off excess after the tiles are up but much harder to lift all the tiles up that don’t have mastic under them and try to get some under there.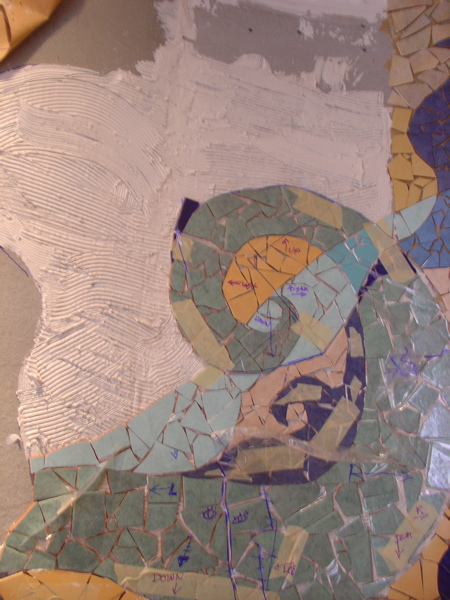
* Note: If your work space is a ways from your mosaic site, and you don’t have the insulation boards, you can slide/lift your sections onto various boards and trays, even layers of newspaper and moved them there.
You’ll note I often have strips of masking tape. Sometimes I make a spiral or something and I want it to really stay together; perhaps I don’t have time to lay out the filler/background right then. A quick strip of masking tape is a good way to keep the piece in place. It’s also a bit stickier than the shelf paper and the more matte and rough a tile’s surface is, the less it sticks to shelf paper. Conversely, shiny, smooth tile sticks almost too much.
Here is the newest section up and with the tape removed. 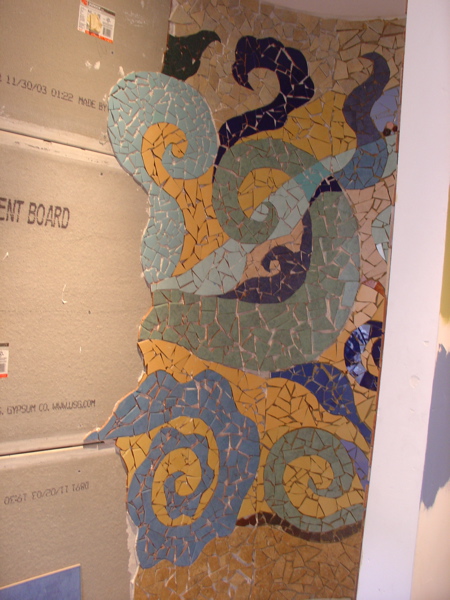
I won’t be teaching in August, but I hope to catch up with a couple of posts I missed during my classes. I am also hoping to finish this mosaic!!
