Hi everyone! Welcome to Slip’n’surfaces; a four week class on surface decoration.
Since I believe that surface decoration must enhance form and form should enhance the surface decoration – in short they must work together and compliment eachother, I decided I wanted to address a couple of key areas of functional pots. I decided to do:
Foot-of -the -week
Lip-of-the-week
and also a Glaze-of-the-week
as I have fielded a lot of questions about what glazes look good over and show off various surface decorations.
For my first demonstration I did again, the Eric Jensen Method of throwing out a slab. This is show in my blog entry Handbuilding week 1.
I brought in “sketches” which are examples of work I did in 1997. I have an ancient web page with photos of the large work on it- to see them, click here.
The Lip-of-the-week was a simply rolled over lip – I don’t have a picture but in handbuilding or throwing you can take a thin lip and roll it over to give an extra thickness and a nice curve to the rim without adding weight to the pot.
The Foot-of -the -week was 3 “pods” – added feet to give some stability and height to an otherwise round bottomed drop dish.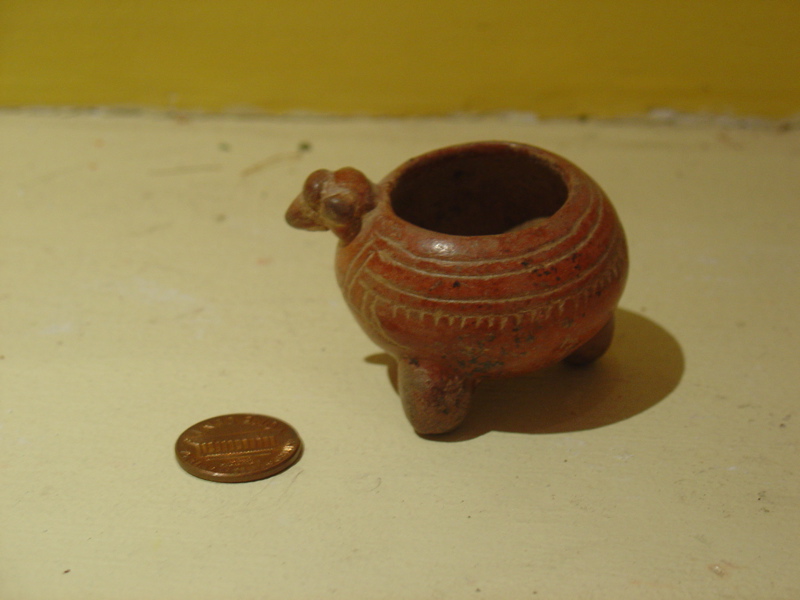 This tiny Mayan pot shows the basic idea.
Glaze-of-the-week was actually my favorite two glazes for over delicately carved slip and that was Shaner Clear and Shino water.
Shaner Clear:
For porcelain* I give the pot a good wiping with a very wet clean sponge so that it soaks up less glaze. I use a sponge so I have more control as to where the water goes (as opposed to just holding it under a faucet) I don’t want to soak a thin rim or it won’t have the ability to absorb any glaze.
Shaner Clear is a very forgiving glaze. Drips, dabs, patches all disappear and smooth out in the firing.
(all the rest of the photos on this blog entry are pots made by me)
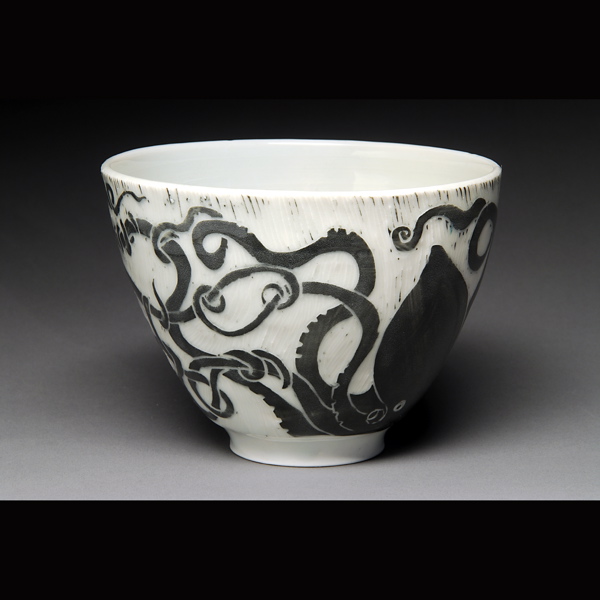
The reason I thin it is that if it is on too thick it looks milky and makes the slips lighter in color- for example the black looks more like a blue-gray.
*Porcelain tends to absorb glaze more quickly and therefore more glaze than stoneware.
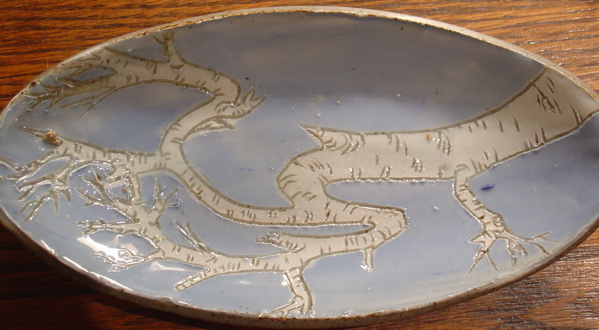
I prefer the shino water instead of Shaner clear over stoneware as clear leaves the stoneware a kind of dead-looking gray. Below you see that gray only in the lines cut through the white slip down to the stoneware underneath. It’s the only photo I could find with clear over stoneware as I dislike it so much.
Shino Water:
Shino water often turns bare stoneware orange. The water leaves no thicker coating and so the texture of slip carving is highly visible.
okay, right now I can’t find a photo of shino water over slip on stoneware but I have plenty of:
Shino over porcelain
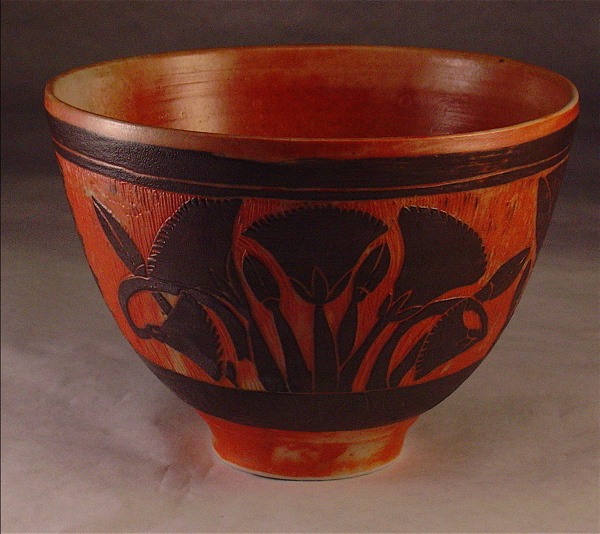 Above is shino water over porcelain with black slip.
or porcelain slip over stoneware can also go orange :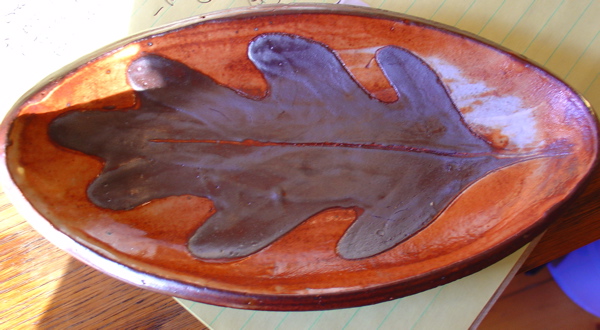 That is all for this week!
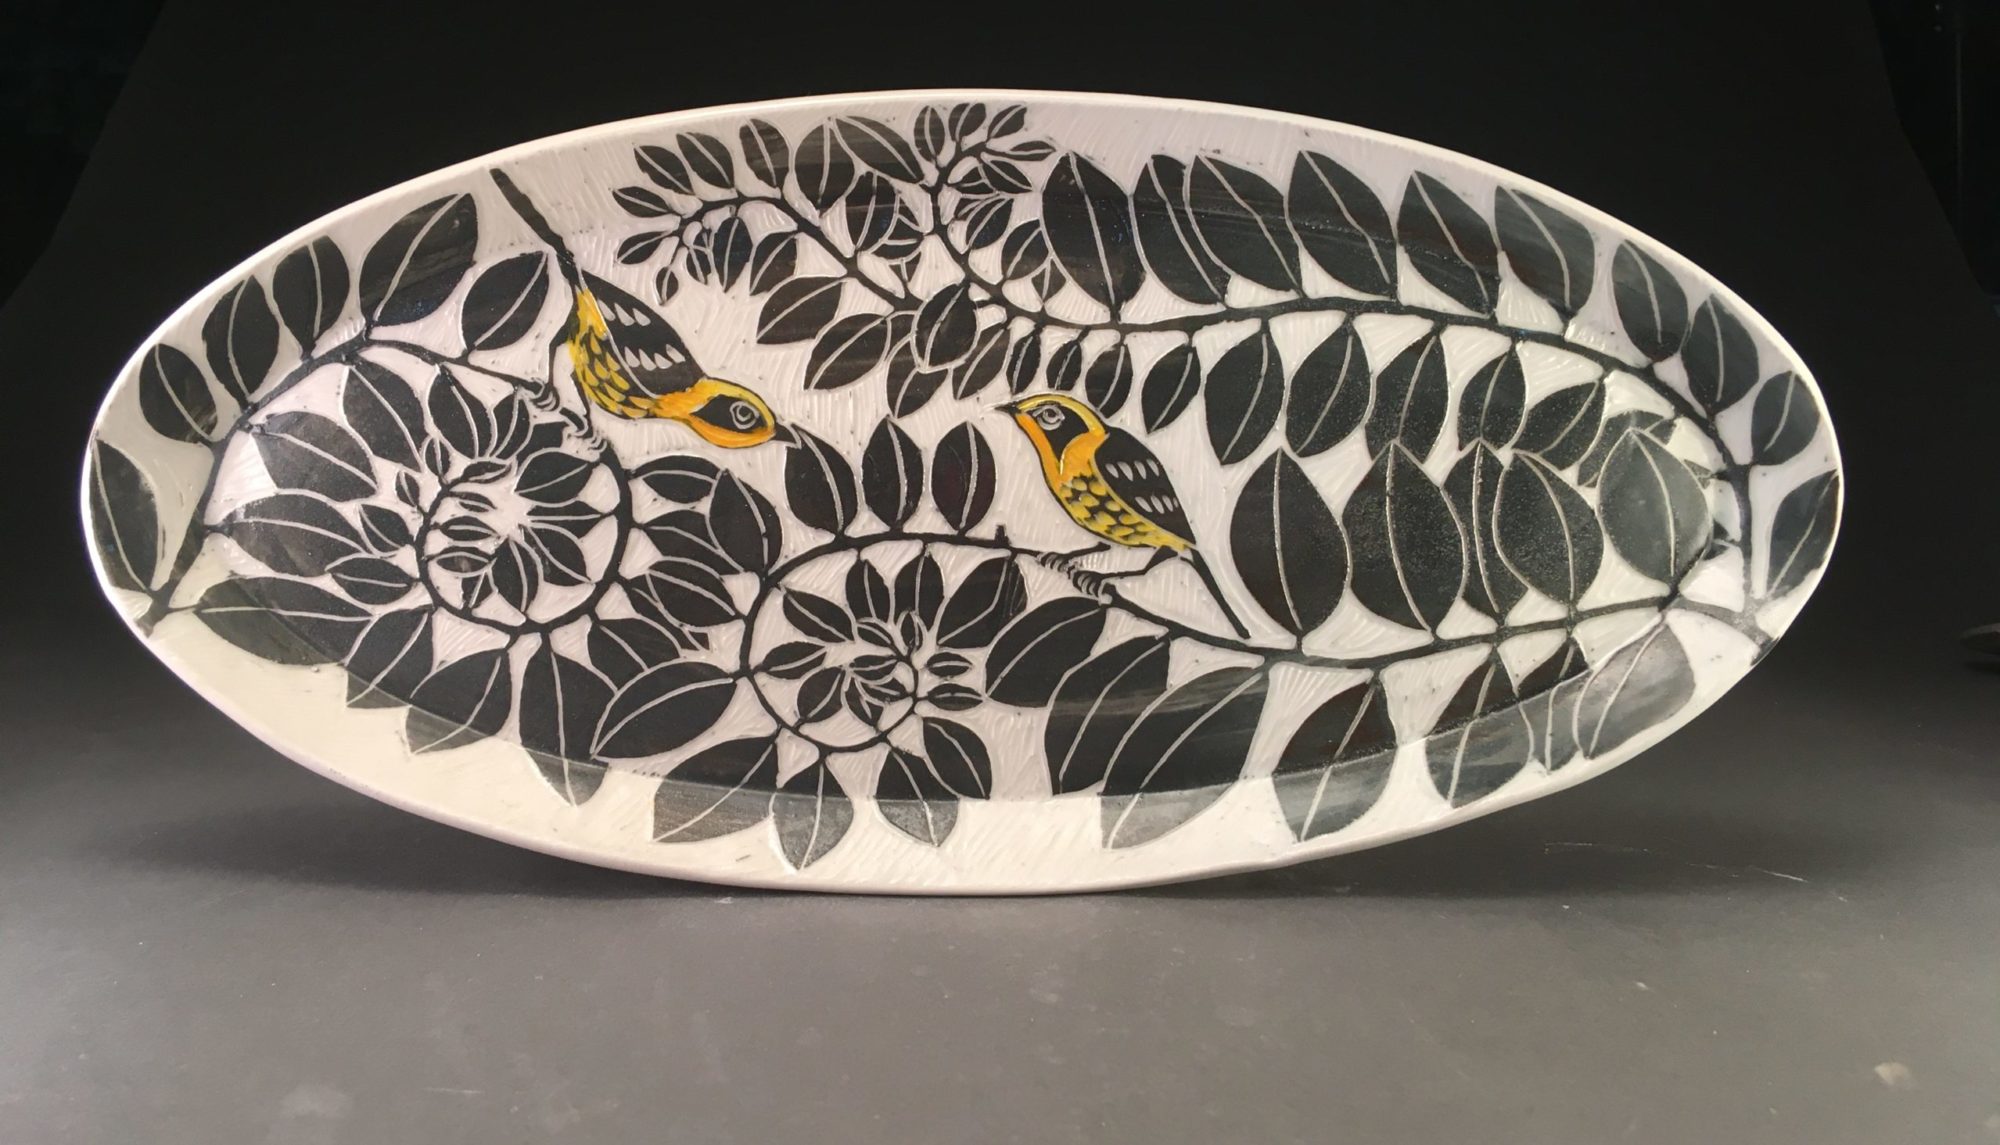
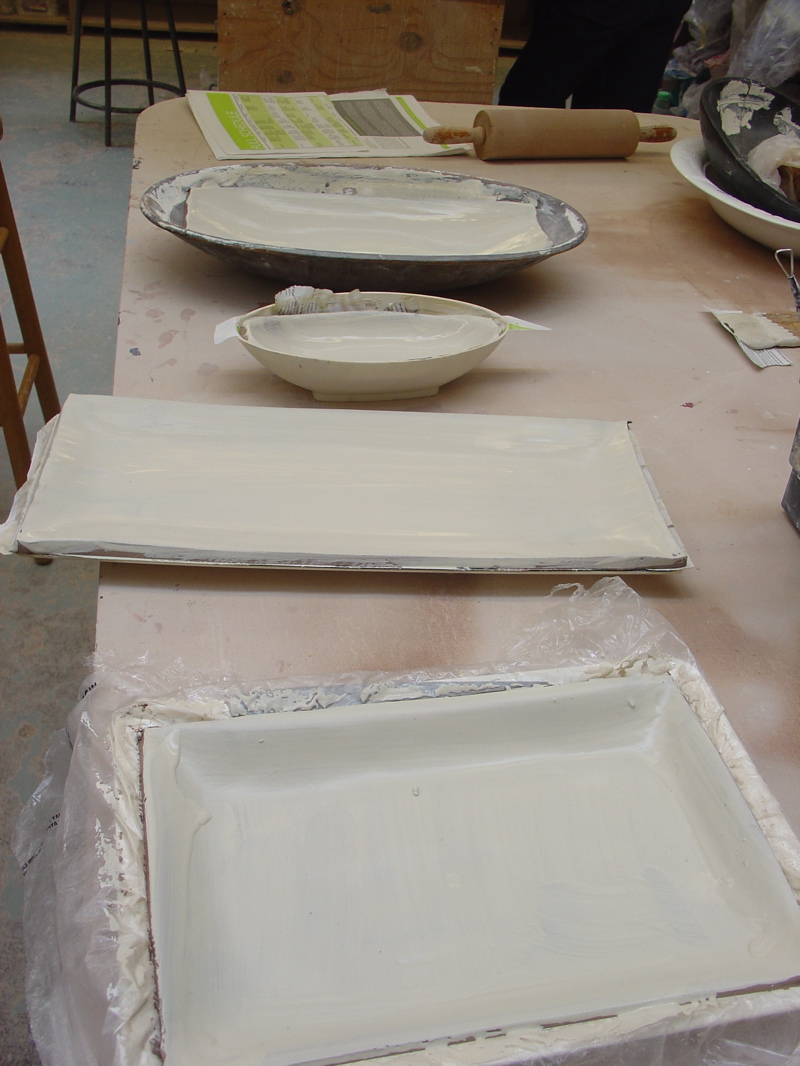
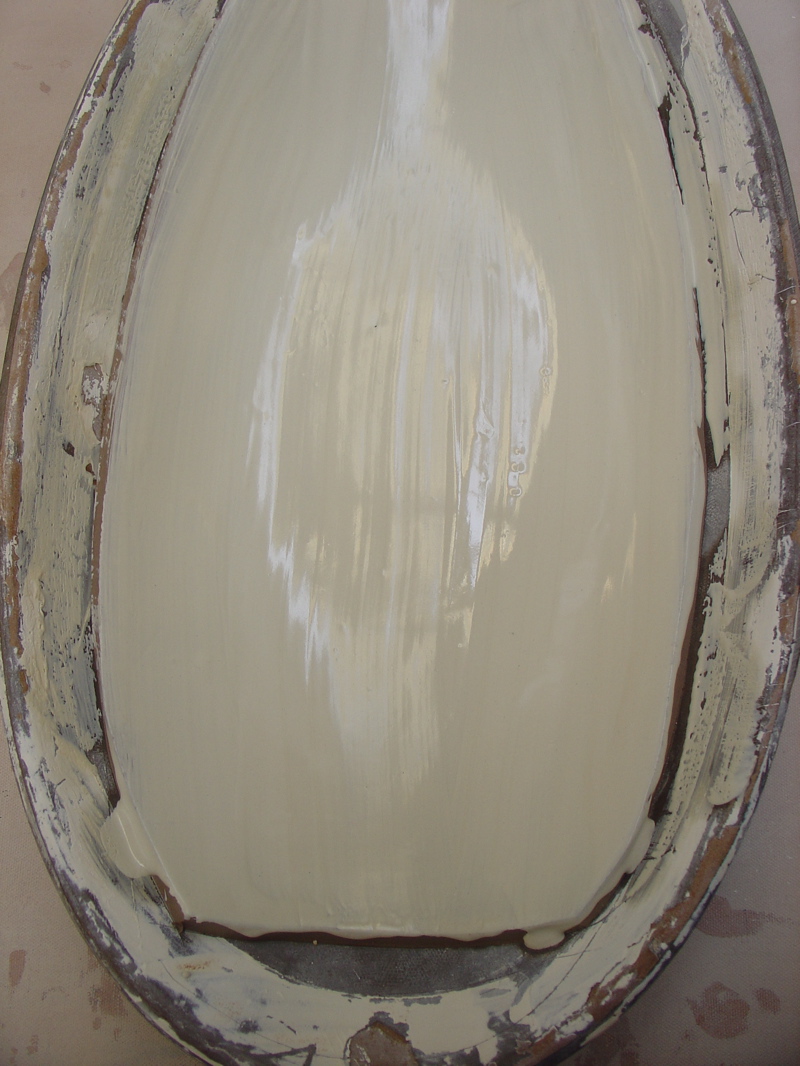
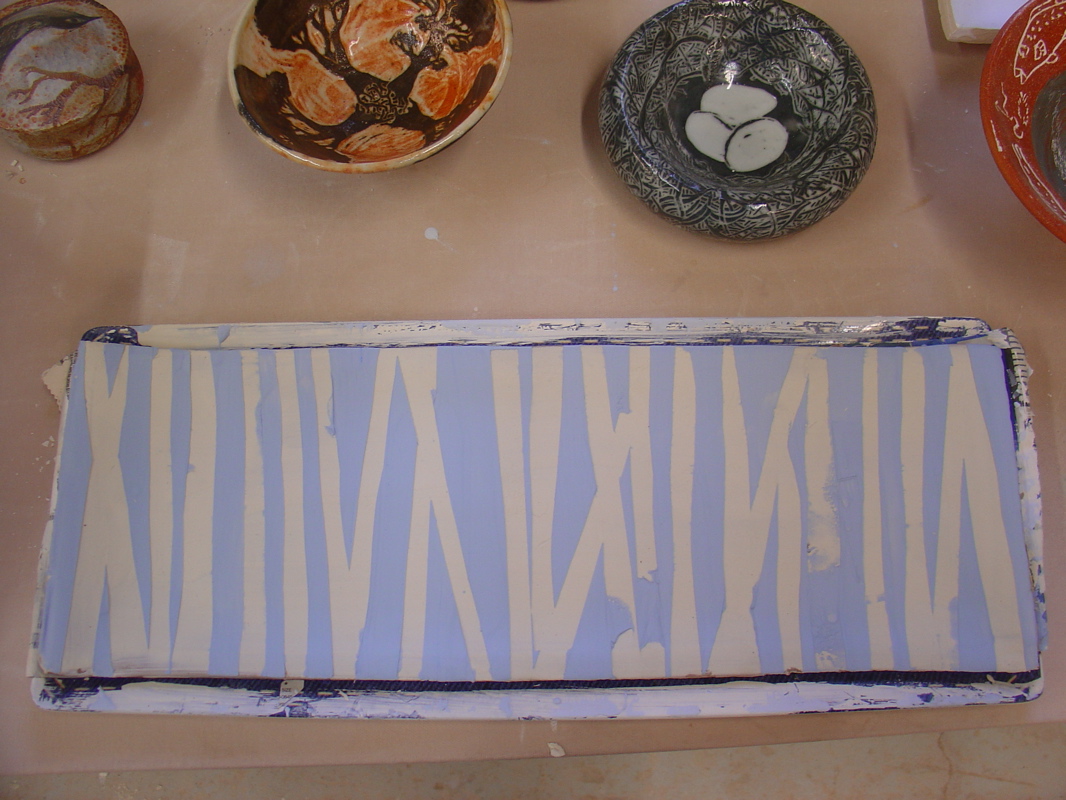
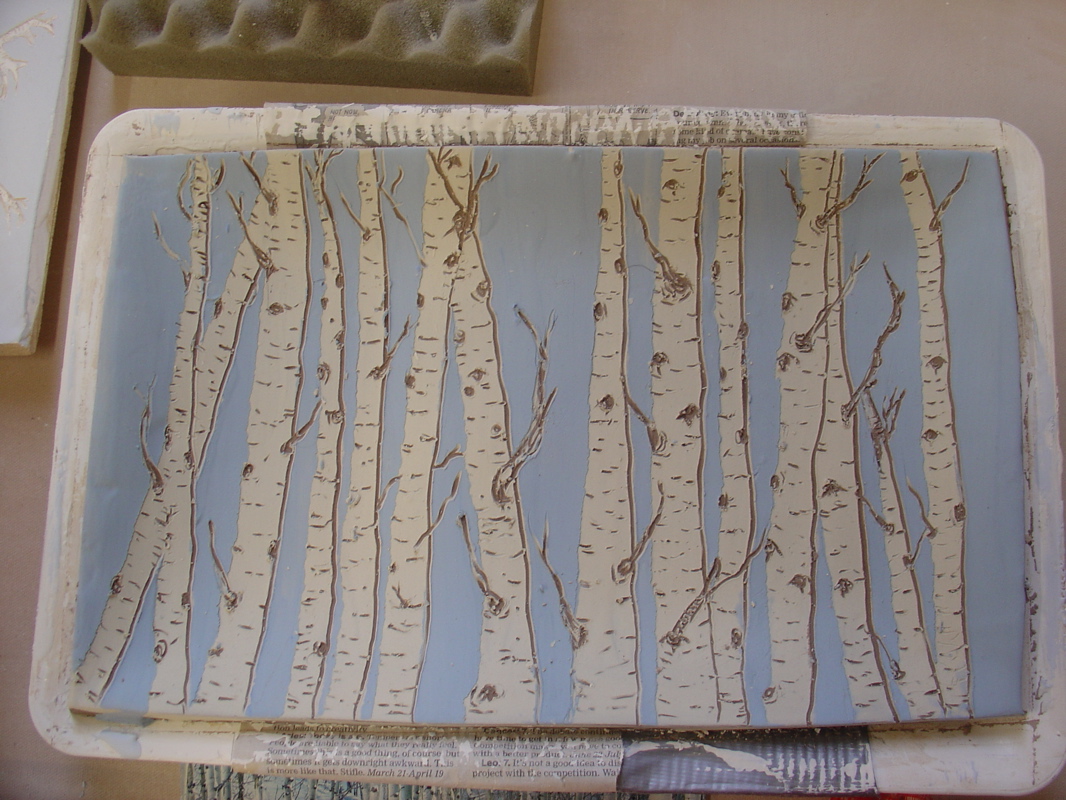
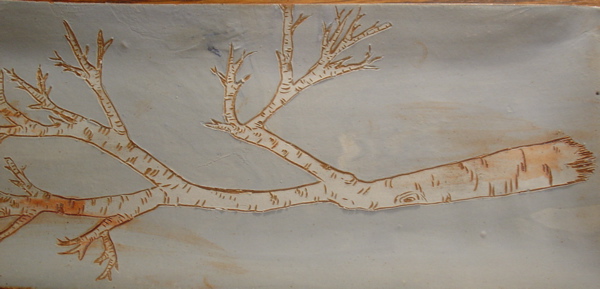 I have tried quite a few finishes on these trays.
 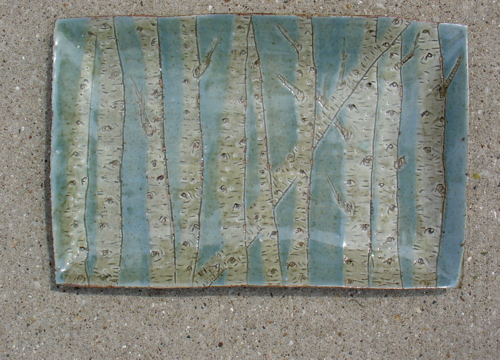 Under shino and wiped off lightly- matte finish
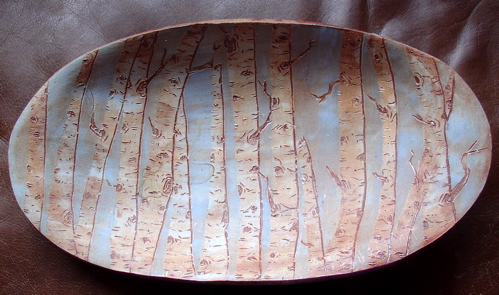 under Rutile Blue and (badly?) wiped off- matte finish
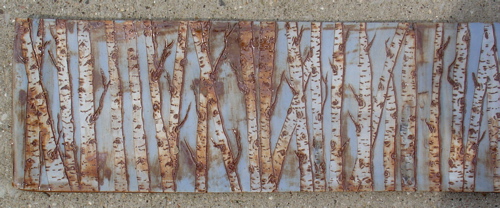
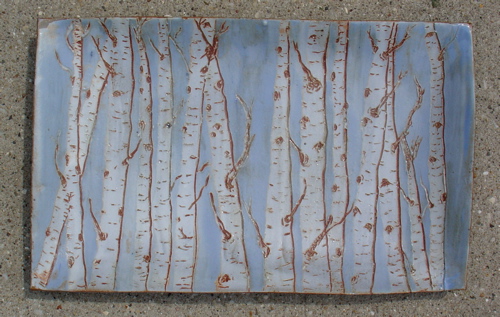 but of all the finishes (and this is just a little too matte) this is probably what I was shooting for.