Double Pinch Pots

First Time Hand Building

Class 1 Double Pinch Pots


I may have written about double pinch pots in the past- but this is for a first time hand-building class.

I did not know what level students would be at so I decided to start with the most basic skill.  Yet double pinch pots can take you just about anywhere as evinced by the work my wonderful class made that day.

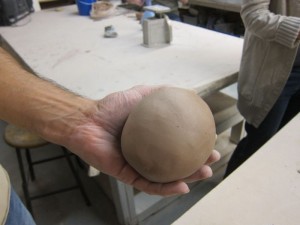
It is a pretty straight forward process; you start with two balls of clay of roughly equal size and make them both into pinch pots.

A really good tip here is to keep the rim thick by not squeezing it directly. It works quite well to squeeze below it.

After the pots are as evenly thin as you are able to make them,  try them  out “mouth to mouth” and see if they are the shape and size you need.

You can add a coil or two to one or both of them to make a larger hollow form. Eventually you will need to join them to each other.

Or not. Matthew decided not to join his two pots together and so he has a terrific lidded jar.

If you find it is collapsing, you can stuff newspaper inside. The paper will burn out in the kiln.

Once it is completely sealed and the air is trapped inside, you can roll it on the table almost as if it were a solid piece of clay to smooth it and shape it. Then parts may be added
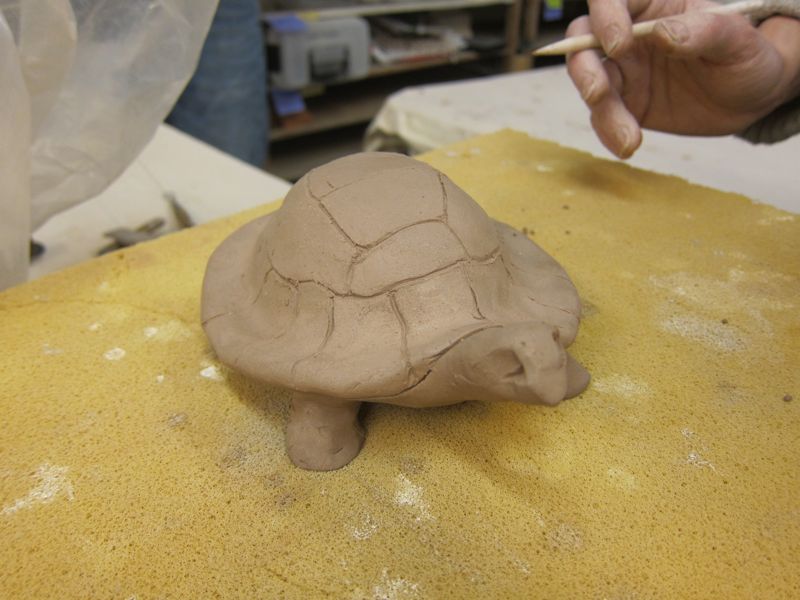
The shape doesn’t even have to be round.  Nan made a turtle!
 

But if you decide to make a little sculpture like that or like Randy’s Owl here-
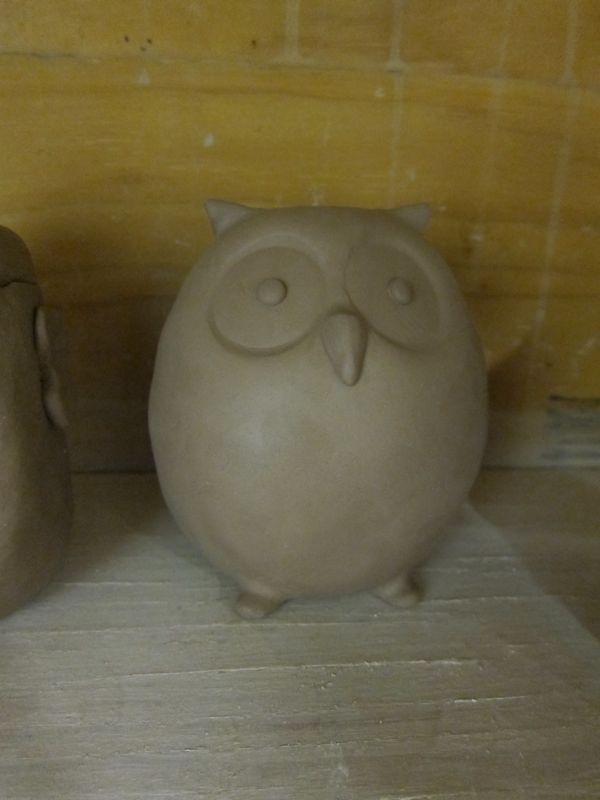

make sure you put a discreet hole in it somewhere so the air and moisture can escape and not blow up your piece!

If you decide to make a piggy bank like Kathryn’s
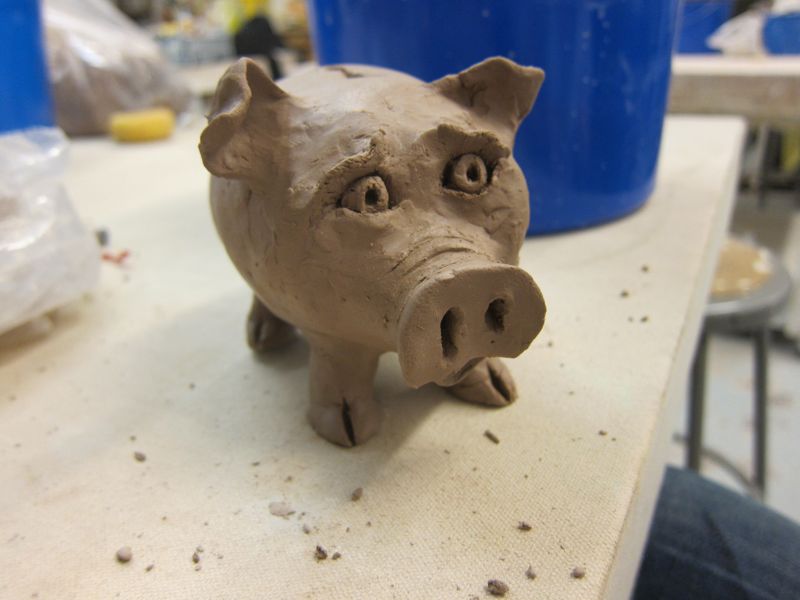
(this pig is clearly worried by the economic situation!)

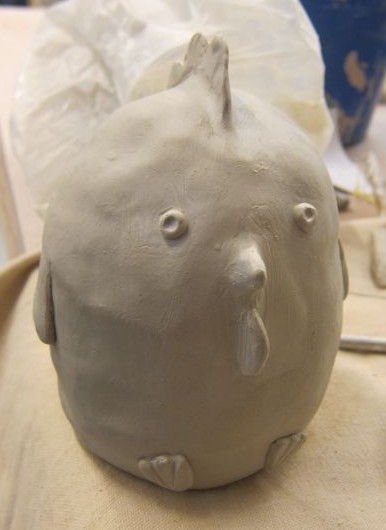
or a chicken bank like Pam’s

or a Monkey jug like mine,


then the openings are built into the form and no little hole is needed.

The possibilities are endless- here are two pieces I’ve made in the past: a jar and a teapot.
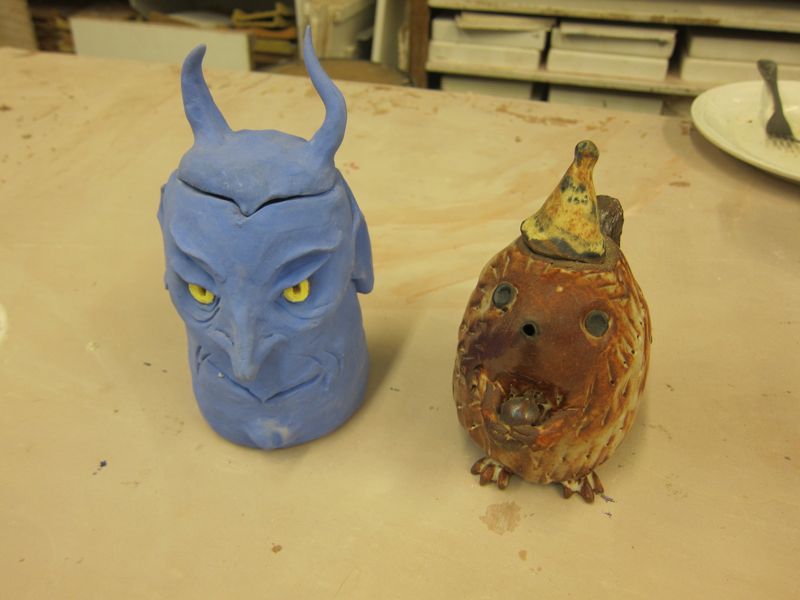
What is good about this form is that it is inherently strong, the form lends itself to so many possibilities and beginners are able to make something that has quite a bit of volume.
 

MAJOLICA – a very brief introduction

I recently taught a workshop as a brief introduction to Majolica.

I used the word “creamy” very frequently. It really is the best word to describe the basic white glaze that defines the category and gives Majolica its distinctive look.

First of all let me say that most of what I know I learned from Kelly Kessler and I still find her work inspiring, thought provoking and beautiful.

I brought out some pieces by her,

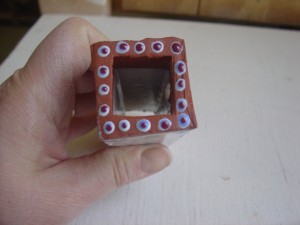
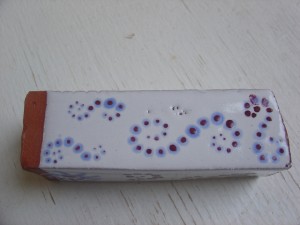
two small boxes I’d bought in Italy, sitting next to an Angler Fish mug by Karin Kraemer

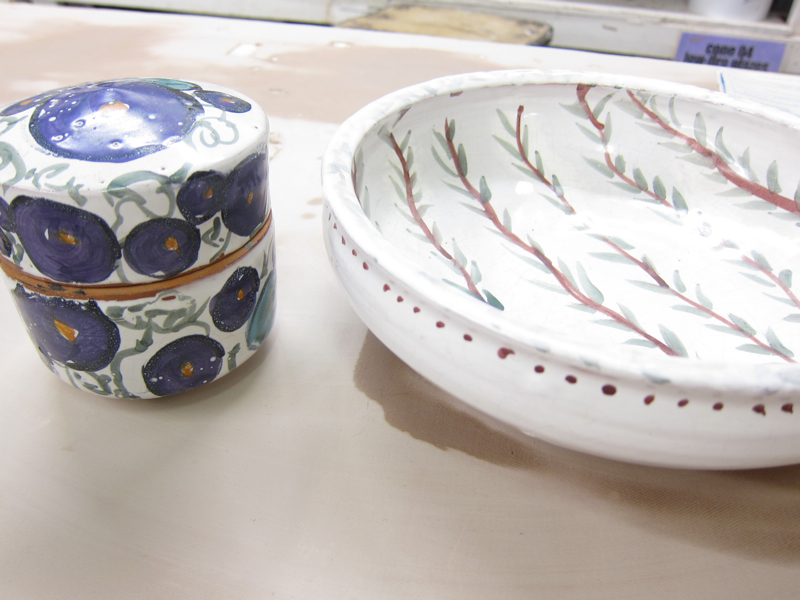
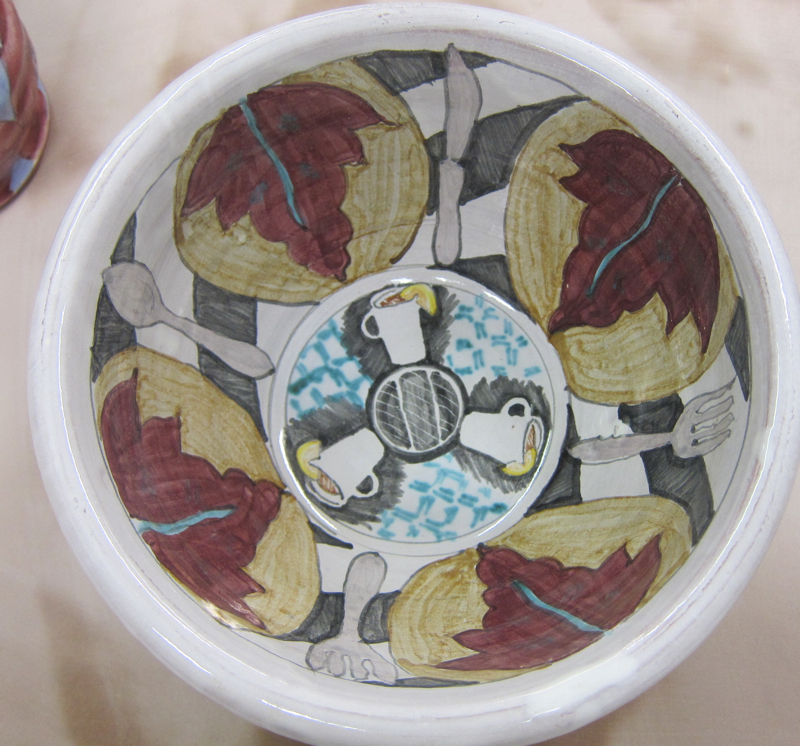
and a couple of old pieces of mine.

I wasn’t sure how long it had been since I really spent some time making Majolica work but the date on the bottom of the bowl was 1994!

Basically, Majolica was Europe’s response to Chinese Porcelain.

People were crazy for all that pristine white-ware coming out of China. This was eventually answered with a thick white glaze (made with tin)and colorful pigments that sink into its surface. This first began to happen during the renaissance in Italy so Italy is most famous for it’s Majolica but Spain, England and Mexico all have similar ceramic traditions.

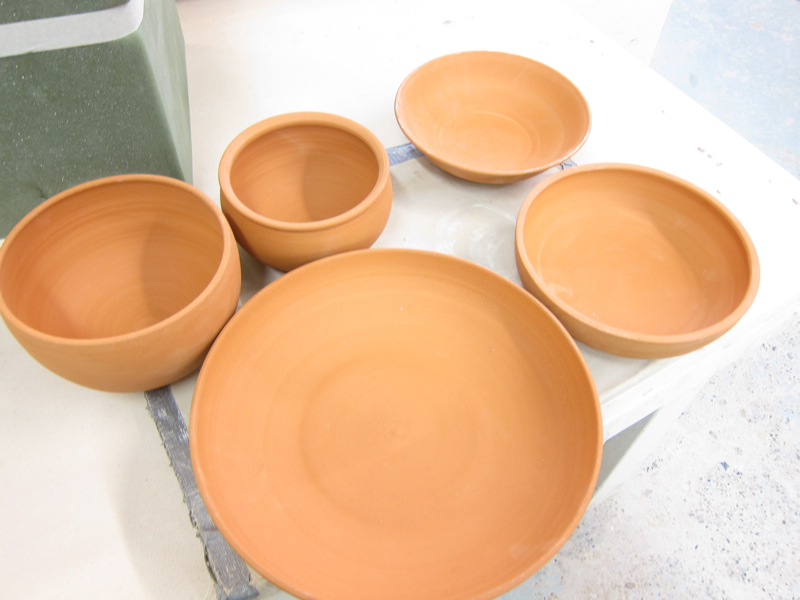
Majolica, as it is practiced most commonly now is on terra cotta low fire clay which is dipped in or sprayed with a base coat of a  creamy majolica glaze.

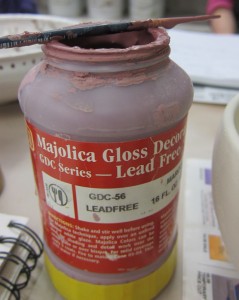
At Lill, we use a nice recipe from Linda Arbuckle (http://lindaarbuckle.com/index.html )and commercial pigments from Amaco™

After that dries, you can then apply your pattern or images. Some people draw very lightly on the surface with pencil- I’ve been known to use a highlighter even  but for these I just had some sketches and applied it freehand. Good brushes are key. You need something that you can load up but will make a fine line. I like long thin brushes.

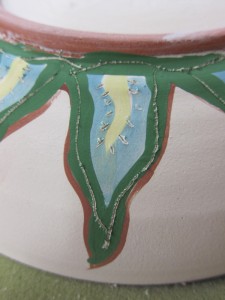
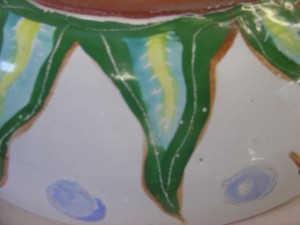
For the “sea weed” on the underside of my octopus bowl, I scratched through  to thewhite but not down to the clay body.

after firing

Karin Kraemer uses this technique to good effect on her Angler fish mug. Also on her mug, you won’t see any of the white undercoat except for the belly of her fish. She painted the entire rest of the mug with a tomato red.

I also did a bit of scratching (sgraffito) on the octopus

Here  it is fired. The main thing to know about majolica is that it’s not very forgiving of mistakes when one is painting on the colorful pigments.

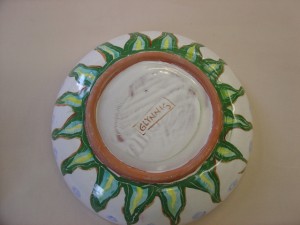
You can see it is a lot more transparent- more than I wanted actually. Every brush mark shows so you really have to be careful how you apply the pigments- you can not just make an outline and daub it on to fill it in- it’s best to have some direction and grace in your application. Here is the underside:

This was fired at around cone 04.  That is low fire and so the clay body won’t be as dense and therefore as strong as a cone 6 or 10 pot- but these pieces do hold up! Another student brought in commercially made terra cotta pieces: flower pots! and decorated those.

With Majolica the possibilities are nearly endless and it’s particularly great if you like bright colors.

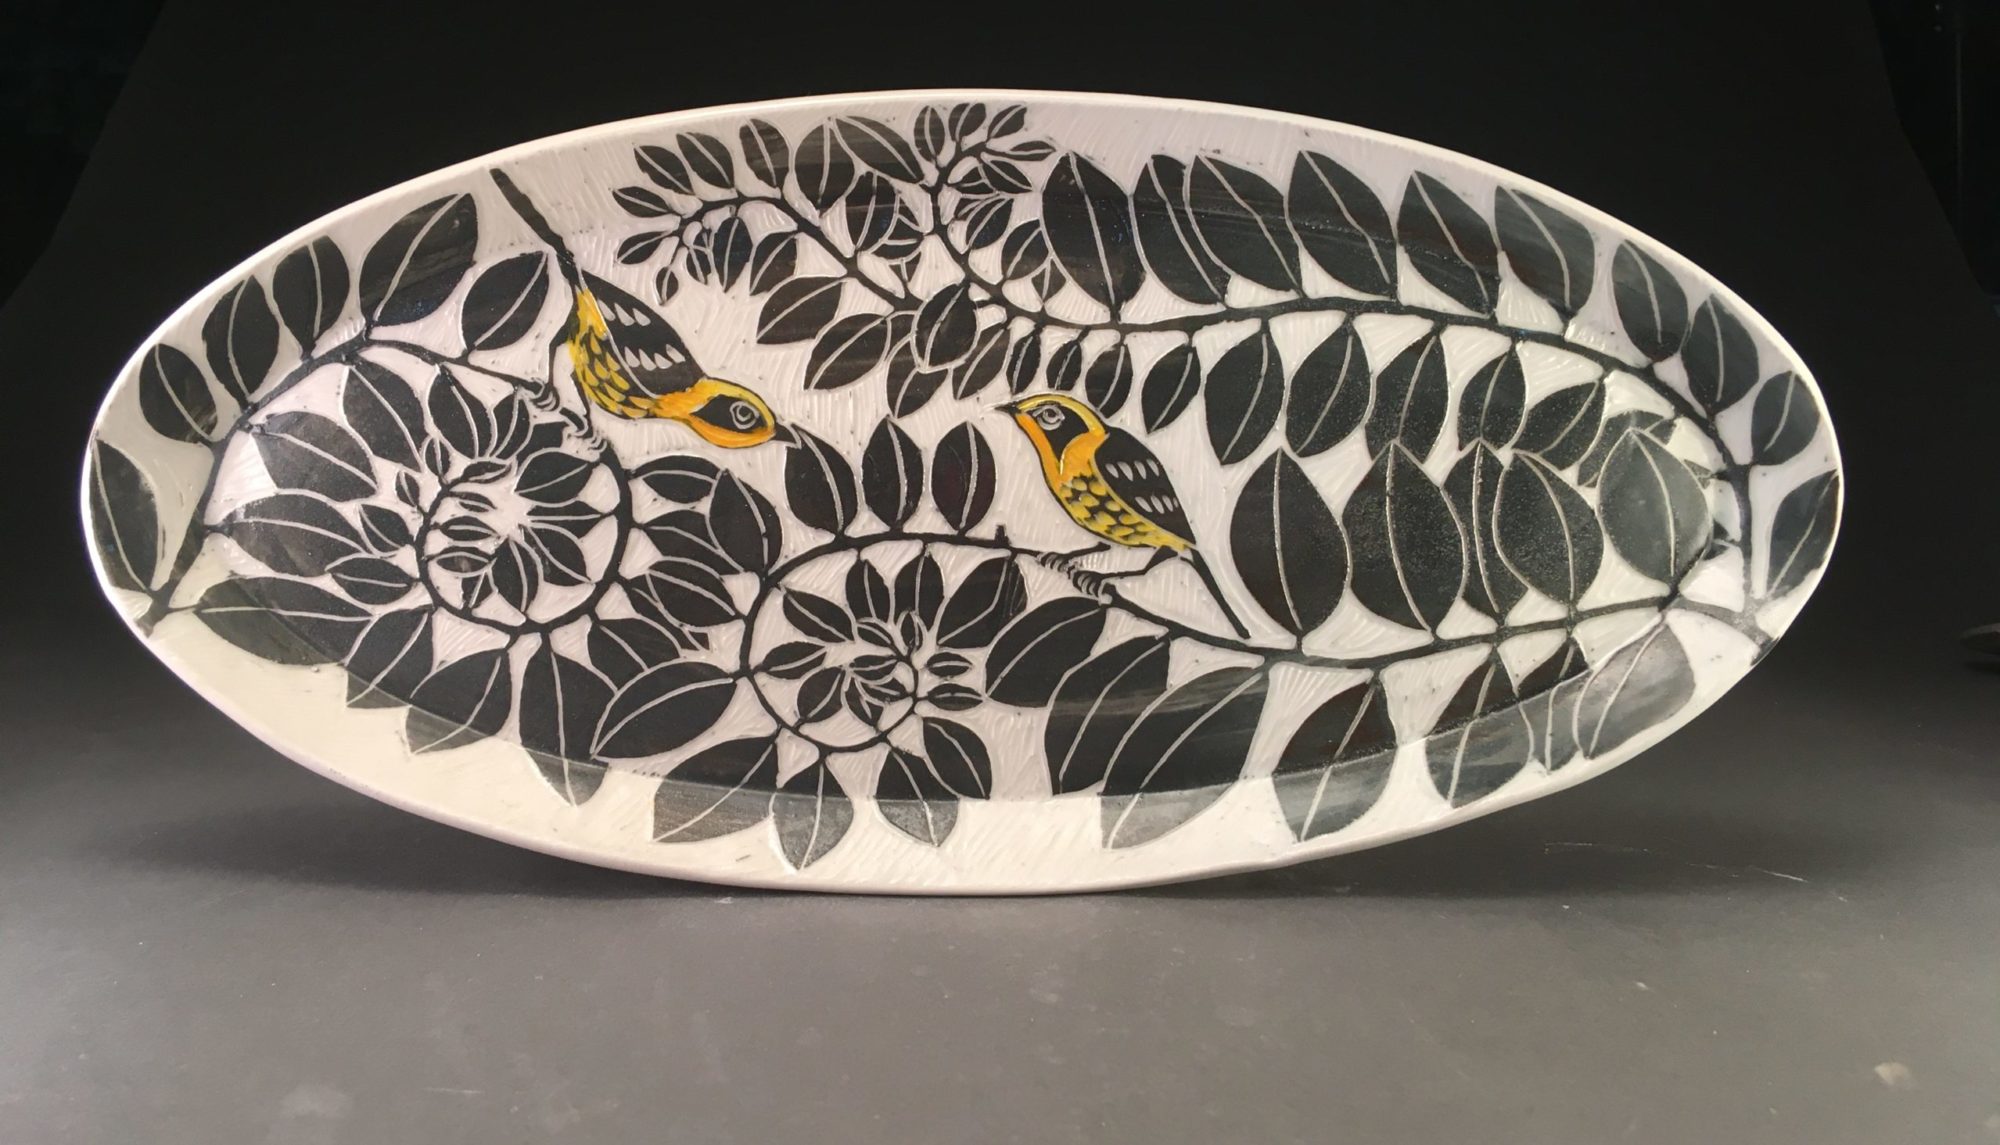
But, as you can see in this Roberta Massuch piece, it can also be used to get a kind of pen and ink effect and it also doesn’t have to cover the entire piece. She’s used it selectively and contrasted it with texture on other parts of her pot.

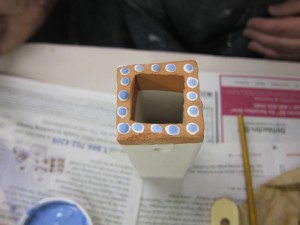
This is terry’s test- she’s wanted to see how it works in dots!

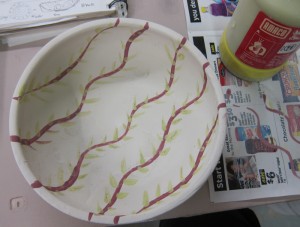
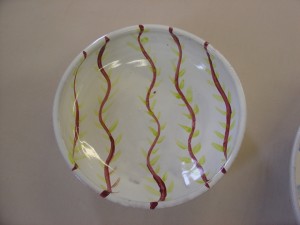
I also copied one of my own pieces -what I call my “willow pattern”. Here it is before and after:

So there you have it, the very briefest of introductions to Majolica. What I like about it are the bright colors and the endless possibilities of surface decoration coupled with the near instant gratification of low-fire. This is not something that needs to be coddled along- you pop it in an electric kiln and voila!  Something lovely, useful and sturdy.

If you want to look at more contemporary majolica work I suggest you poke around Arbuckle’s site and also that of  Karen Kraemer or just google Majolica! I know there are countless more talented Majolica artists and you are welcome to put them in comments.