I learned this trick from Chris Chaney.
I needed to use it this week on several bowls as I was skimping on clay and made the bottoms really thin.
Porcelain is ideal for this for two reasons:
1. It doesn’t have any grog or grit that comes to the surface when you run a sponge over it and
2. Porcelain is actually pretty great at rehydrating. So when you throw wet clay onto leather hard and then wrap it up again-better yet if you slip it as I do- it will redistribute that moisture nicely (usually!-you can only push it so far!)
So I trimmed the bowl to have even walls throughout- a curved bottom. Then I drew a circle where I wanted the foot to be and scored it.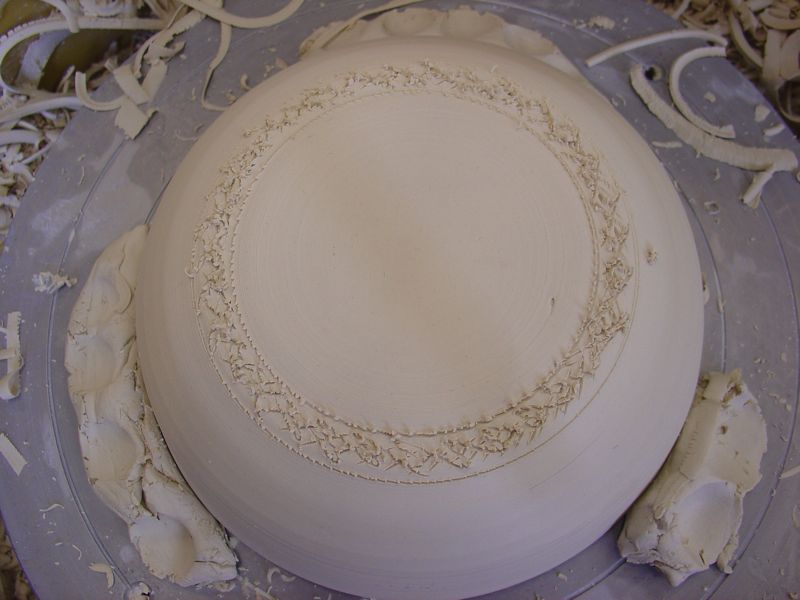
I hand rolled a coil slightly longer than the circle I’d just drawn. Remember to keep your fingers together when rolling so it’s smooth. It needn’t be perfect, just get it as even as you can.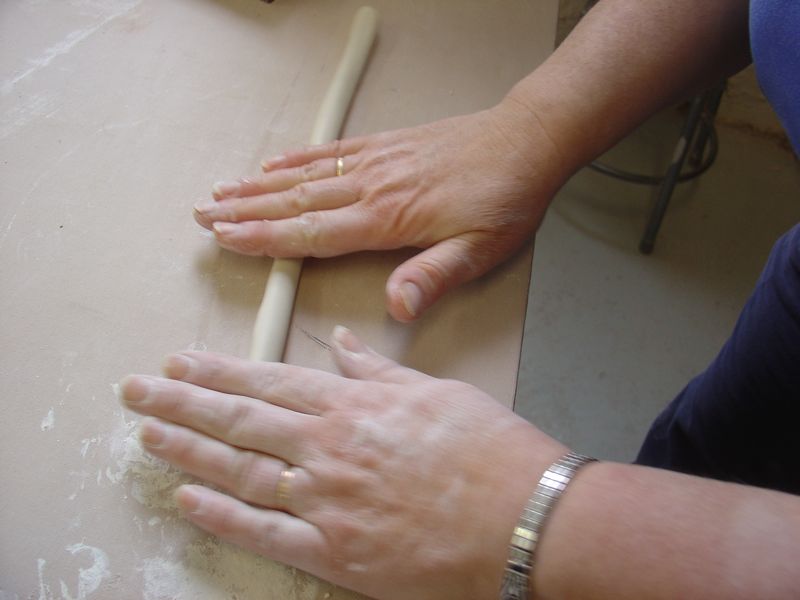 then score one side of the coil
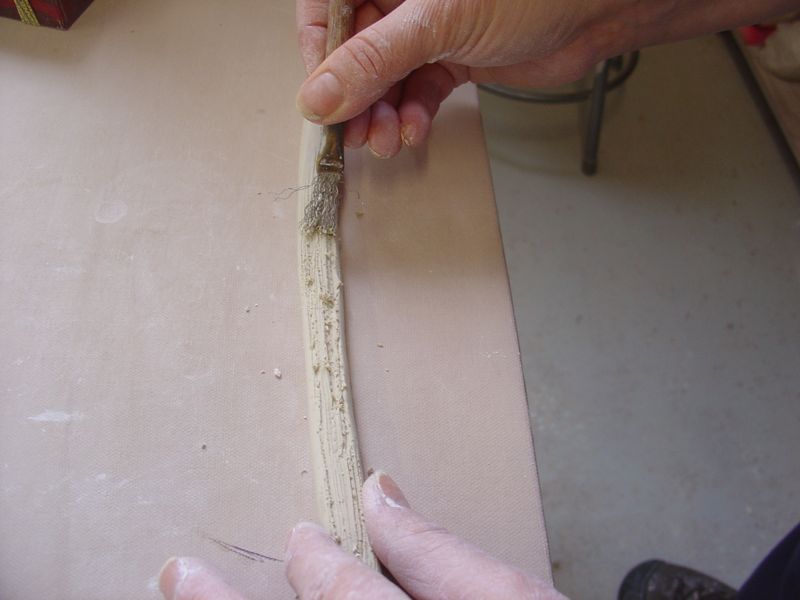
Wet the scored area on the pot,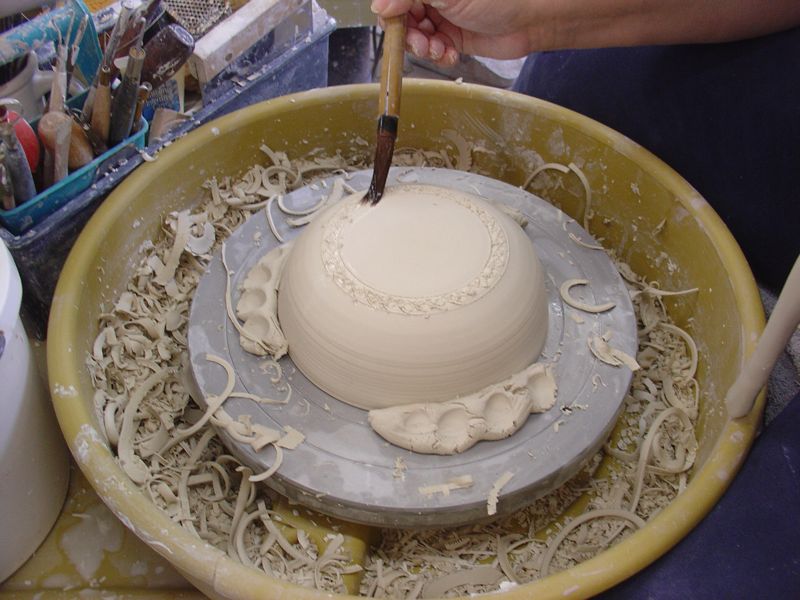
Set it on the pot, cut through both ends and really take some care to bond the two ends together.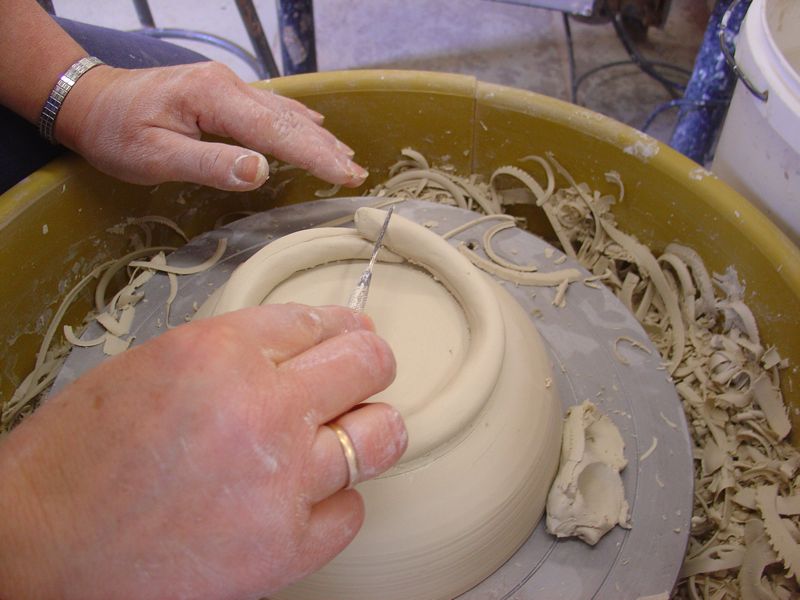
I used the back of my fingernail to blend the coil on the outside first and then on the inside so I can support the outside with my hand while I press outwards to do that. 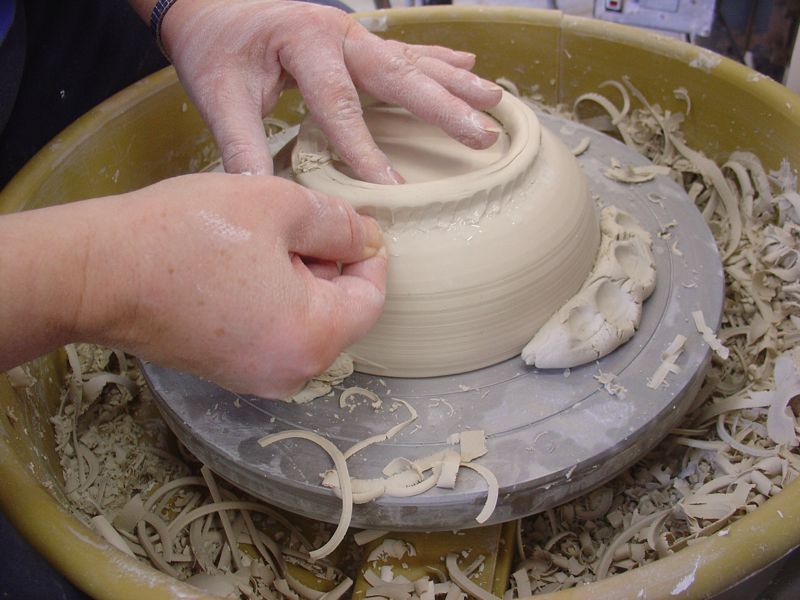
Don’t worry about creating little ridges; they will eventually be erased.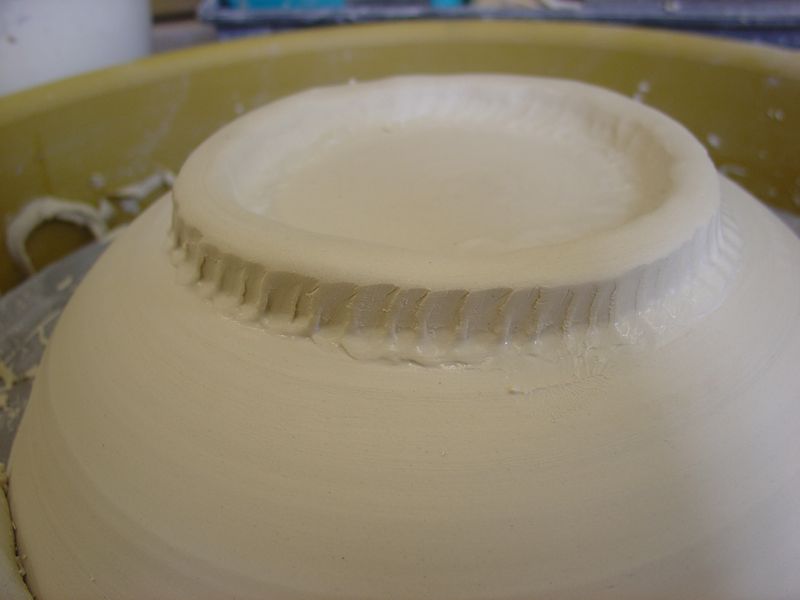
After the whole coil is firmly attached, take a wet sponge and with the wheel going, smooth the coil, slowly adding pressure to squeeze it up and smooth those little bonding marks.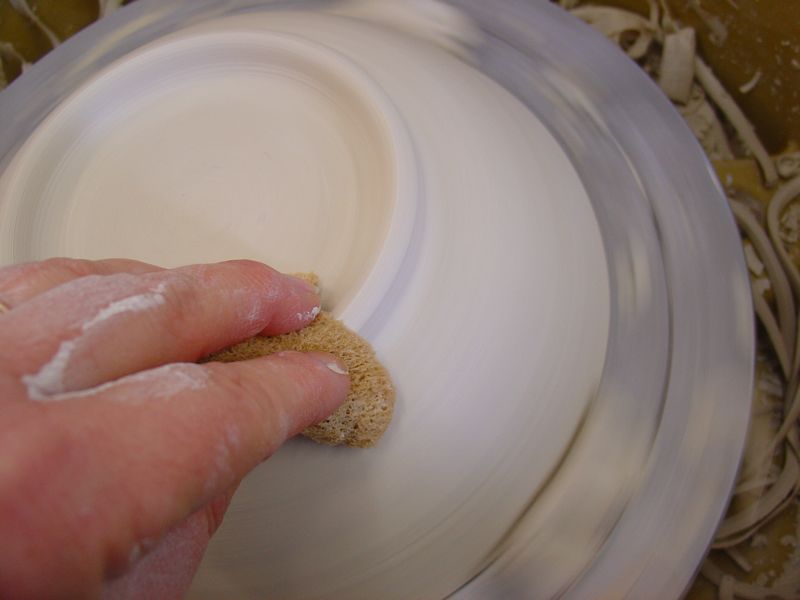
Any irregularities can be pulled to the top and cut off with a needle tool as you would when throwing with an uneven lip.
When it is even you can compress it down again into the shape you want your foot to be. At this point, take away as much moisture as you can. If there is still lumpiness, you can trim it off with a trimming tool while the wheel is moving.
And voila! a very nice high foot that will not scratch furniture!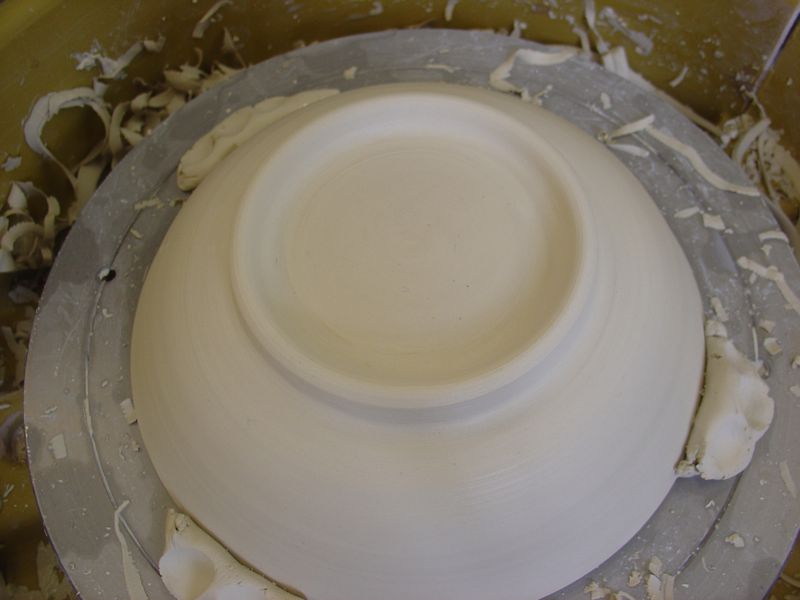
Make sure you cover the whole pot to even out the moisture you’ve introduced!
What a wonderful visual…thank you!
I was just wondering if you could do that. Great photos. Thanks so much.
Wow your photos and explanation are fantastic. I’ll be using your tips in tonights mud shop. Thank you.
Thanks
for sharing this technique. Can’t wait to try it tomorrow.
Thank you so much for the information and demo.
I am just starting out with handbuilding and this coil foot is just what I needed.