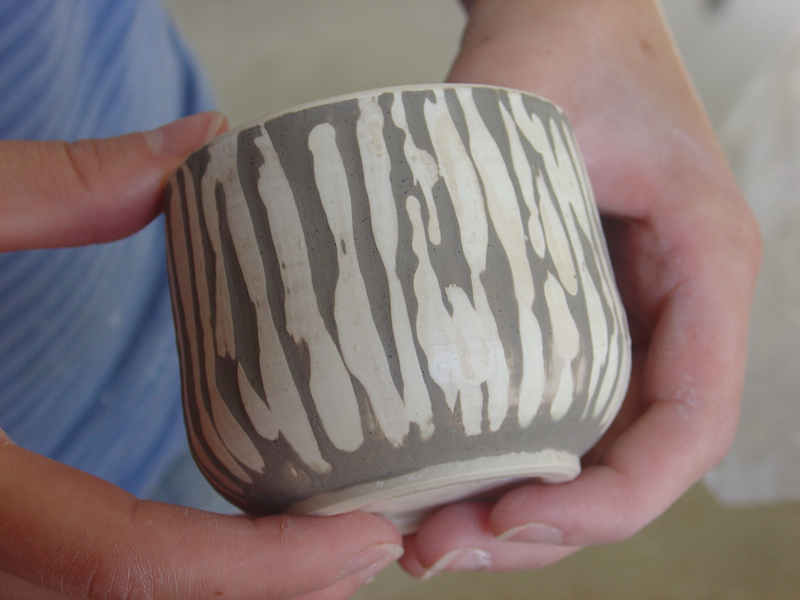
I am teaching a 4 week class this June called Slip ‘n’ Surfaces.
I have a lovely group of students and I’m really excited about teaching surface decorating techniques.
This first class we started out discussing slips. What is slip exactly?
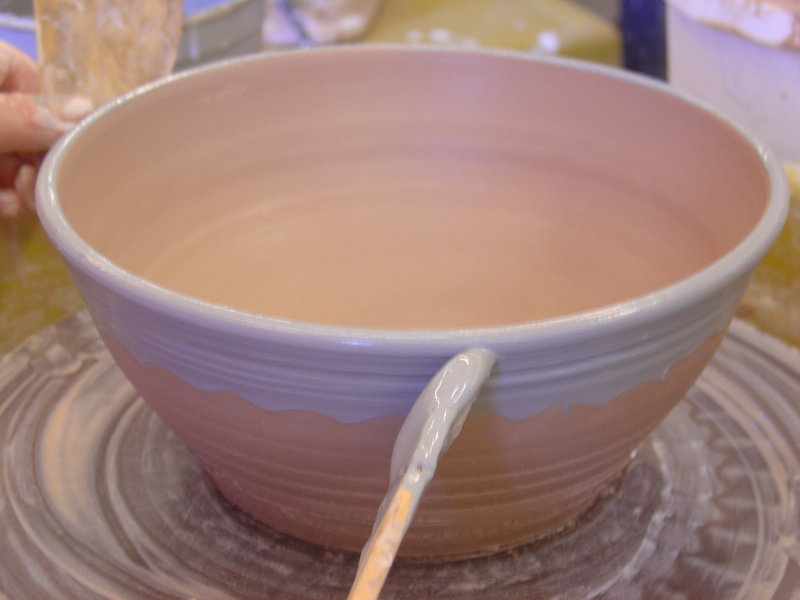
The slip at Lill and in many places is simply liquid porcelain with pigment in it. Here we use Mason stains which are very dependable. The key to using slip well is to understand its properties. Because it is clay, it will not run or flux as glaze does and so you get great sharp details and precision but it does shrink as it dries. So you must apply it in time for it to bond to the surface of your clay and for them to shrink together. You have a a much bigger window of opportunity when applying slip to porcelain than to stoneware because porcelain and stoneware have different rates of shrinkage.
I gave a demo of my favorite texture and color technique- what I call the Eric Jensen technique- I’ve posted about it before so I will be very brief in this description:
Start with a thick pad of clay- at least an inch thick, spread slip on it and then “dry out” the slip with sheets of newspaper.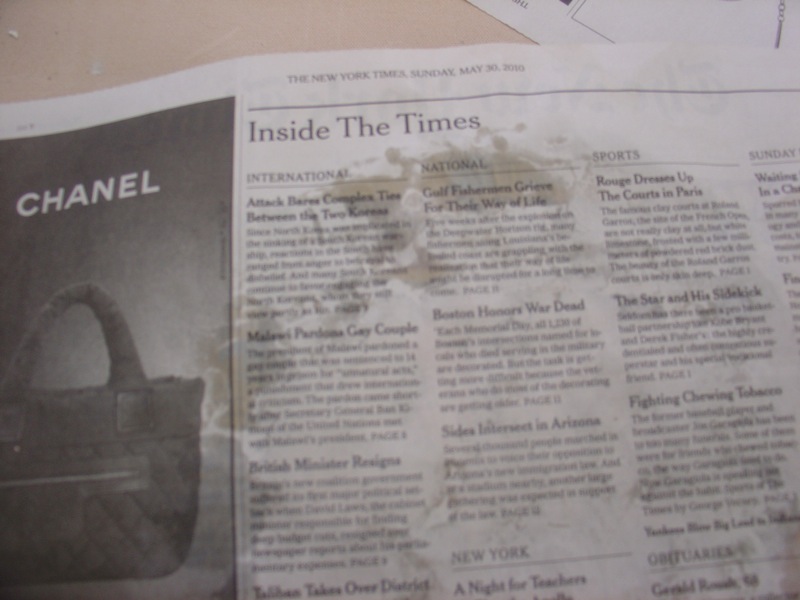
Once the slip is “dry” (you can touch it without it sticking to your hand- it’s a kind of a leather feel to it) then you can add a second slip or stamp it or even draw in it. If you add more slip, you must dry it out again and then you can begin to throw the slab out.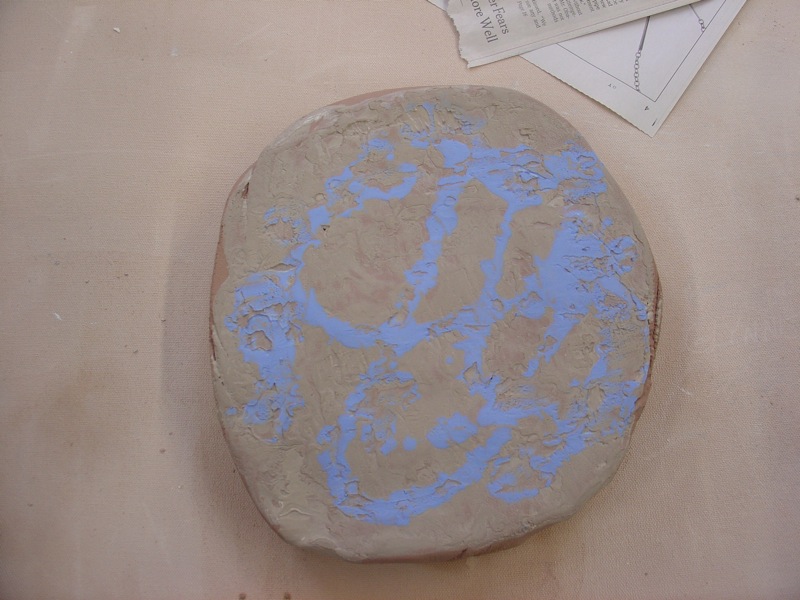
 You can put two colors down with out drying in between but they lose their definition and blend as above.
The key to this stage is that you must keep the slip side up while you are throwing the slab. Because you’ve dried the slip, it will break up instead of stretching with the clay and you get a great texture. If you’ve incised lines in it, the surface tends to break along those lines.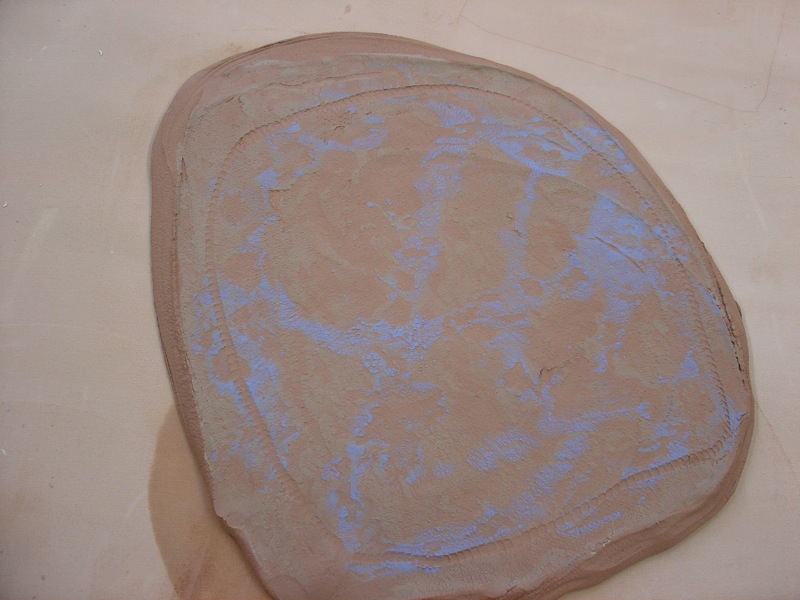 the line around the perimeter of this slab was made with a spiky wheel normally used for patterns in sewing.
Then I took that piece and put it in a mold or “drop mold” so named because to settle the clay into it, you drop it once or more.
 This is a different slab and you can see it tore where the clay was uneven or had air bubbles.
To adapt to the shape of the slab, I took some extra clay and built up part of the mold.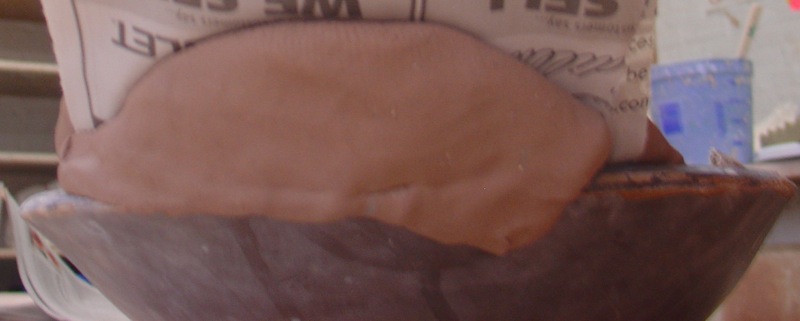 Next week I’ll put little legs on this tray.
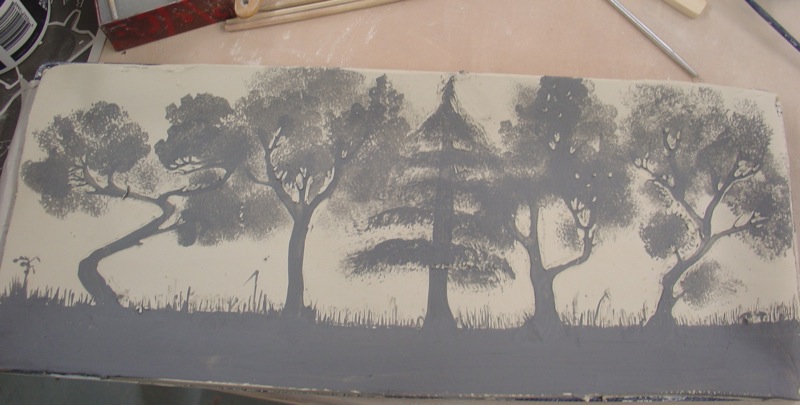
Next I demonstrated painting and sponging on slip by doing some of these summer trees. A sponge with a rough surface is excellent to get the slip applied so it emulates the transparency and distribution of leaves.
I then go in and clean up the trees with a stick and loop tools as I have more control with those than the brush or sponge.
This is almost the finished product.
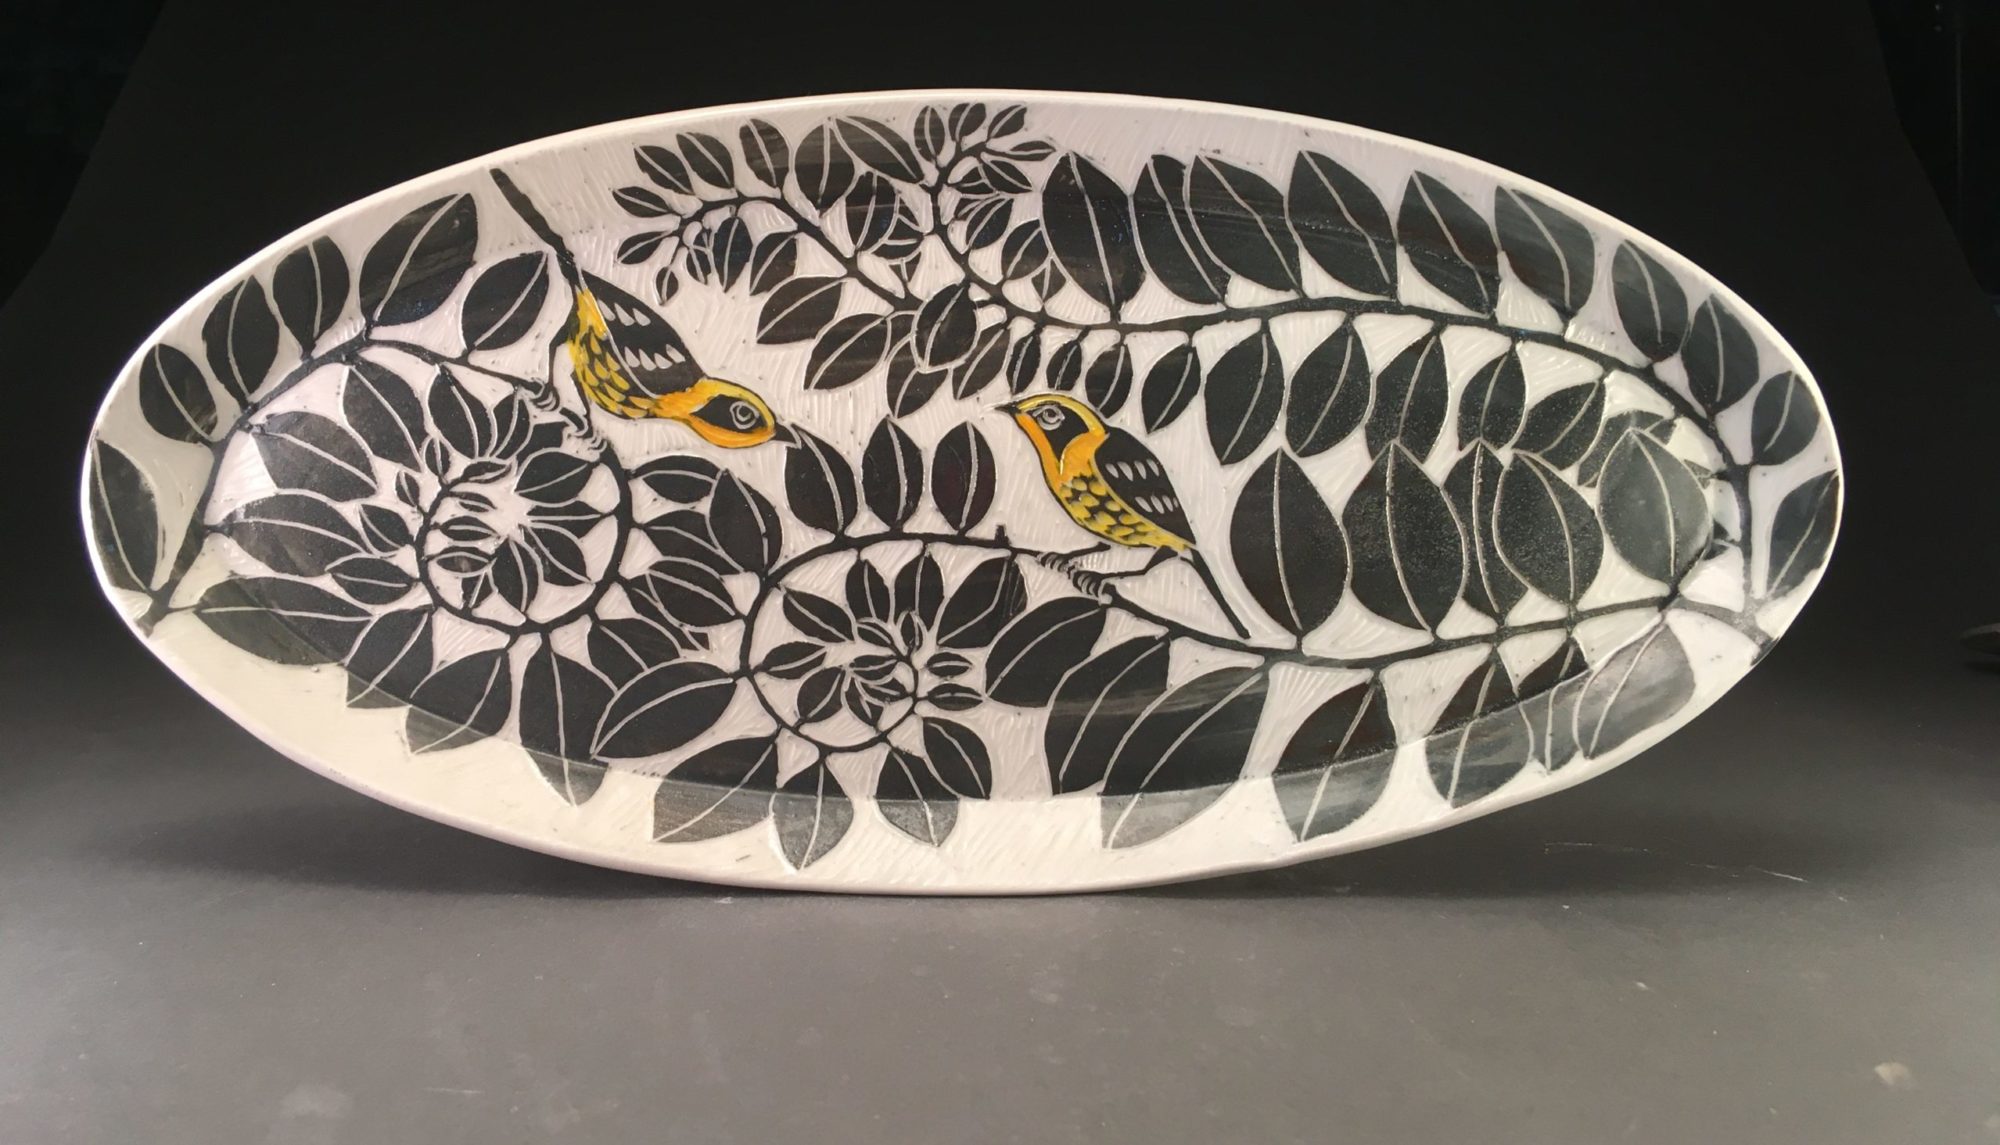
Lastly, I did a brief demonstration of what I do the most, cover the surface with black slip, draw an image with a nice wooden stylus 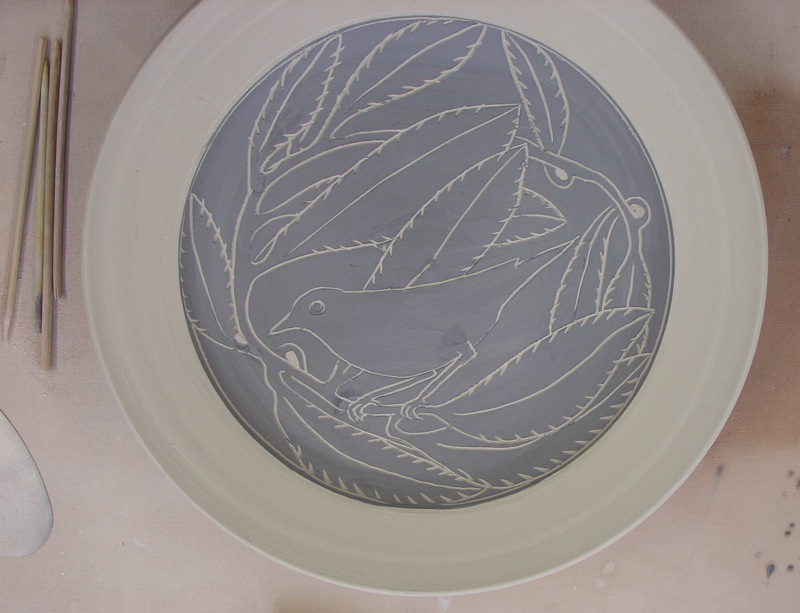 (you can see some of my sticks in the upper left)
and then carve away negative spaces with a fine loop tool.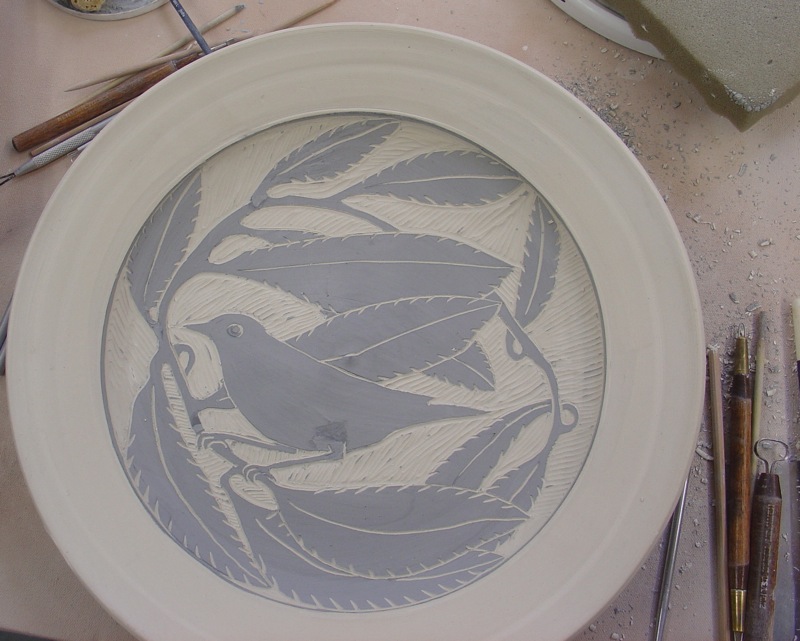 (and here you can see some of my fine loop tools)
Today I went back to my leather hard pieces and used a sure form to finish the edges.  This is a tool often used for plaster and can be found in most hardware stores.
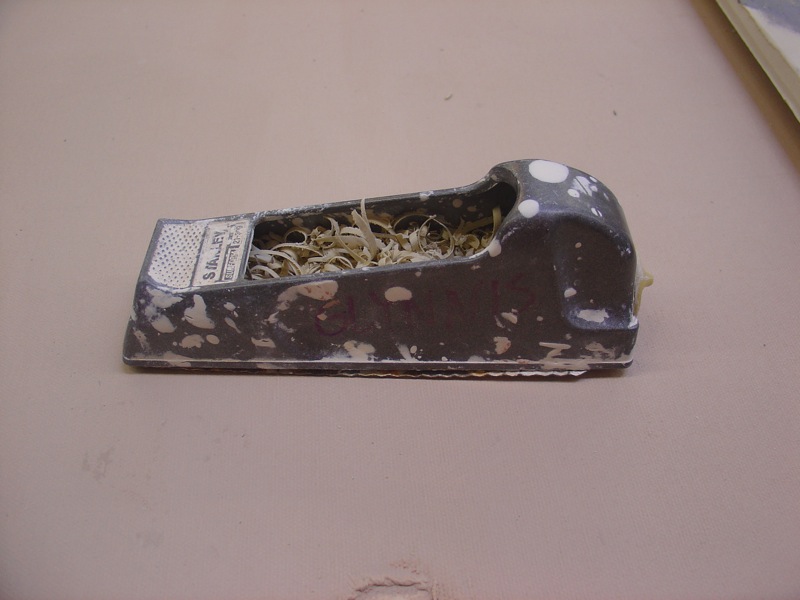 It’s a very handy tool!
